Global Search
Mitel One has a global Search bar at the top of the home screen, which is always visible and available. This Search bar allows you to search for contacts, meetings, messages, and streams.
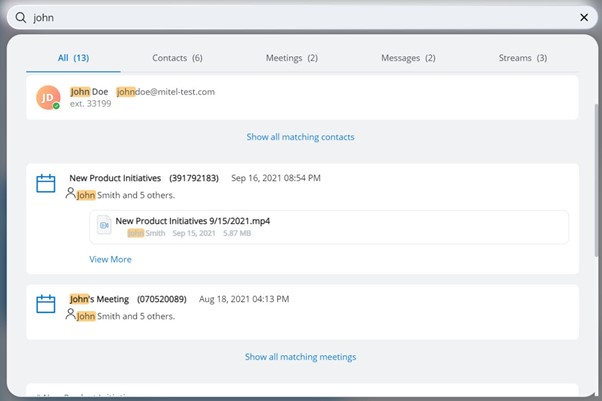
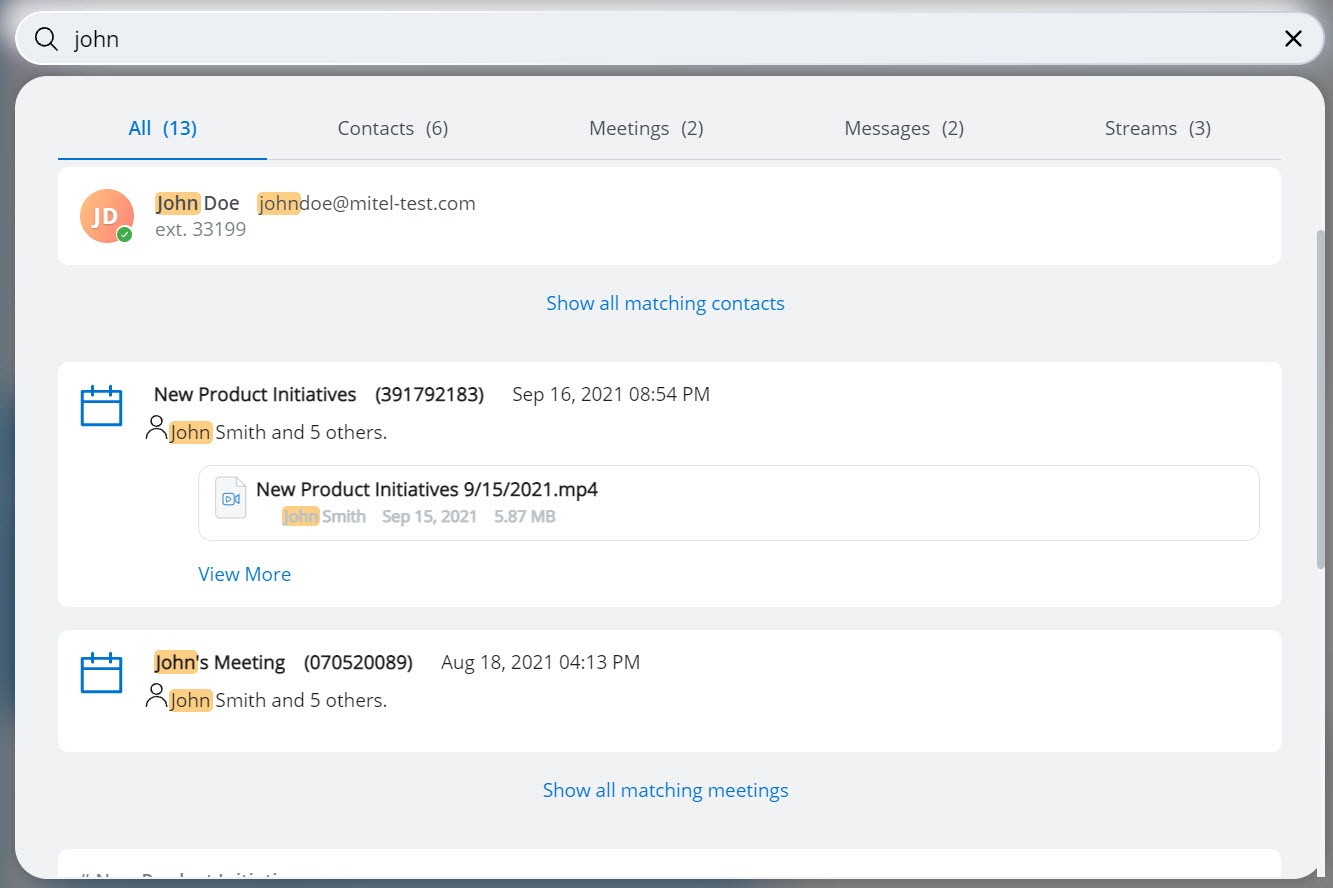
To access the Search bar, press CTRL+K for Windows OS, press CMD+K for macOS, or click anywhere on the Search bar for either operating system. When you type some text in the Search bar, the search results are displayed under the All, Contacts, Meetings, Messages, and Streams category tabs. The All category tab displays a summary of the other specific categories. Some of the specific categories have filter capabilities as well.
The following are the only supported special characters for search:
| Character | Description |
|---|---|
@ |
At or at symbol |
- |
Hyphen |
_ |
Underscore |
. |
Dot or period |
+ |
Plus symbol |
# |
Hash symbol |
Space character |
All
The All tab displays results from all the categories (two results from each category by default). Click a category or click the show all links to expand the results for a category. For example, to expand the list of results for contacts, click the Contacts header or click Show all matching contacts. Similarly, to expand the list of results for meetings, messages, and streams, click the respective header or click Show all matching meetings, Show all matching messages, and Show all matching streams respectively.
Contacts
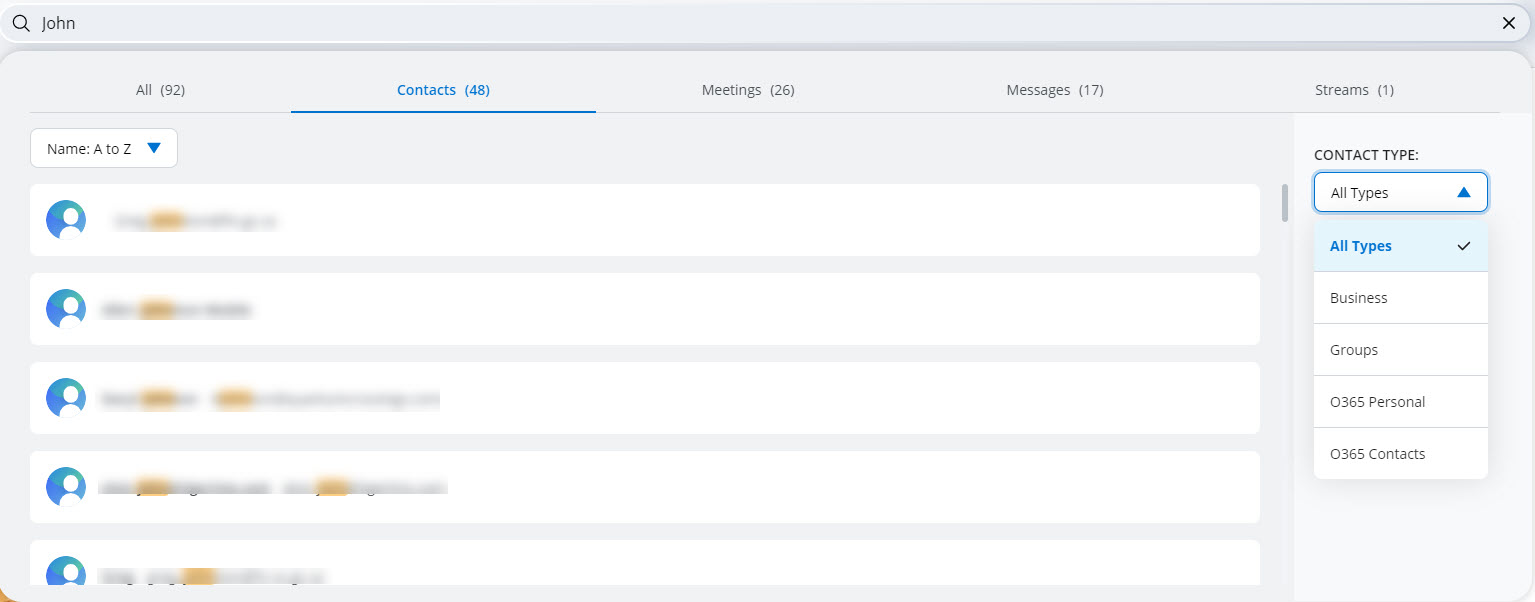
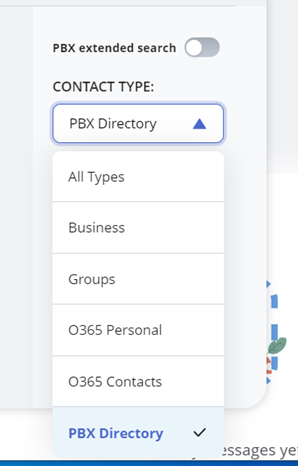
Type a complete or partial contact name, phone number, extension number or email address to search for contacts from the directory. While using contact names or email addresses, type the complete or partial name or address ensuring that consecutive characters including space, if any, are used. Users can sort the names alphabetically from A to Z or from Z to A by selecting the corresponding option from the drop-down list. Users can also filter the search results by contact type. Click the drop-down list under CONTACT TYPE and select the contact type.
From the search results, hover over any contact to make a call, set up a meeting, or send a message instantly. Click the contact to view the contact information.

When you search for contacts using the global Search bar, the application displays a consolidated list of contacts in the Contacts tab that includes results from all the directories configured through the PBX; that is, Open Interfaces Platform (OIP), Active Directory (AD), and Public and Private Phonebook.
The consolidated directory name search is available to you with or without an OIP connected, depending on the configuration made by your Account Administrator.
When the PBX directory name search is available without OIP connected, then the PBX Directory option will be listed in the CONTACT TYPE drop-down list. The results displayed include only those from the PBX Phonebooks (Public and Private).
- In the global Search bar, enter a name.
- Click the Contacts tab.
The Contacts page is displayed.
- From the CONTACT TYPE drop-down list, select PBX Directory.
All the relevant results from the PBX Phonebooks are displayed in the Contacts tab.
- When the PBX extended search toggle button is disabled, the search is a basic search in the OIP directories.
- When the PBX extended search toggle button is enabled, the search is an extended search in the OIP directories.
- In the global Search bar, enter a name.
- Click the Contacts tab.
The Contacts page is displayed.
- From the CONTACT TYPE drop-down list, select PBX
Directory.Note: As the PBX extended search toggle button is in the disabled mode, a basic search is performed in the OIP directories, and the search result is displayed in the Contacts tab.
- Enable the PBX extended search toggle button above the CONTACT TYPE drop-down list.
All the relevant results from the PBX Phonebooks or from the OIP directories are displayed in the Contacts tab.
- A CloudLink Account Administrator must enable Microsoft Office 365 integration for your account in the CloudLink Accounts Console. For more information about integrating Microsoft Office 365, contact your Account Administrator or see Integrating Microsoft Office 365 with Mitel Administration.
- The IT administrator of your organization must enable Office 365 contact synchronization for your user account. For more information, contact your Azure administrator or see Set up directory synchronization for Microsoft 365.
- After Microsoft Office integration is enabled for your account,
you must sign in with Microsoft Office 365 in Mitel One. To sign
in, do either of the following:
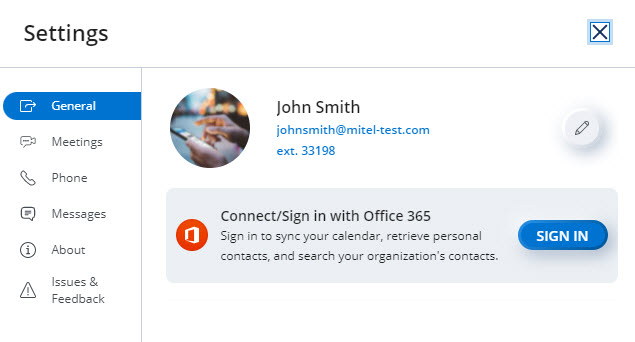
- Click your
avatar and navigate to Settings and preferences. From the
settings page that is displayed, click SIGN IN to sign in
with Microsoft Office 365.
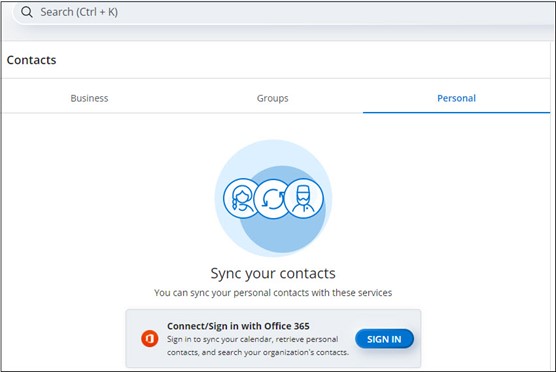
- From the left navigation menu, navigate to Contacts > Personal tab.
Click SIGN IN to sign in with Microsoft Office 365.
- Click your
avatar and navigate to Settings and preferences. From the
settings page that is displayed, click SIGN IN to sign in
with Microsoft Office 365.
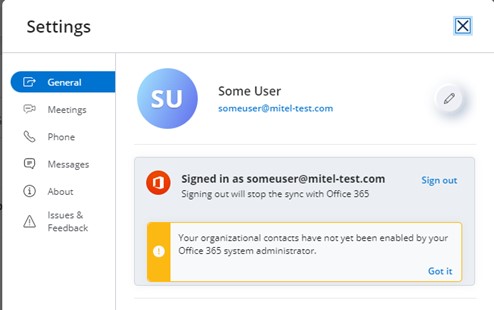
You will be signed in with Microsoft Office 365 and can search for personal and organizational contacts.
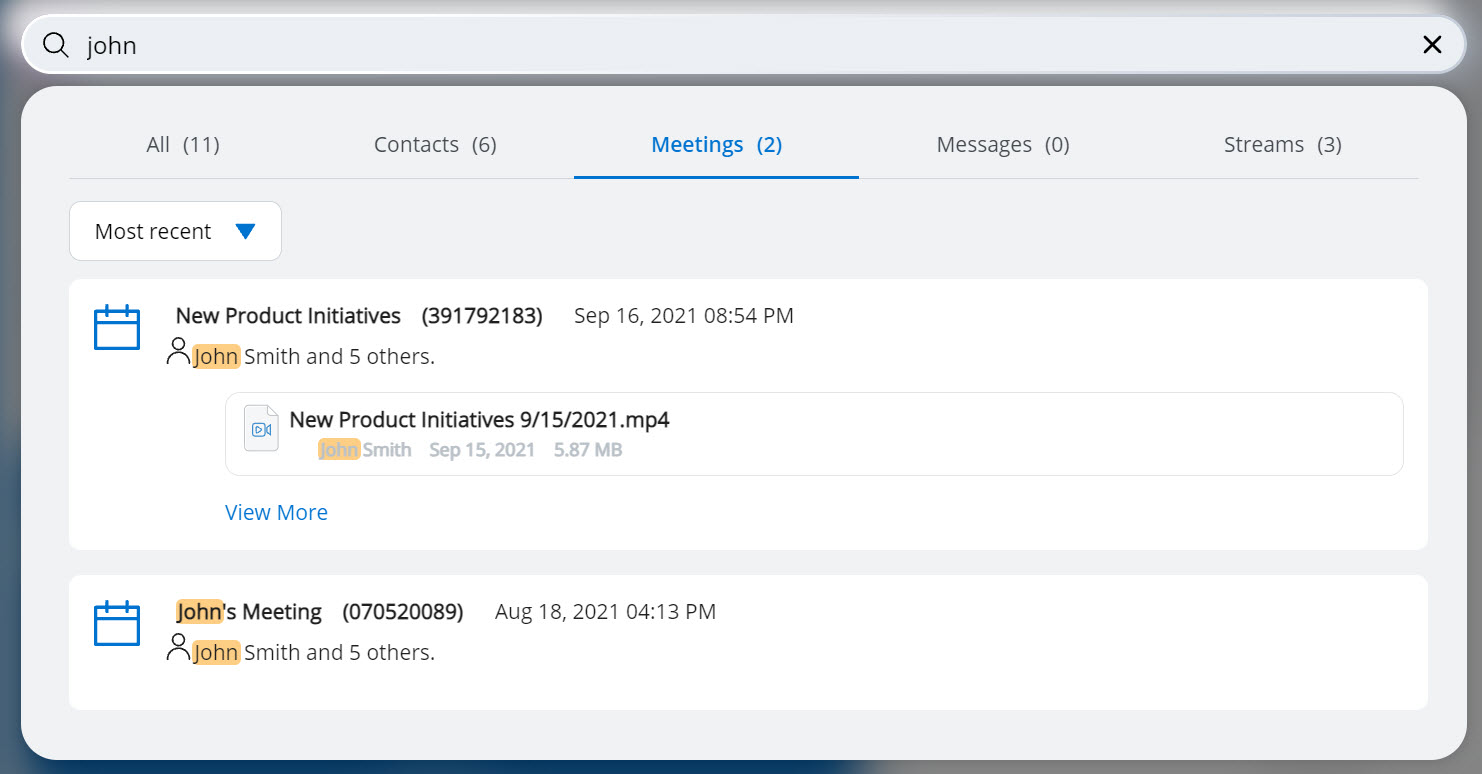
Meetings
Users can search
for a meeting by typing the complete or partial meeting name or
the name of any of the participants ensuring that consecutive letters,
including space, if any are used. From the search results, hover
over any relevant result and click the (![]() ) icon to view the details
of that meeting.
) icon to view the details
of that meeting.
Messages
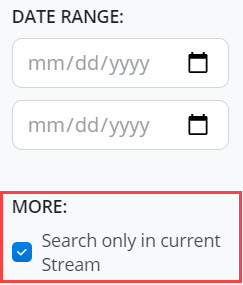
Users can search for a message by typing single or multiple words from that message. You can also select a date range to search for messages sent or received within that range.
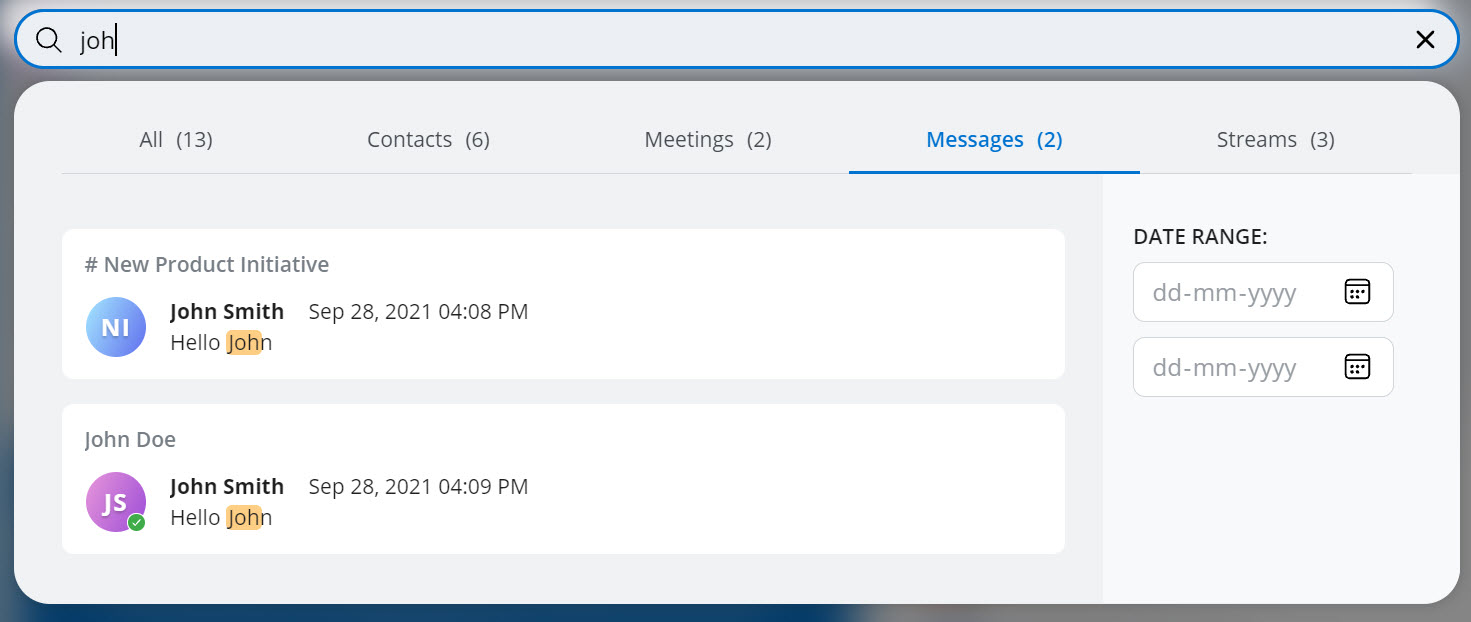
From
the search results, hover over any message and click the (![]() ) icon to view the message.
) icon to view the message.
- Only complete words are valid for the search criteria.
- If your screen resolution is below 900 pixels, click the
 icon to select a date range to search for messages
sent or received within that range.
icon to select a date range to search for messages
sent or received within that range.
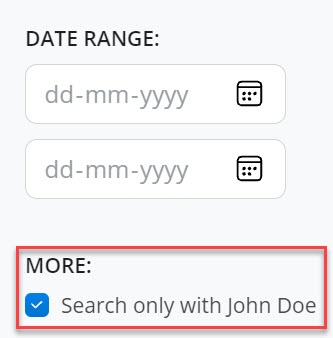
If you search for a message by typing the words in the Search bar while you are viewing or engaged in a group conversation, or direct conversation, Mitel One will search for the words only in that conversation. Whereas, if you type words in the Search bar on the home screen, Mitel One searches for results globally. Whereas, if you type words in the Search bar on the home screen, Mitel One searches for results globally. Following check boxes are displayed when:
- you
search for words in group messages

- you search for words in direct messages
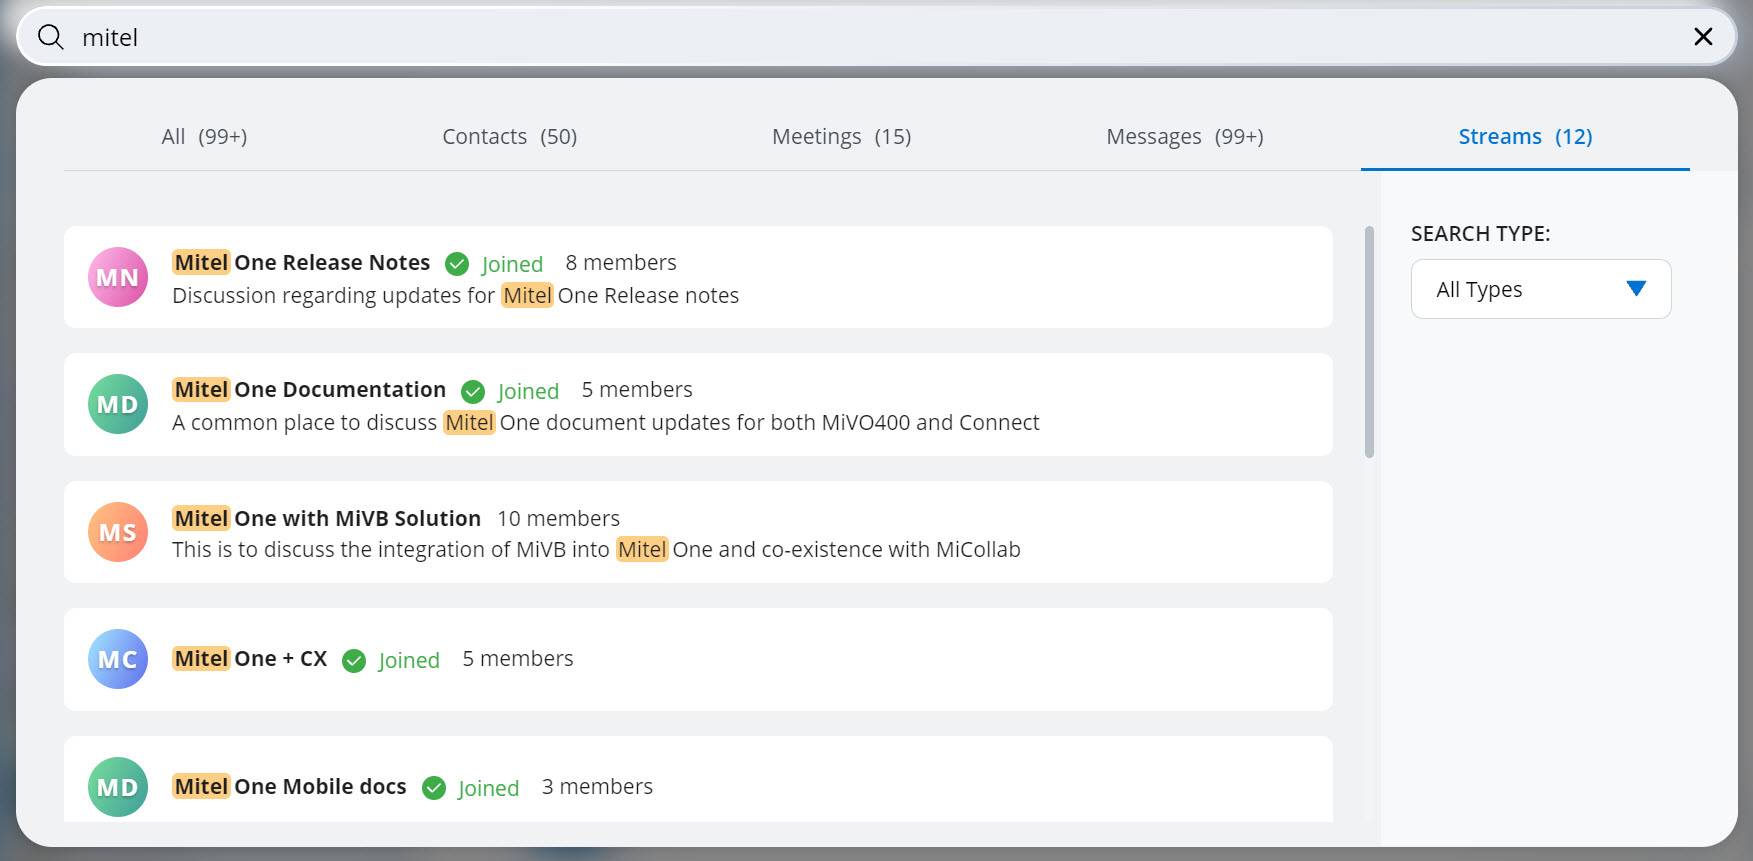
Streams
Users can search
for streams by typing the stream name, stream description, or single
or multiple words from the stream. Click any stream from the result
or click the (![]() ) icon associated with the stream to
view the stream details. Users can also filter the search results
by search type. Click the field to expand the drop-down list under SEARCH
TYPE and select the contact type.
) icon associated with the stream to
view the stream details. Users can also filter the search results
by search type. Click the field to expand the drop-down list under SEARCH
TYPE and select the contact type.
- Only complete words are valid for the search criteria.
- If your screen resolution is below 900 pixels, click the icon to filter the search result by search type.
If you search for a message by typing the words in the Search bar while you are viewing or engaged in a stream, Mitel One will search for the words only in that conversation and the following check box is displayed. Whereas, if you type words in the Search bar on the home screen, Mitel One searches for results globally.