See the Neverfail documentation and the MiContact Center documentation for detailed instructions on how to upgrade.
The Neverfail procedures are documented in the location: https://support.neverfail.com/hc/en-us/articles/115004919367-How-to-Update-Applications-on-a-Trio-of-Servers-When-Neverfail-Heartbeat-Engine-is-Installed
- The secondary MiContact Center Business is made active (which stops the MiContact Center Business on the primary) and the Continuity Engine is stopped on both servers.
- The secondary MiContact Center Business is upgraded and stopped.
- The primary MiContact Center Business is made active.
- The primary MiContact Center Business is upgraded.
- The Continuity Engine is started on both servers.
- The secondary MiContact Center Business is made active (which stops the MiContact Center Business on the primary). The tertiary MiContact Center Business is already stopped and the Continuity Engine is stopped on all three servers.
- The secondary MiContact Center Business is upgraded and stopped.
- The tertiary MiContact Center Business is made active.
- The tertiary MiContact Center Business is upgraded and stopped.
- The primary MiContact Center Business is made active.
- The primary MiContact Center Business is upgraded.
- The Continuity Engine is started on all three servers.
See the MiContact Center Installation and Administration Guide for instructions on upgrading MiContact Center Business.
When IVR Routing is part of a configuration with multiple Remote Servers, you can apply a hot fix with either a partial or minimal loss of contact center functionality during the update. Hot fixes are applied to Enterprise Servers first and then to Remote Servers. By moving extensions back and forth between your Enterprise Server and your Remote Server during the update process, you can limit or minimize the loss of your contact center functionality by keeping your extensions on the server that is not currently being updated with a hot fix. The amount of time it takes to move extensions from your Enterprise Server to your Remote Server depends on the distance between your servers and the network communication speeds between them.
With multiple Remote Servers, this can be a time consuming process. By accepting some loss of contact center functionality during the hot fix, you can minimize the time spent configuring and shifting IVR Routing’s extensions between your Enterprise Server and your Remote Servers during the update process. Alternatively, you can shift all extensions between the Enterprise Server and the Remote Servers during the application of the hot fix, losing none of your contact center functionality during the application of the hot fix.
You must close all instances of YourSite Explorer before installing a hot fix on the Enterprise Server, including instances of YourSite Explorer on Remote Servers. This ensures that Remote Servers are updated successfully.
For more information about multiple Remote Server configurations, see "High Availability Configuration".
- Open YourSite Explorer.
- Select IVR Routing > Extensions.
- For each IVR Routing extension on your Enterprise Server, under Port State, enable the This is a remote port check box.
Note:
For ease of reassigning extensions to their original configuration, it is recommended that you note the original configuration of your extensions before re-assigning them between the remote and Enterprise Servers.
- Click the browse button beside the Remote Server field.
- Select a Remote Server.
- Click OK.
The extension moves to your Remote Server.
- Click Save in the ribbon.
- Run the hot fix.
If you have any active calls, you will be warned that they will be dropped during the installation.
Follow the installation wizard’s instructions.
In YourSite Explorer, disable the This is a remote port check box for the extensions on the Remote Server that were originally on the Enterprise Server.
The extensions relocate to the Enterprise Server. The hot fix is automatically applied to the Remote Server.
When you start applying the hot fix on your Remote Servers, you will lose any current calls to your contact center that are using the extensions on your Remote Servers. These IVR Routing extensions will remain unavailable during the update process (up to approximately 30 minutes).
Allow the MiContact Center Updater Service to update the Remote Servers.
- Open YourSite Explorer.
- Select IVR Routing > Extensions.
- For each IVR Routing extension on your Enterprise Server, under Port State, enable the This is a remote port check box.
Note:
For ease of reassigning extensions to their original configuration, it is recommended that you note the original configuration of your extensions before re-assigning them between the Remote and Enterprise Servers.
- Click the browse button beside the Remote Server field
- Select a Remote Server.
Note:
It is easier to put the Enterprise Server extensions on a single Remote Server but you can distribute them amongst your Remote Servers if you choose.
- Click OK.
The extension moves to your Remote Server.
- Click Save in the ribbon.
- Run the hot fix.
If you have any active calls, you will be warned that they will be dropped during the installation.
- In YourSite Explorer, disable the This is a remote port check box for the extensions on the Remote Servers.
The extensions relocate to the Enterprise Server. The hot fix is automatically applied to the Remote Server.
- When the hot fix is finished installing on the Remote Servers, in YourSite Explorer, enable the This is a remote port check box for each extension that was originally located on the Remote Server before applying the hot fix.
- Click the browse button beside the Remote Server field.
- Select your Remote Server.
- Click OK.
The extension will be moved back to your Remote Server.
- Repeat steps 11-14 for the other extensions from the Remote Server until all extensions are returned to their original configuration.
Upgrading applications and Reclone Secondary or Tertiary server in Neverfail
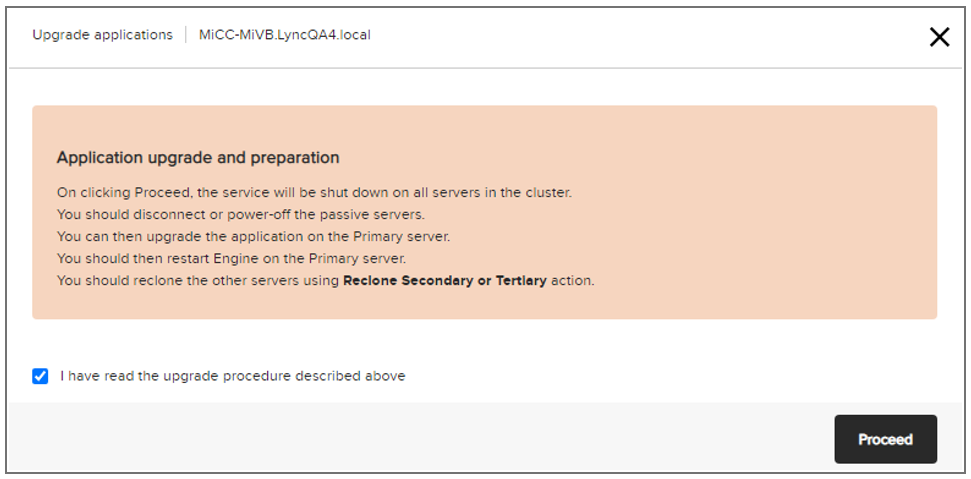
- From Actions menu, click Upgrade applications.
Note: This activity shuts down the Neverfail Engine.
The Application Upgrade window is displayed, follow the instructions in the window. The “You can then upgrade the application…” comment in the window below applies to an upgrade/full install/hotfix.
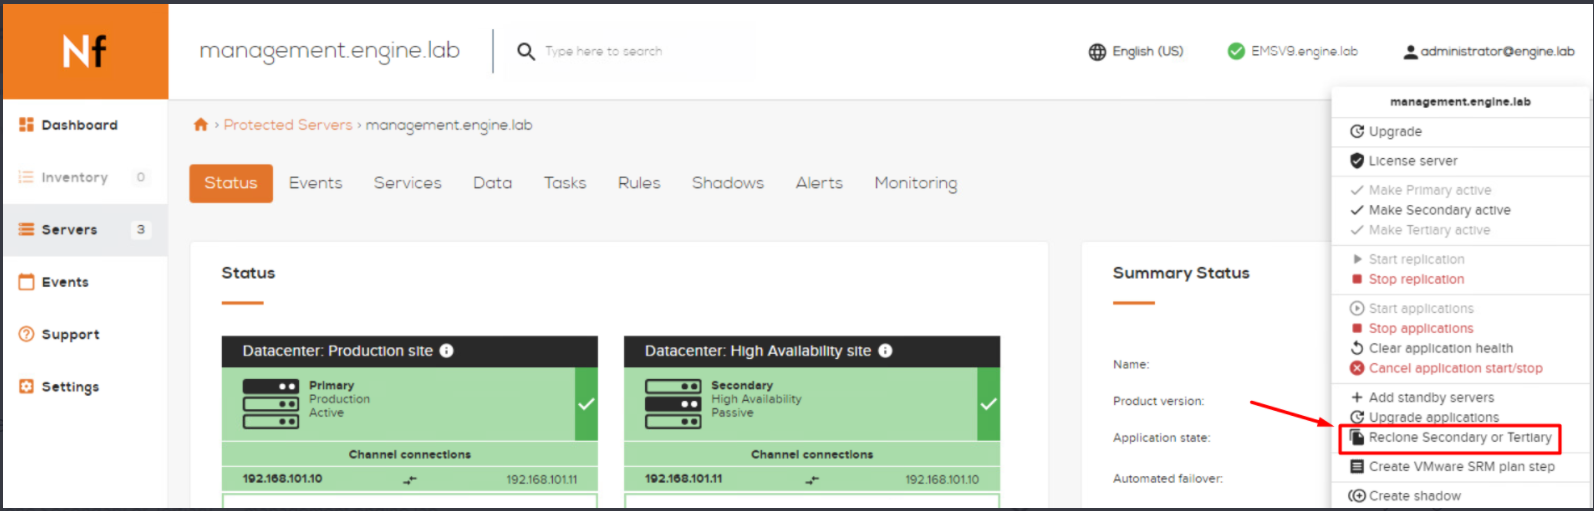
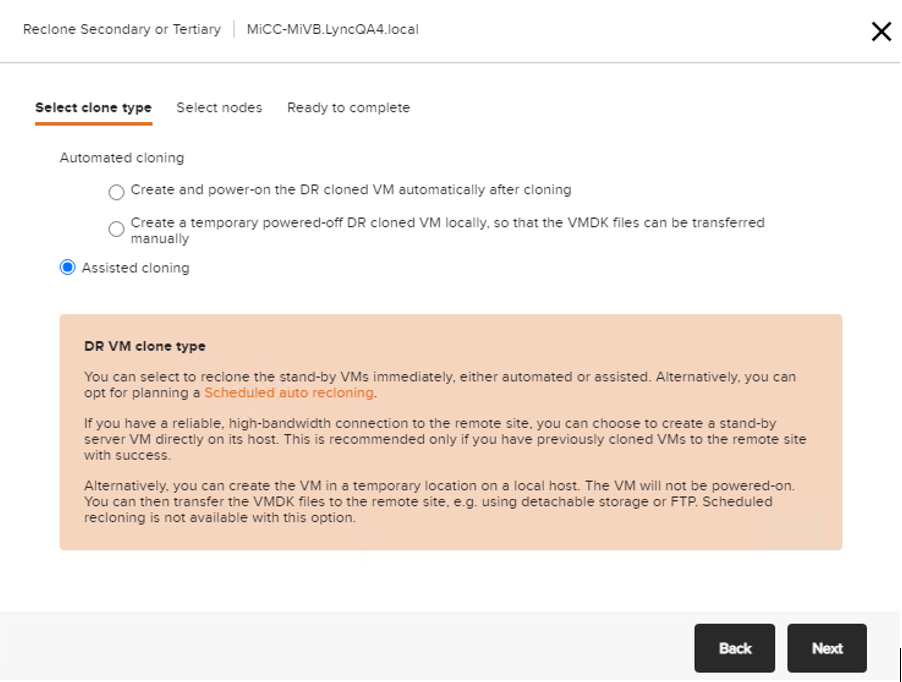
- Login into the Neverfail Engine Management Server (EMS) console and select the Primary server to be cloned. Click the Actions button and then click the Reclone Secondary or Tertiary option in the menu.
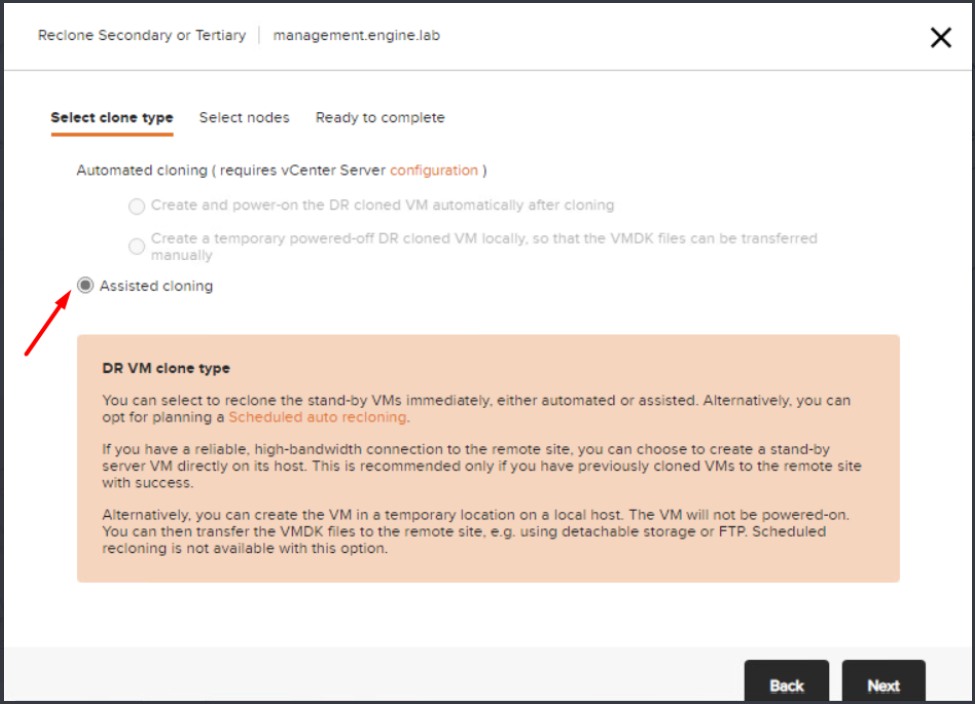
Note: Please be aware that this first step is essential. If this first step is omitted then we will simply end up creating a copy of the Primary server instead of creating a secondary server. - Select clone type to be Assisted Cloning.
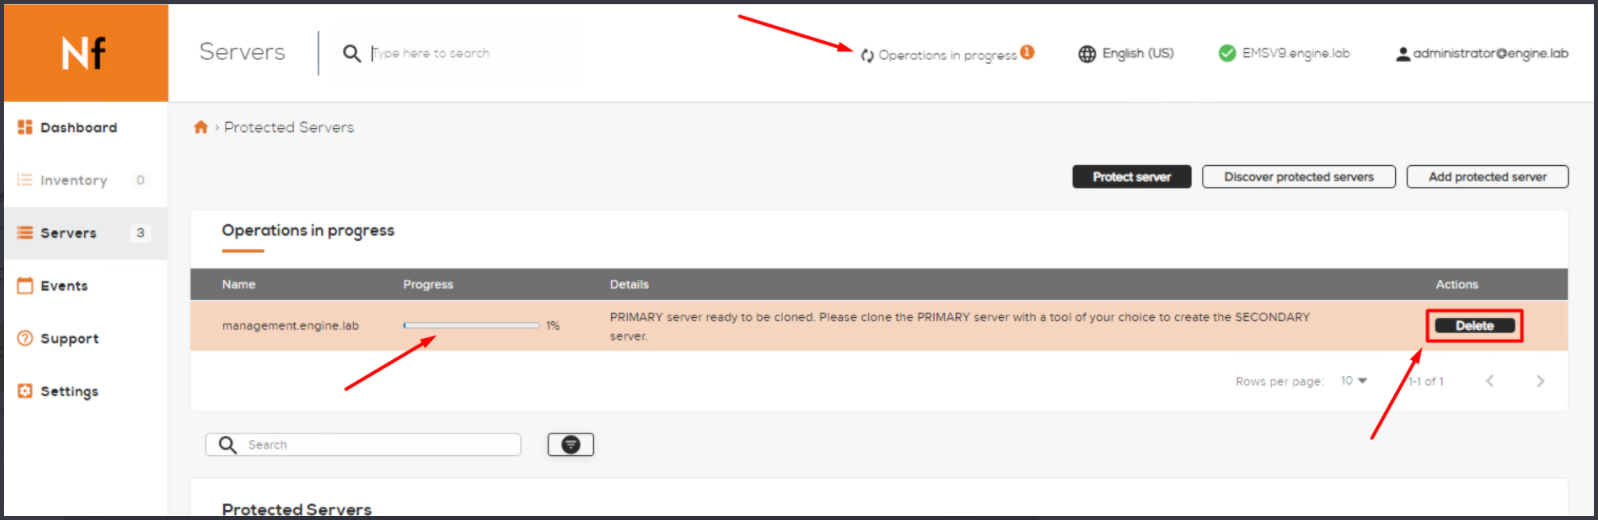
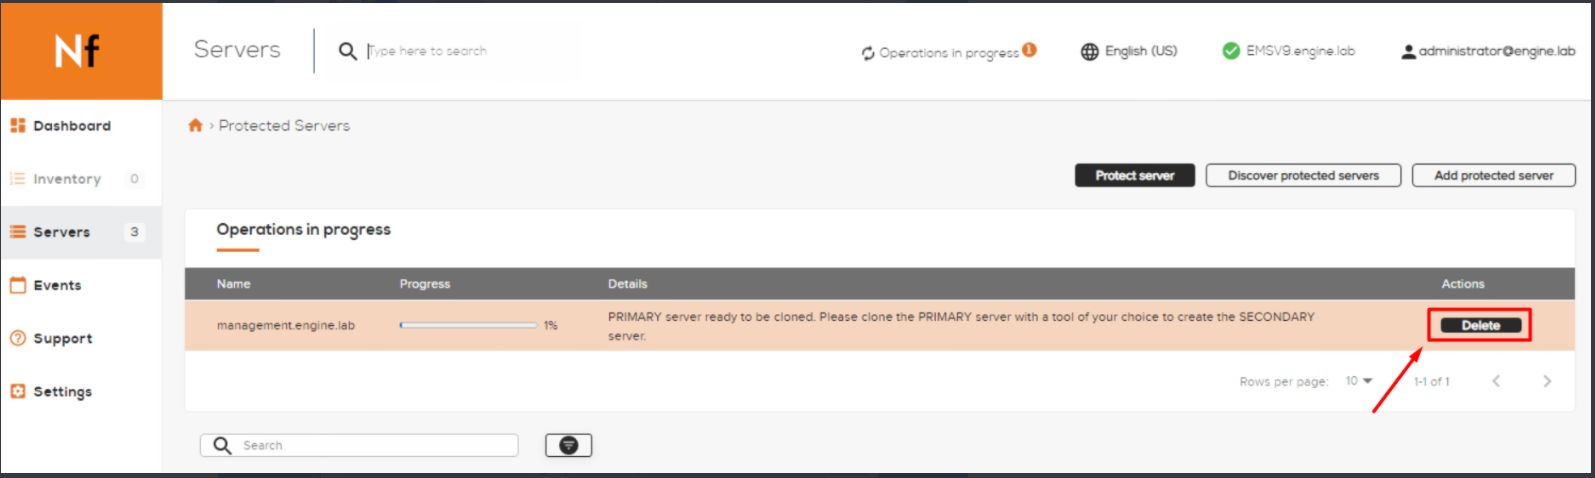
- We now must wait until the Primary server is reconfigured in order to be ready for cloning. This is displayed in EMS as below. Please focus on the Operations in progress status and on the Progress Bar showing the reconfiguration of the Primary server. When this is completed the Delete button will become available.
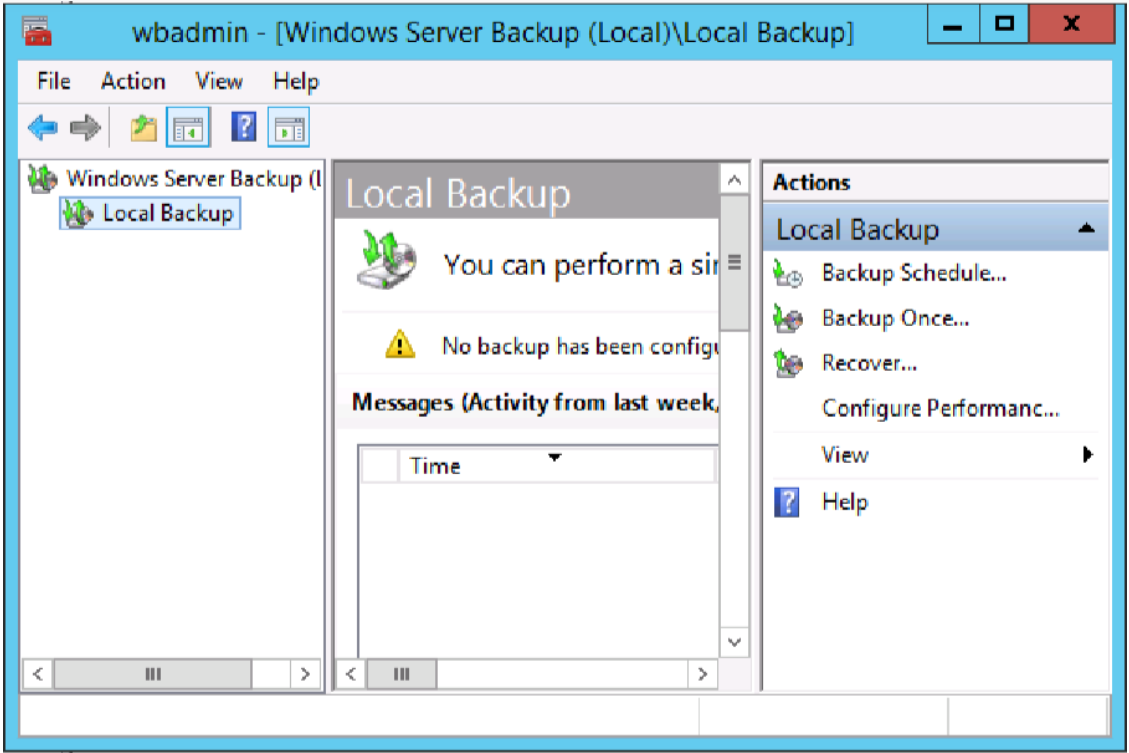
- When the Primary server is ready to be cloned, please launch Windows Server Backup and select Local Backup then click Backup Once.
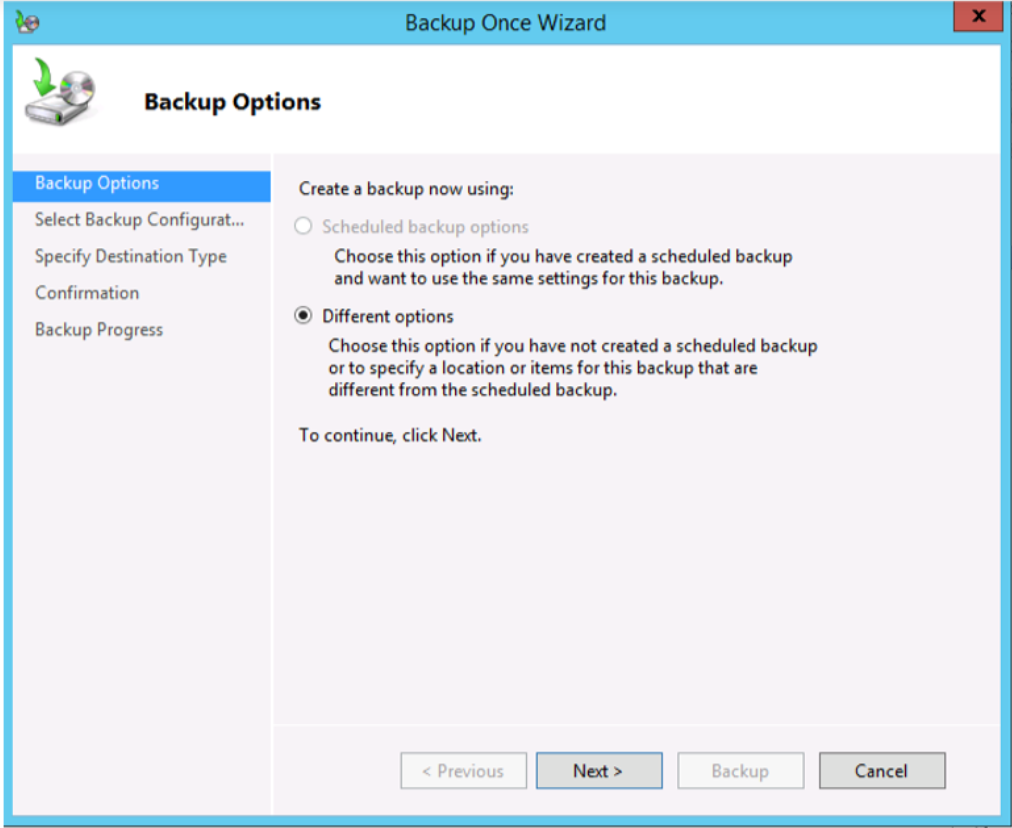
- In the Backup Once Wizard select Different options and click Next.
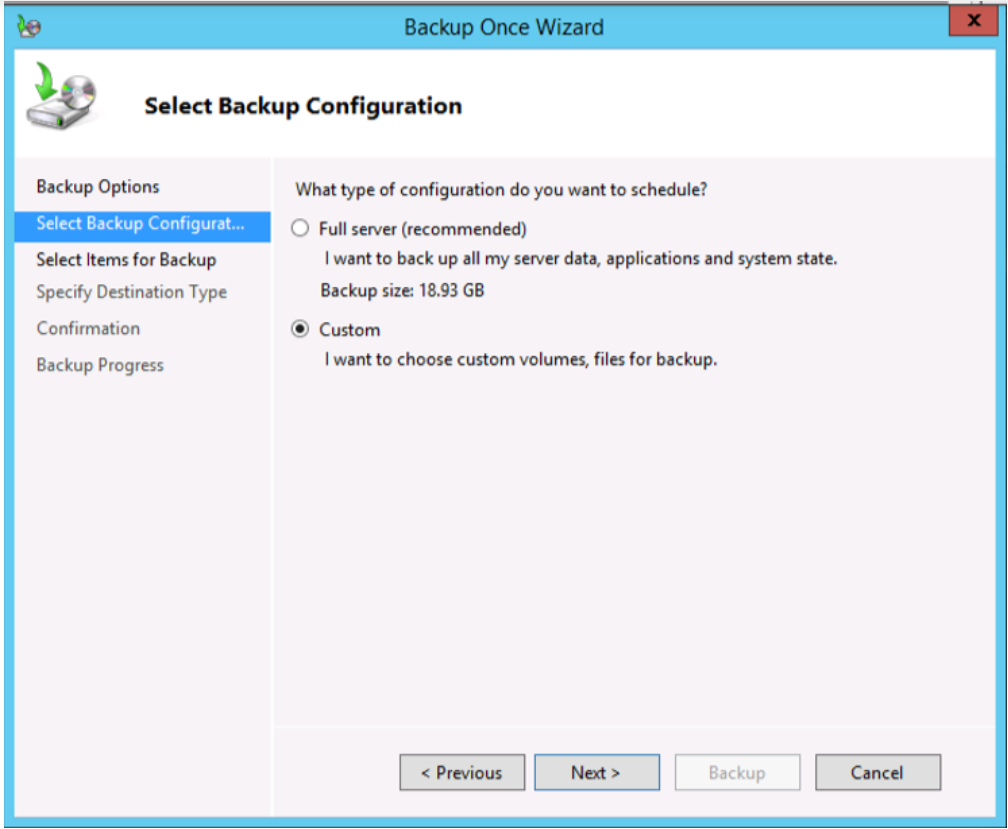
- In the next window select Custom. Be sure Not to select “Full server” as this may result in a huge backup file. There is no need to include in the backup the data which will be replicated by Engine from Primary to Secondary once the Secondary server is up and running.
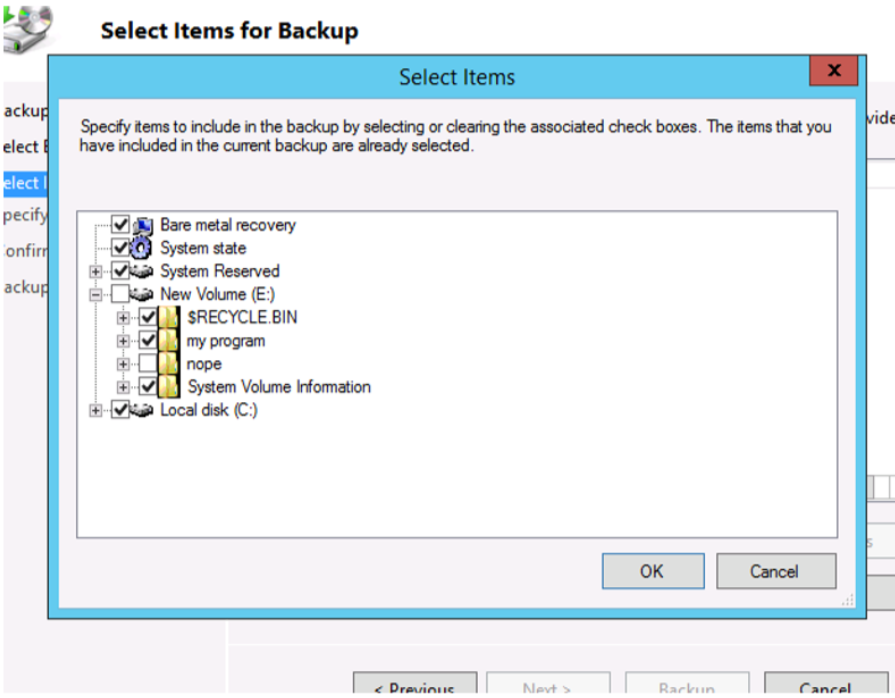
- Click Next and choose Select Items for Backup. Click on Add items.

- In Select Items, check/enable the Bare metal recovery. This is essential. When you check this option then other options will be automatically checked for you: System state, System reserved, and all critical volumes which contain operating system files.
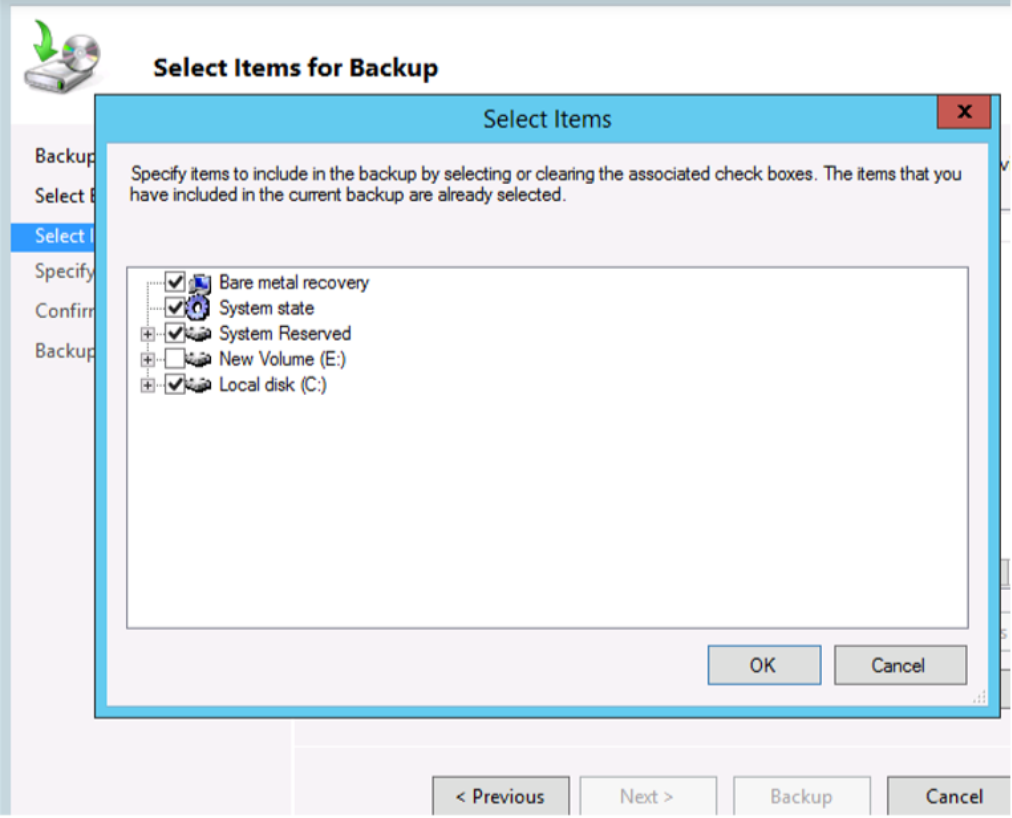
- Notice that other driver (like E: in this case) was not automatically selected because this volume does not contain OS files. However there is other content on E: which might need to be included, for example if there’s a "Program Files" folder because this contains application binaries. When done selecting items, click OK.
- Specify a destination type where the backup file will be saved. In this example we will backup to a directory on a network share for convenience. The backup file created on the Primary server can be also saved on an external disk too.
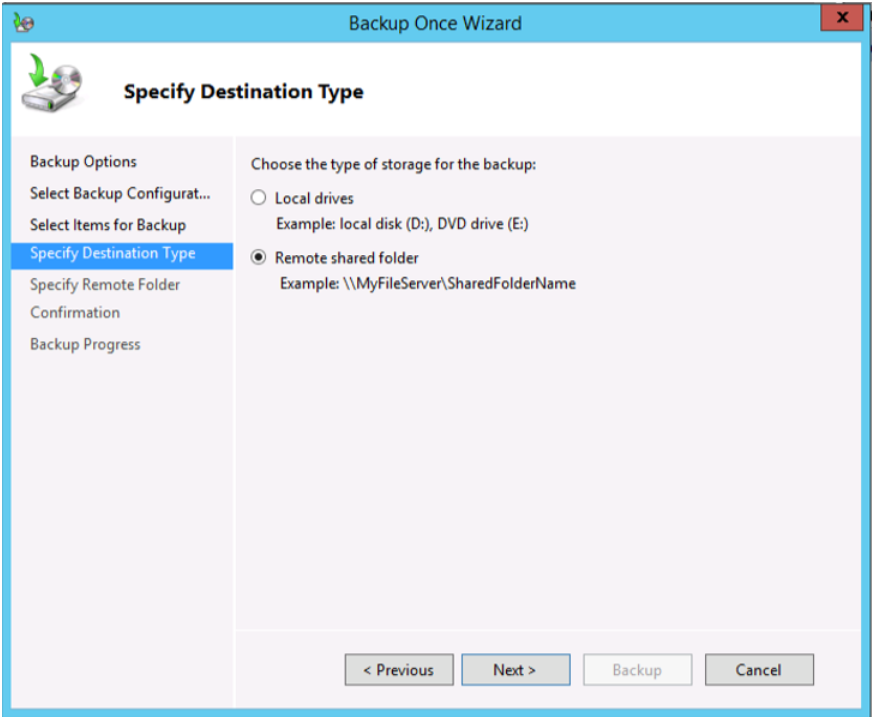
Note: The network share or the external disk will need to be accessible during the restore on the Secondary.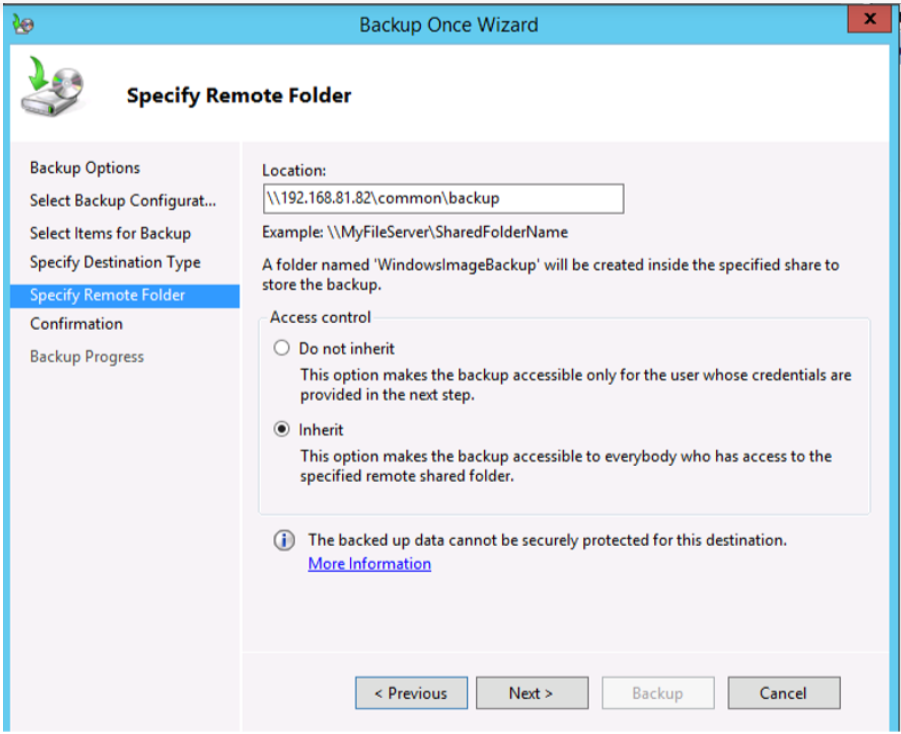
- After completing all the steps above, please click Backup.
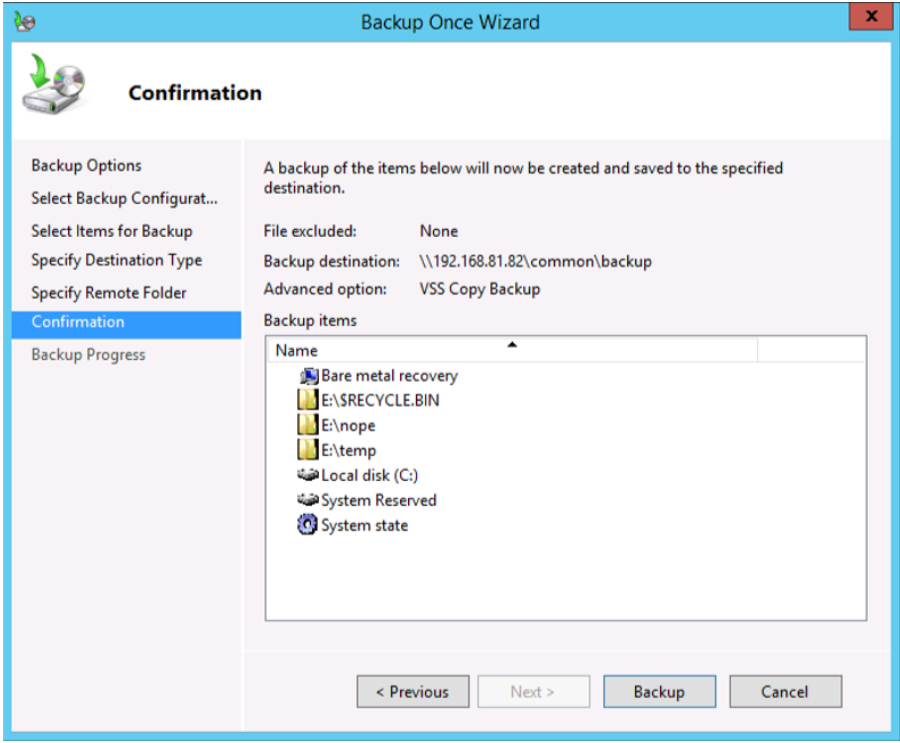
The backup will take some time.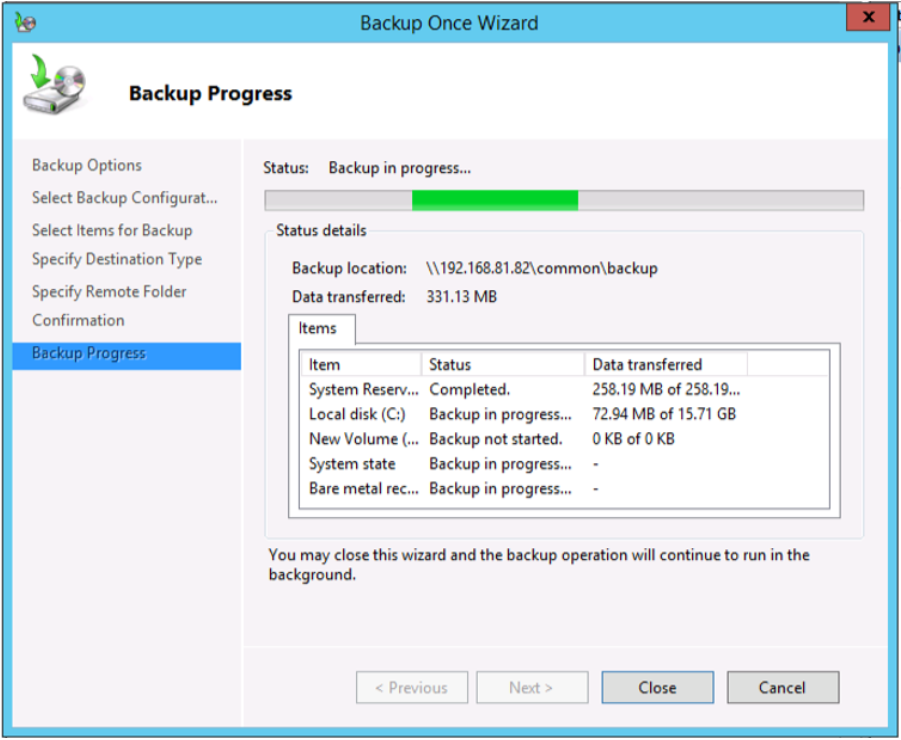
And will report as “Completed” when finished.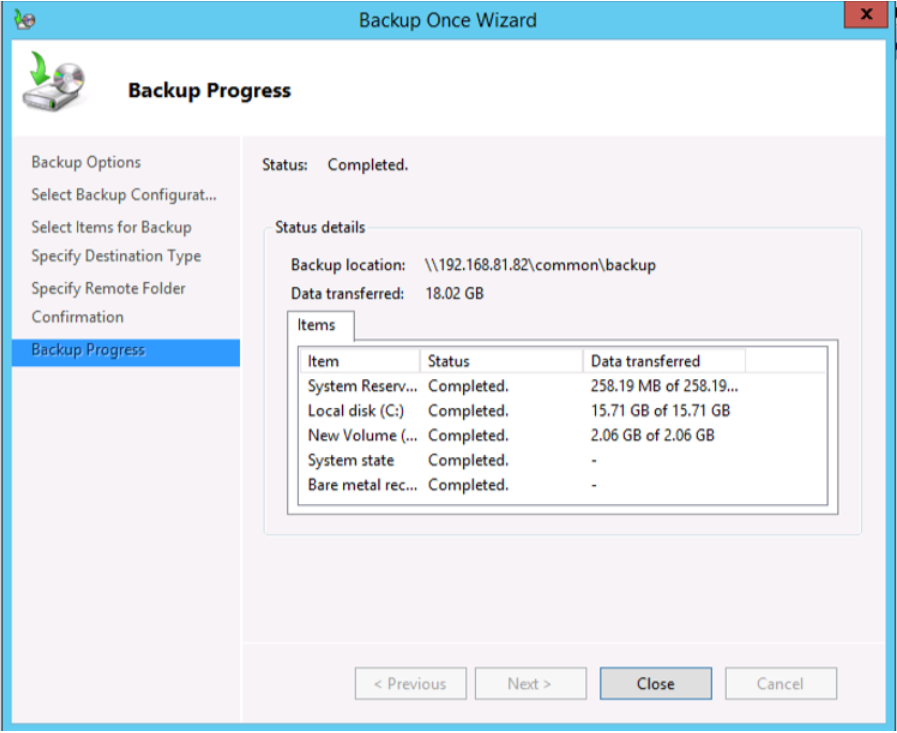
- Click Close.
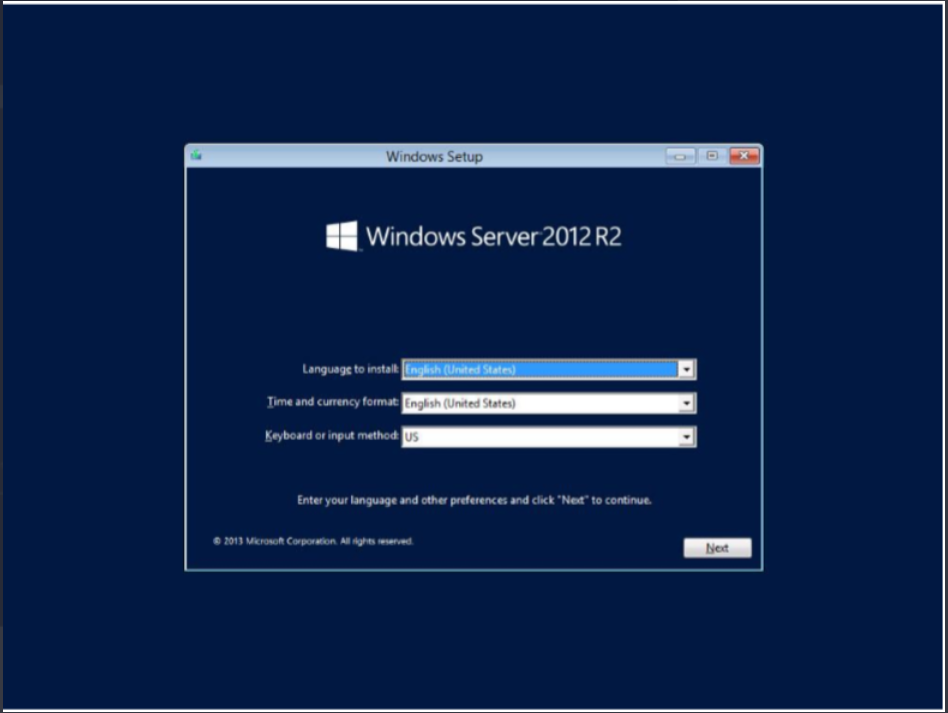
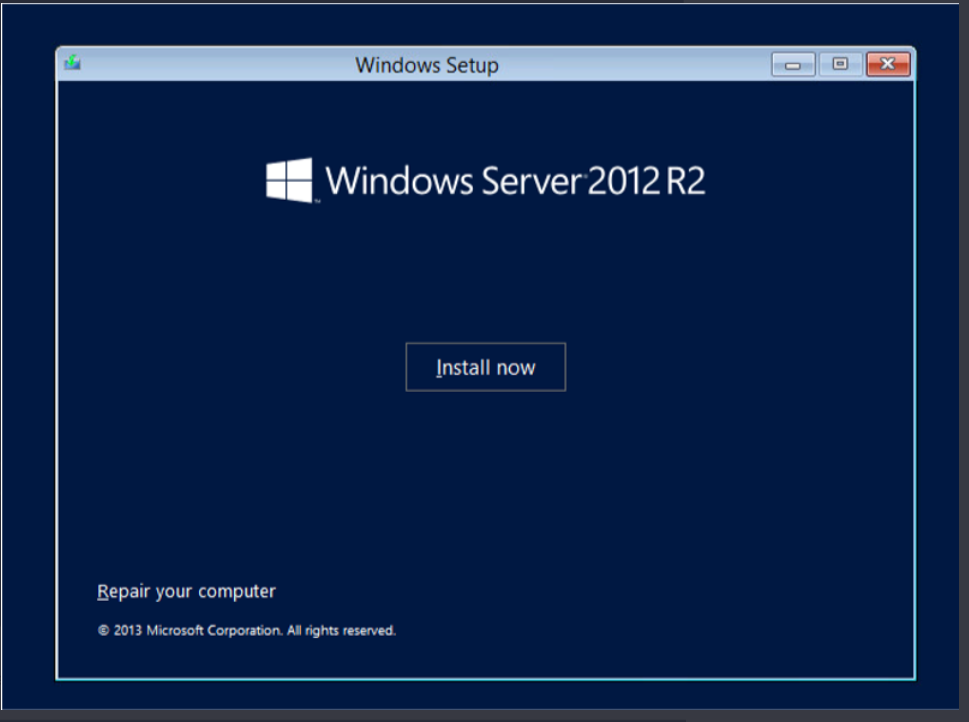
- Click Next and choose the Repair your computer option.
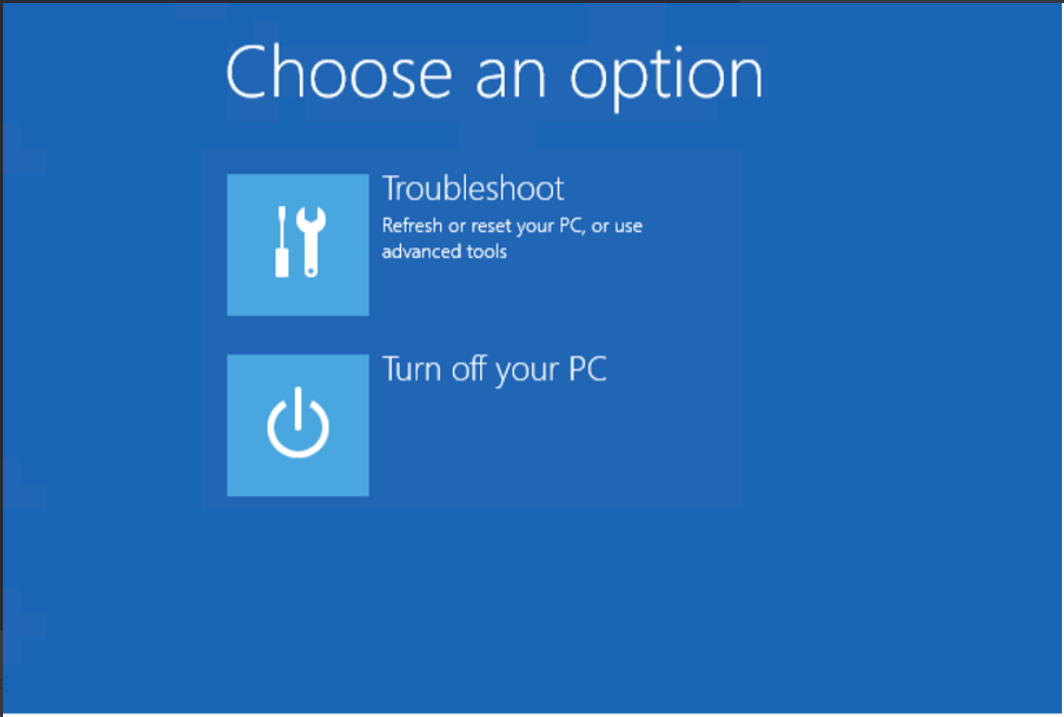
- Click Troubleshoot.
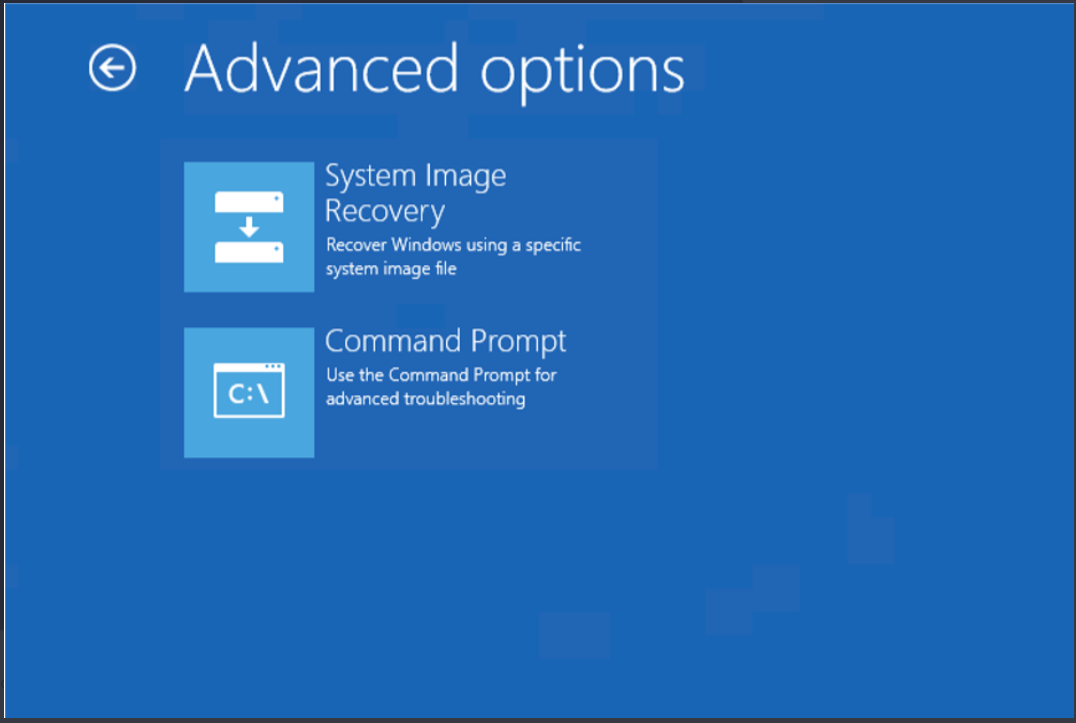
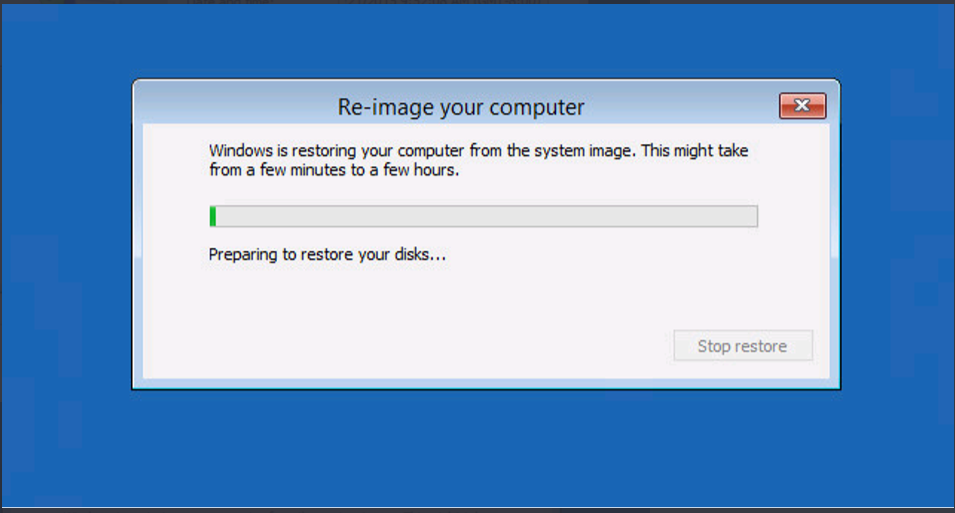
- Select System Image Recovery.
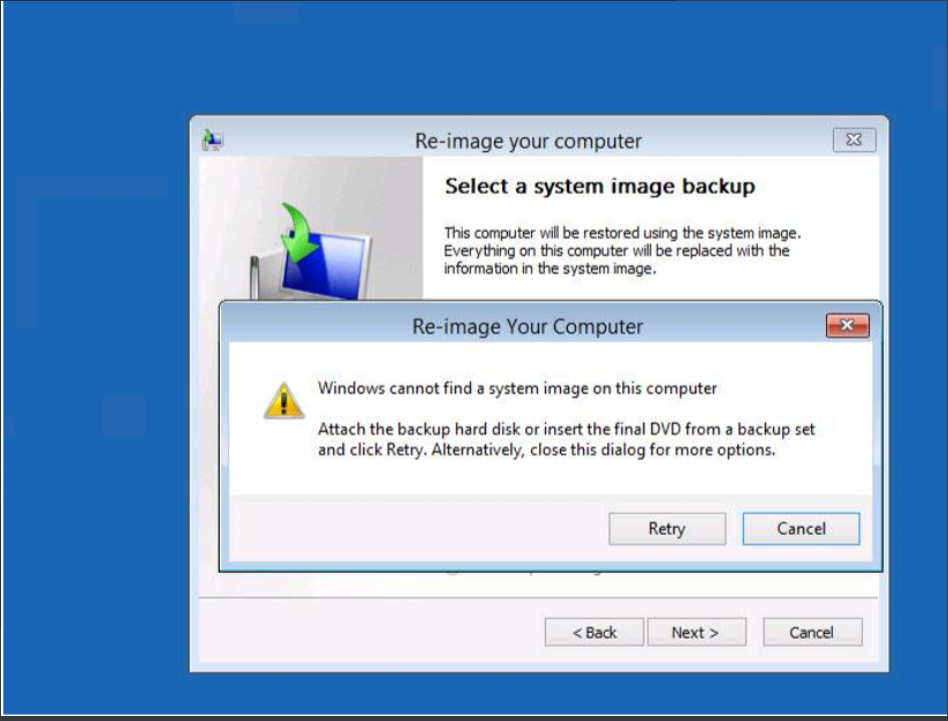
- Windows is going to search the Secondary server for the backup file to restore, but since the backup file is saved on a network share, click Cancel.
- Click Next.
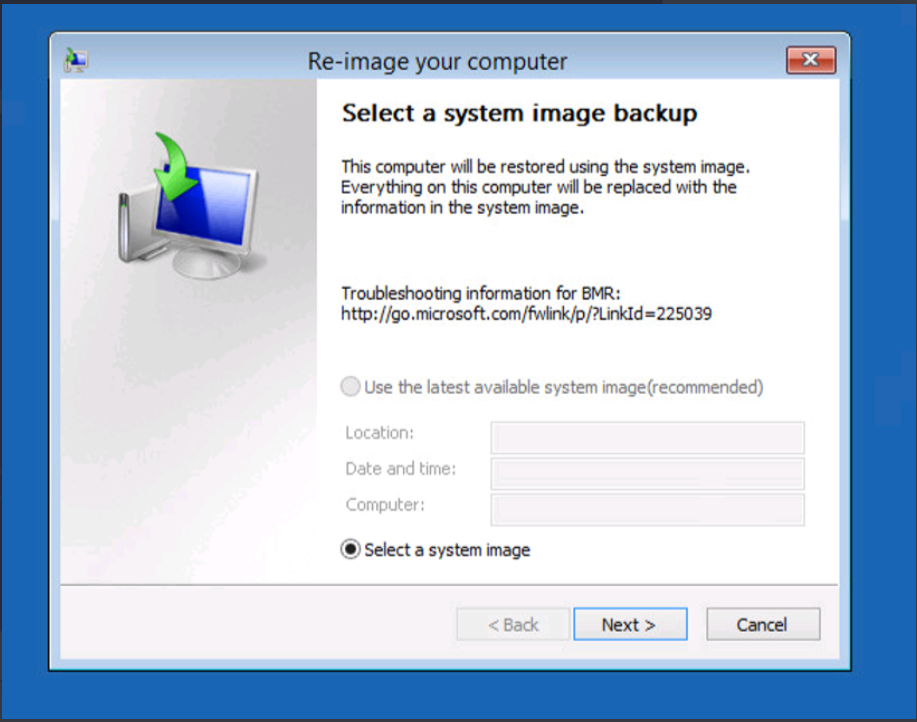
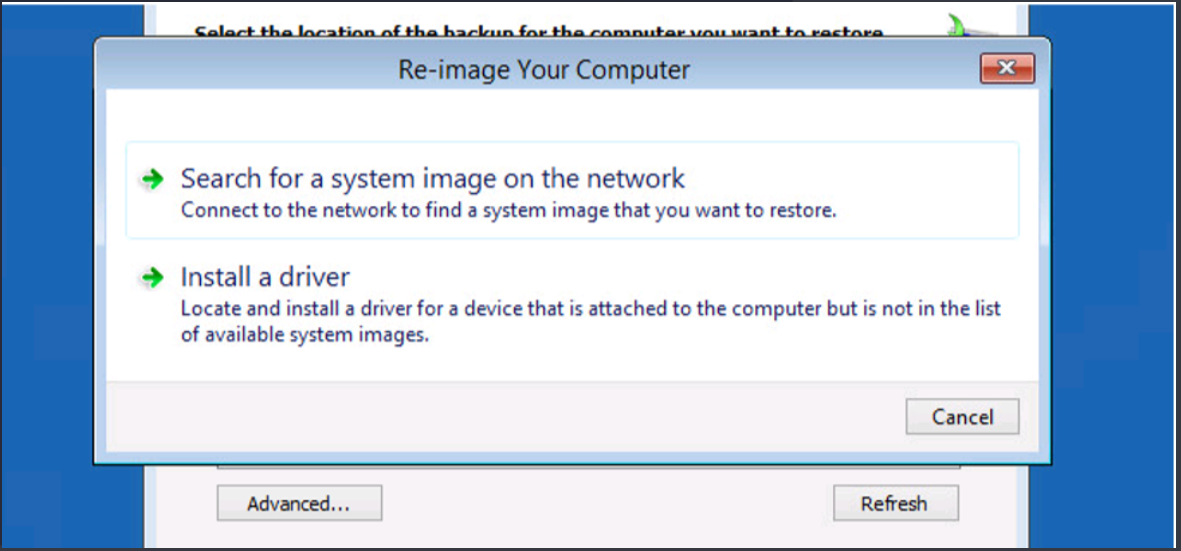
- Click Advanced.
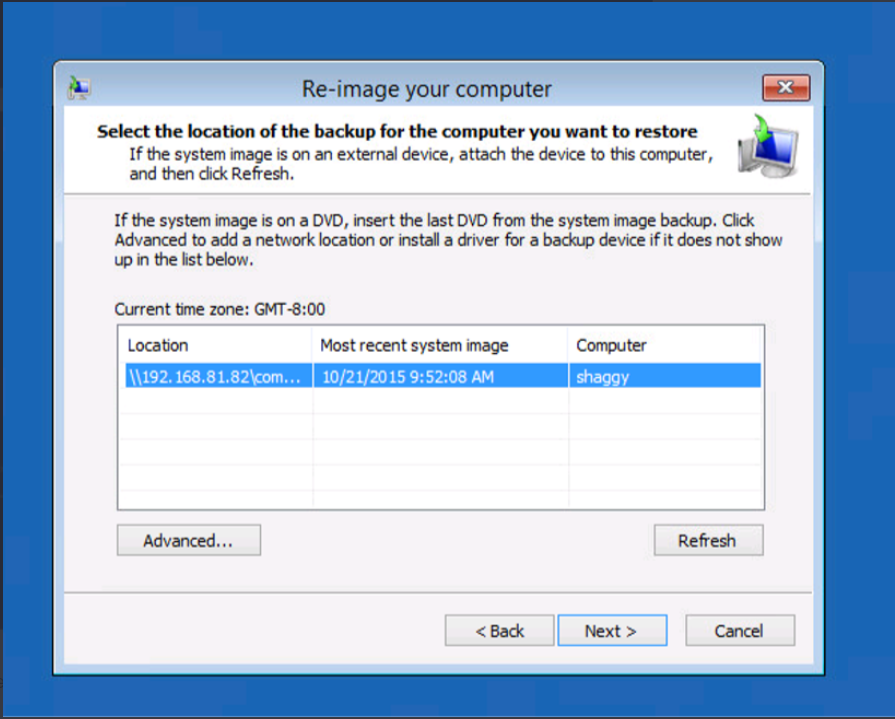
- Choose Search for a system image on the network.
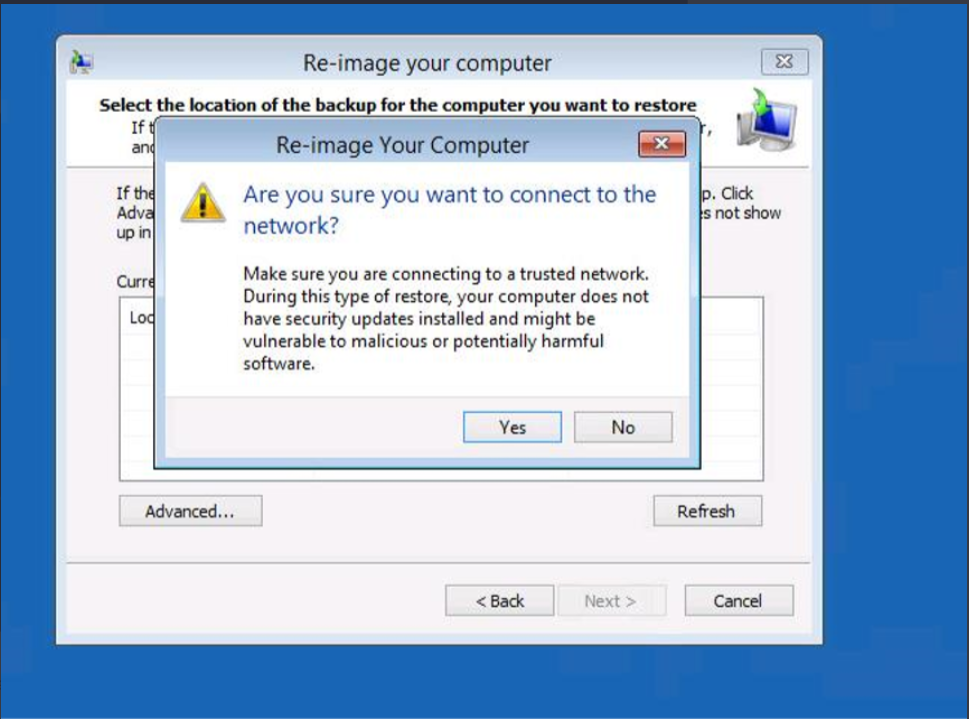
- Confirm that you want to connect to the network by clicking Yes.
- WinPE is bringing up the network here. You'll need a DHCP server.
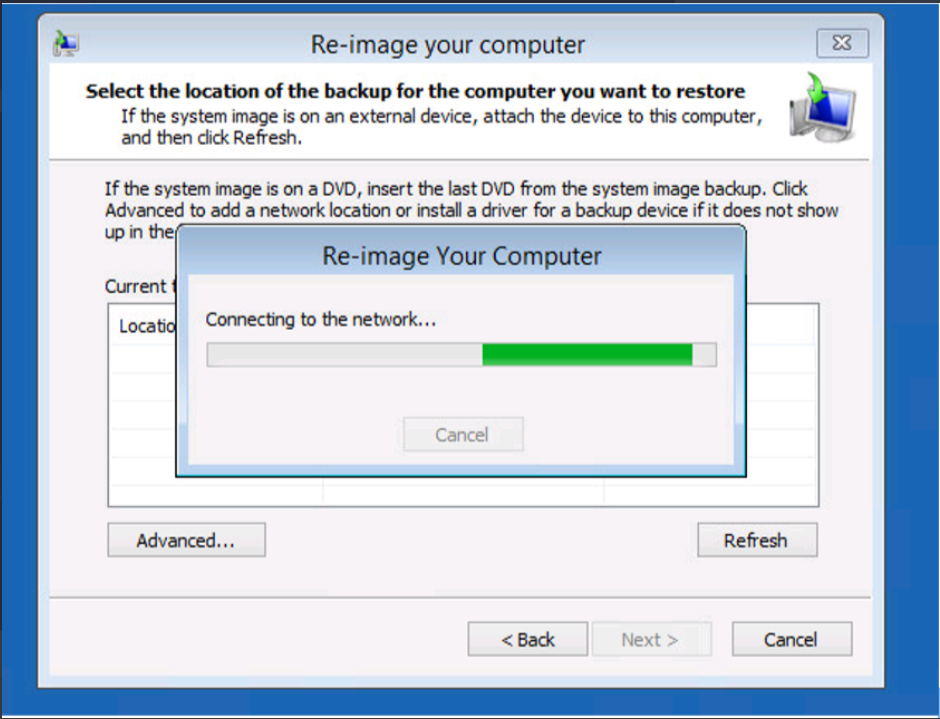
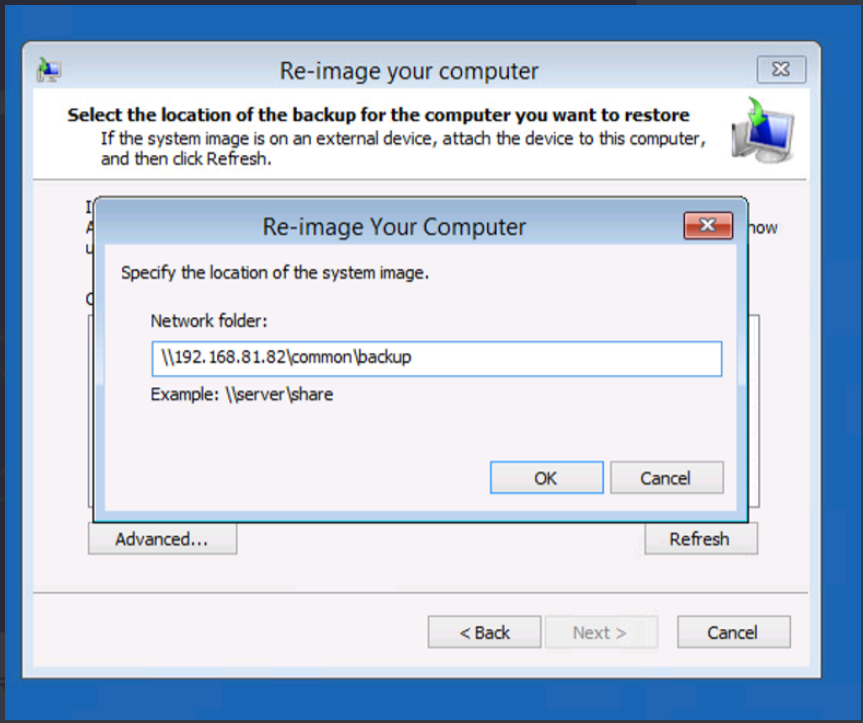
- When the network is up, type the network folder location for the backup file and click OK.
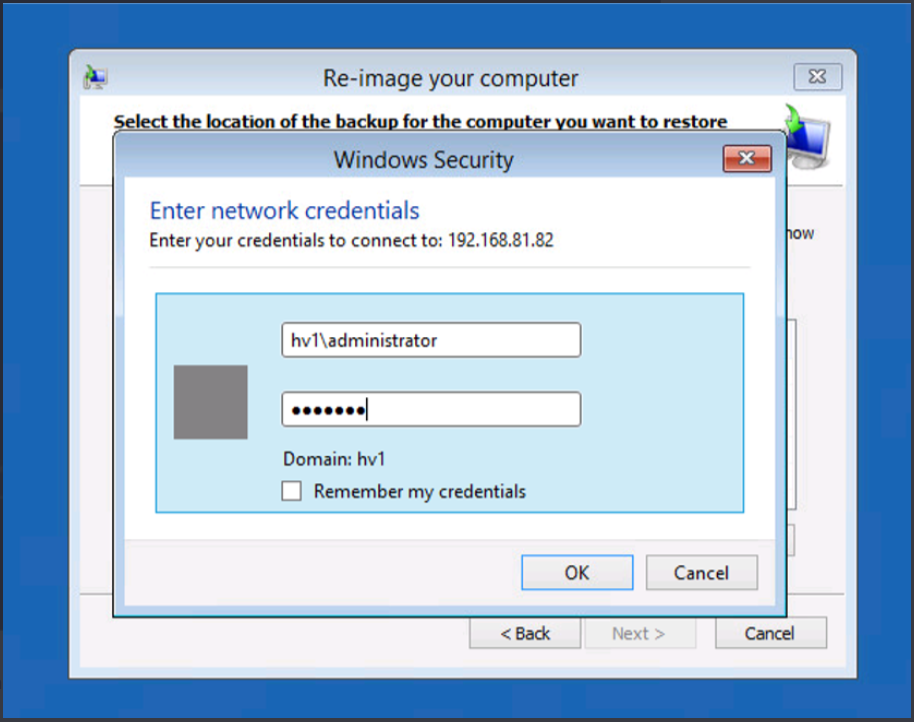
- You'll probably need to type in credentials. Click OK.
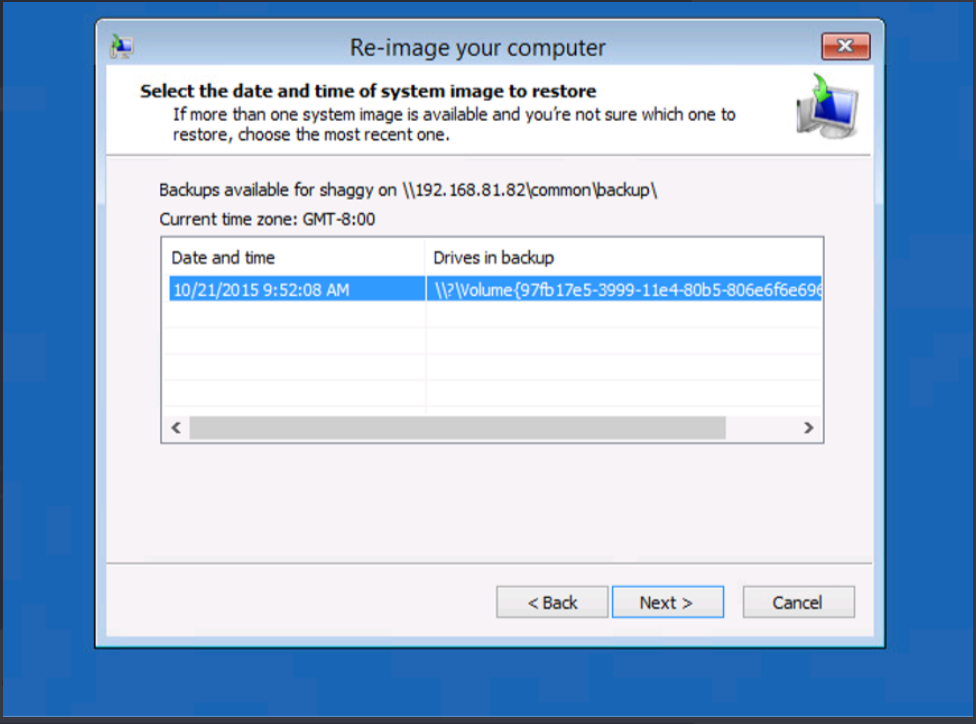
- Select a backup location.
- Click Next.
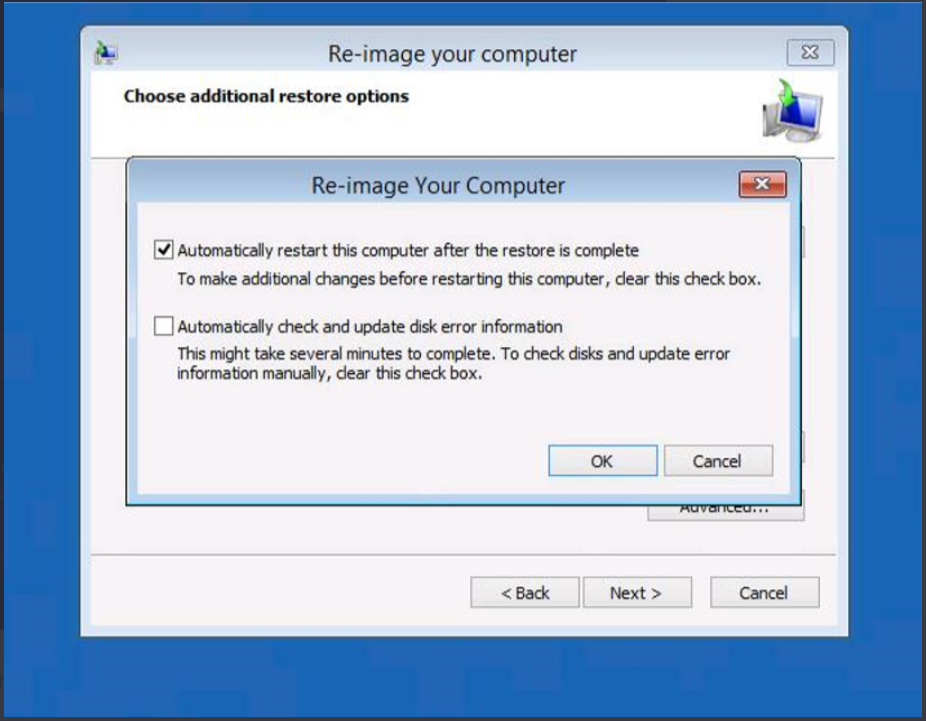
- Click on Advanced.
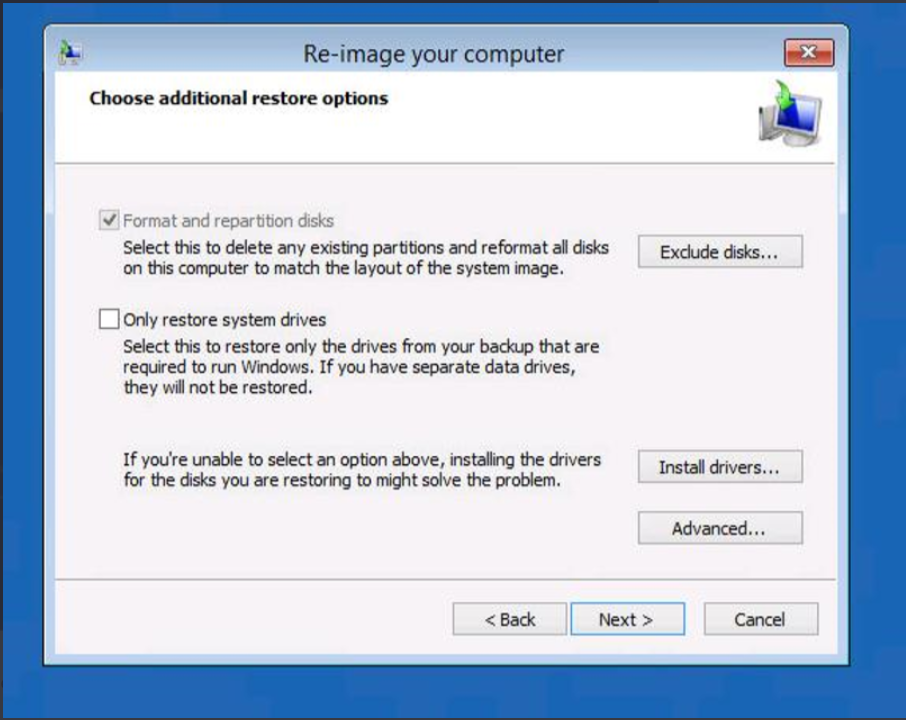
- Uncheck/disable the Automatically check and update disk error information option, then click OK and click Next.
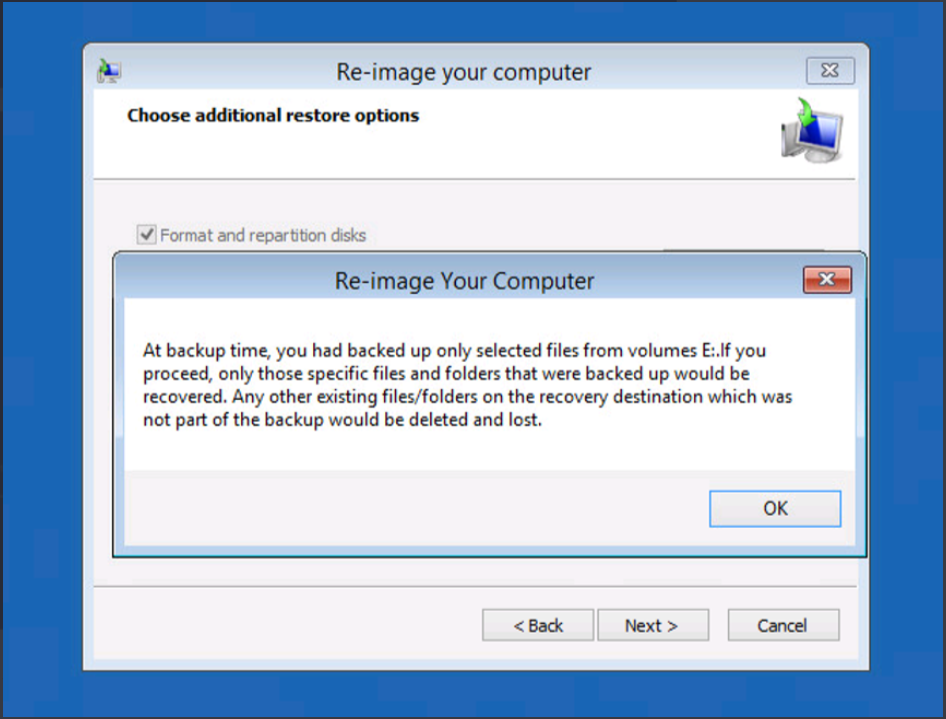
- Click OK and click Next once more.
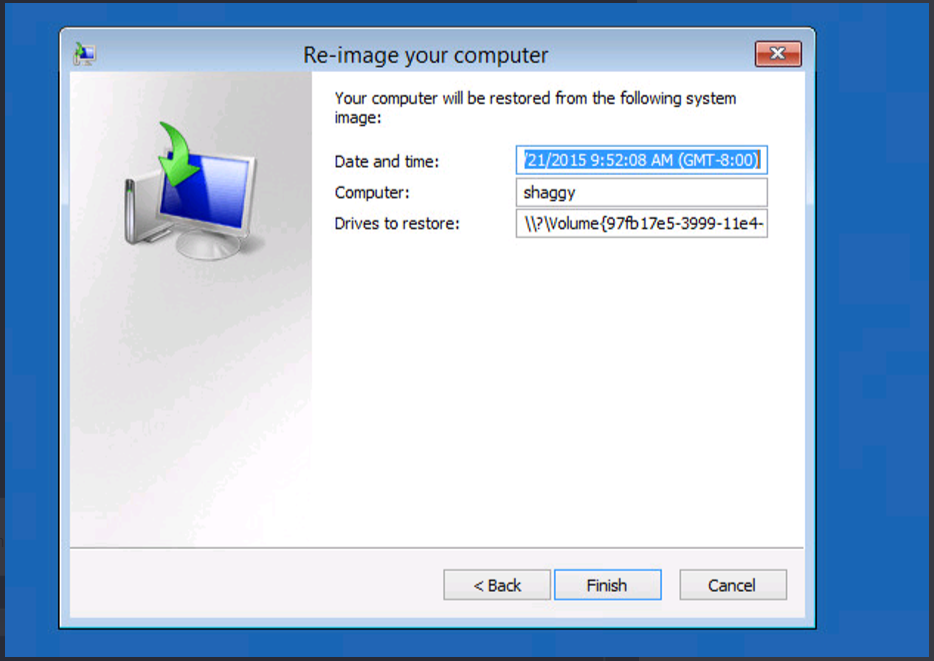
- Click Finish.
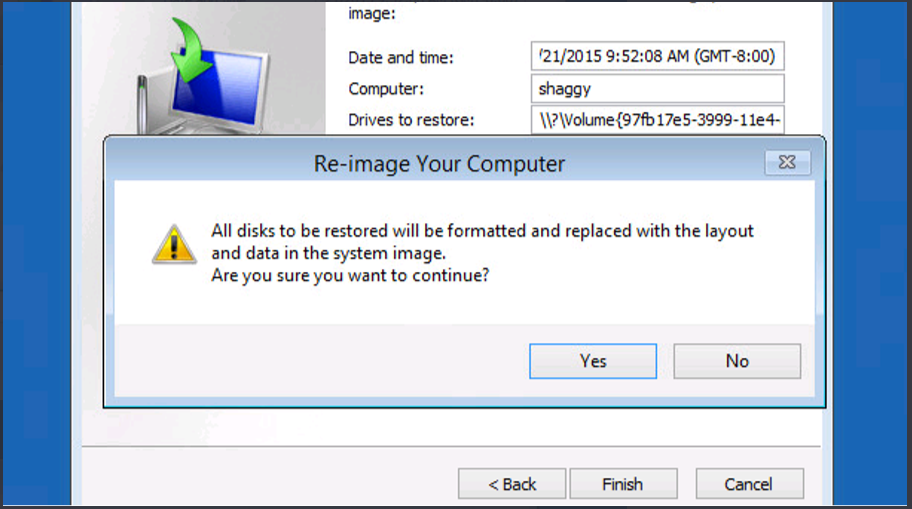
- Confirm that you sure you want to continue by clicking Yes.
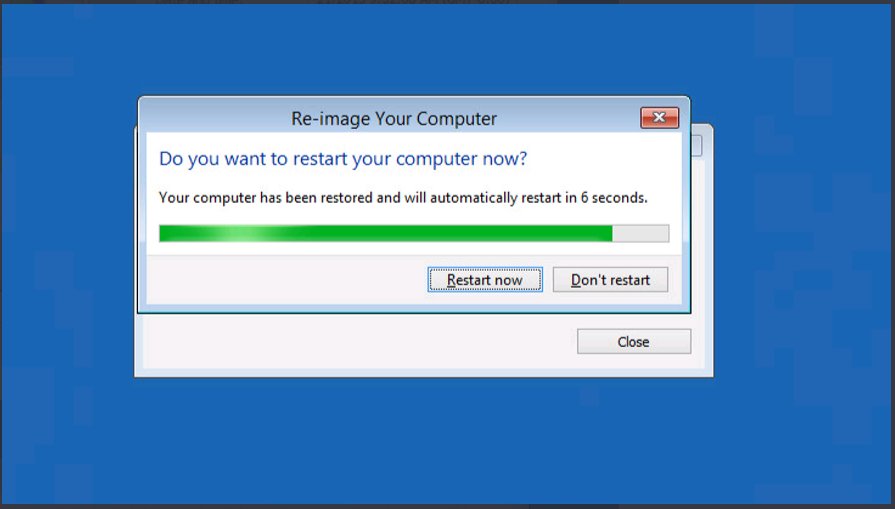
- When done, the computer asks for a restart. Click Restart Now.
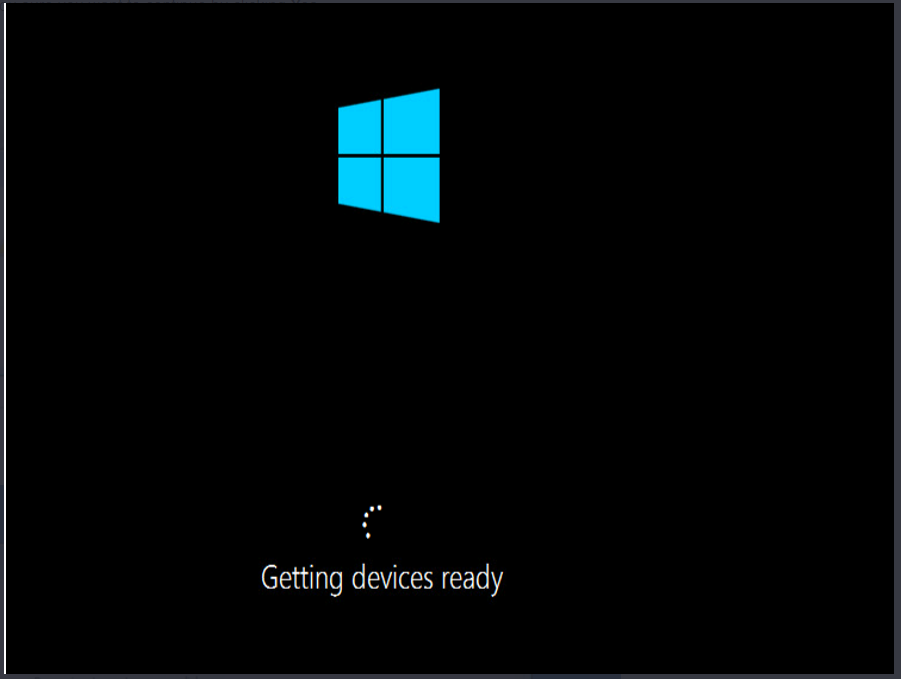
- There will be some PnP action on the pre-login screen because some new devices are discovered and installed. Once that's completed, login in Windows by using the same administrator name and password as the Primary.
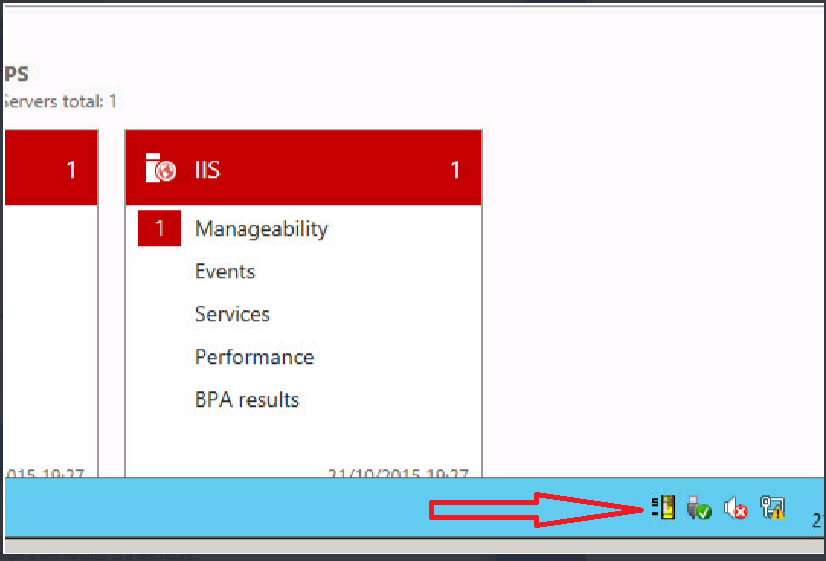
- The Neverfail system tray is showing the server as Secondary (S) and Passive (-).
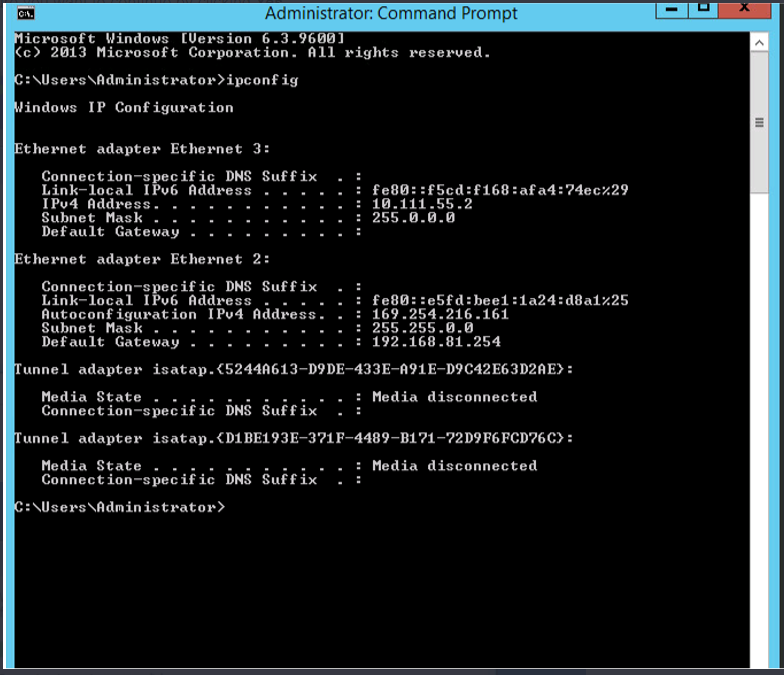
- Run an ipconfig /all command and check to make sure that one Network Adapter is configured with the Secondary channel IP address and the other Network Adapter shows an 169.254. IP address. This 169.254 IP address is to be expected because the Secondary server is passive.
- At this point you can click the Delete button in EMS so that the Primary server is reverted back to its normal settings.
- Now the EMS should be showing the cluster up and running and replicating
To Reclone Secondary or Tertiary server using automated Vmware.
- From the Actions menu, select Reclone Secondary Tertiary server. All IPs configured for the secondary and tertiary are retained.
-
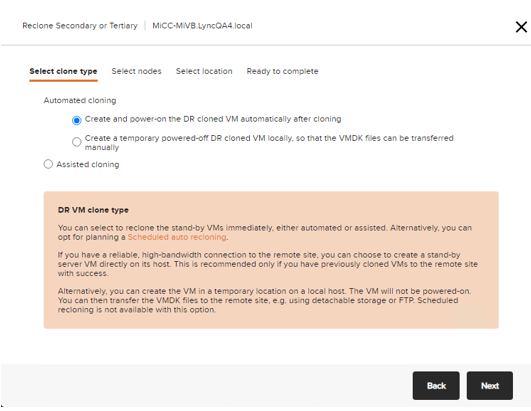
Select Automated cloning (requires vCenter) and then select Create and power-on the DR cloned VM automatically after cloning option and follow the instructions, if all the servers are on the same VMware.
-
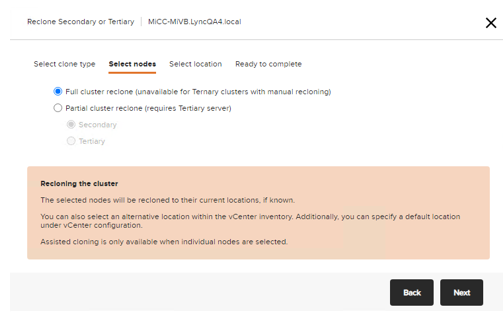
Click Full cluster reclone.
-
Enter the New locations and Finish.
- Select clone type to be Assisted(maual) Cloning.
Note: Assisted(maual) cloning cannot perform a full cluster reclone when a tertiary is configured. It clones only one at a time.
- If a Tertiary is configured, select Partial cluster reclone (requires Tertiary server) option and then select Secondary.
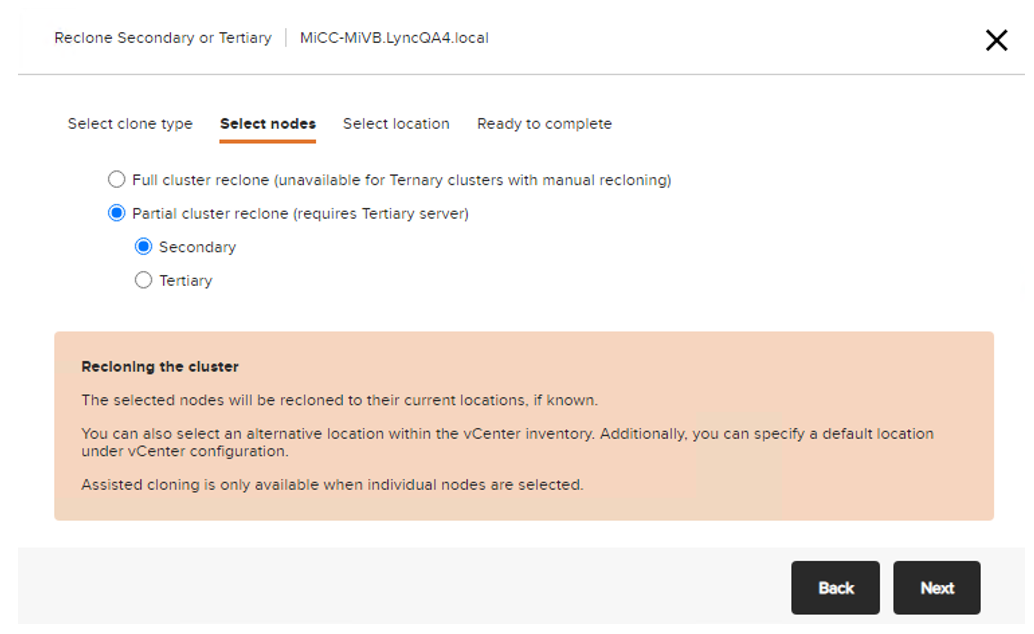
- Click Next and Enter the locations.
-
Select Finish.
-
When the Secondary clone is complete. Now clone the Primary server manually. Select Reclone Secondary or Tertiary server again.
-
Select Assisted(maual) Cloning again but select Partial cluster reclone and select Tertiary this time.
- Select Finish to complete.