This section describes how to configure and test Azure AD single sign-on with MiCloud Connect based on a test user named Britta Simon. For single sign-on to work, a link relationship between an Azure AD user and the related user in MiCloud Connect needs to be established.
To configure and test Azure AD single sign-on with MiCloud Connect, you need to complete the following steps:
Configure MiCloud Connect for Single Sign-On with Azure AD - to enable your users to use this feature and to configure the SSO settings on the application side.
Create an Azure AD Test User - to test Azure AD single sign-on with Britta Simon.
Assign the Azure AD Test User - to enable Britta Simon to use Azure AD single sign-on.
Create a Mitel MiCloud Connect Test User - to have a counterpart of Britta Simon on your MiCloud Connect account that is linked to the Azure AD representation of the user.
Test Single Sign-On - to verify that the configuration works.
Configure MiCloud Connect for Single Sign-On with Azure AD
This section describes how to enable Azure AD single sign-on for MiCloud Connect in the Azure portal and how to configure your MiCloud Connect account to allow SSO using Azure AD.
To configure MiCloud Connect with SSO for Azure AD, it is easiest to open the Azure portal and the Mitel Account portal side-by-side. You will need to copy some information from the Azure portal to the Mitel Account portal and some from the Mitel Account portal to the Azure portal.
To open the configuration page in the Azure portal, do the following:
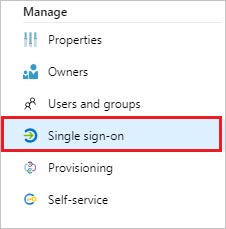
On the Mitel Connect application integration page, click Single sign-on.
In the Select a Single sign-on method dialog, click SAML.
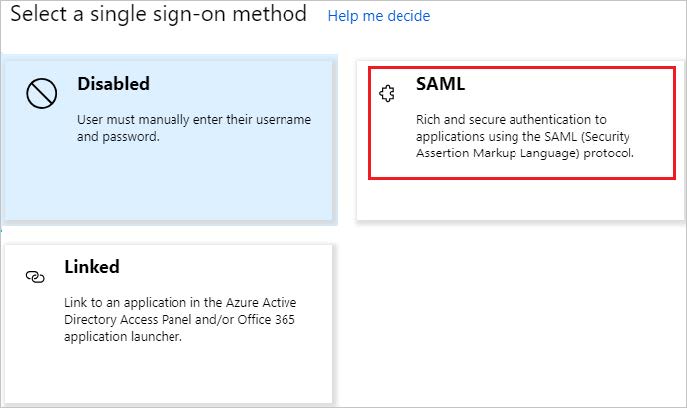
The SAML-based sign-on page is displayed.
To open the configuration dialog in the Mitel Account portal, do the following:
On the Phone System menu, click Add-On Features.
To the right of Single Sign-On, click Activate or Settings.
The Connect Single Sign-On Settings dialog box appears.
Select the Enable Single Sign-On check box.

In the Azure portal, click the Edit icon in the Basic SAML Configuration section.
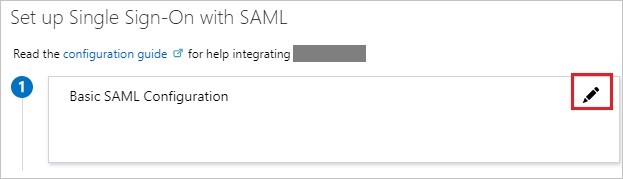
The Basic SAML Configuration dialog box appears.
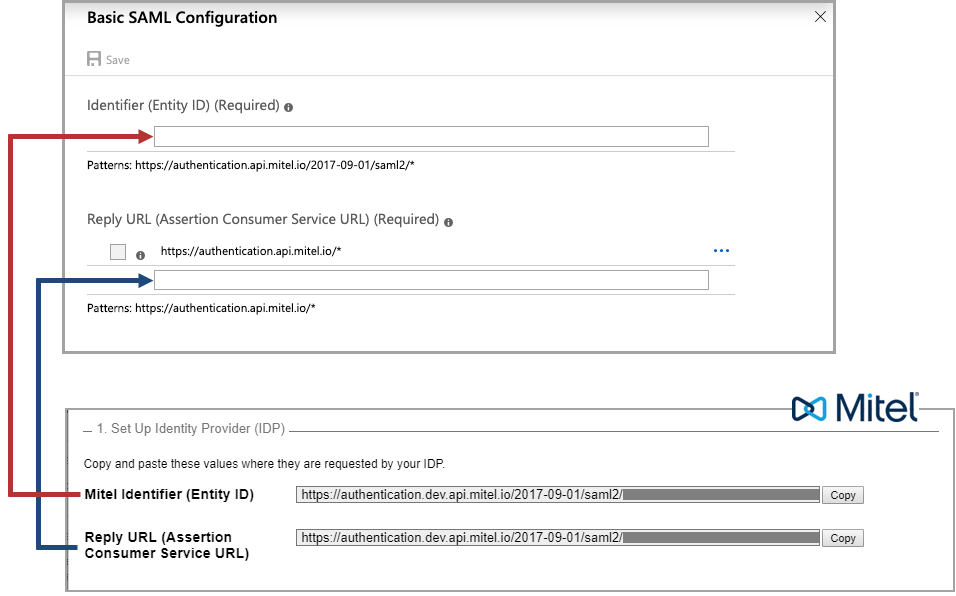
Copy the URL from the Mitel Identifier (Entity ID) field in the Mitel Account portal and paste it into the Identifier (Entity ID) field in the Azure portal.
Copy the URL from the Reply URL (Assertion Consumer Service URL) field in the Mitel Account portal and paste it into the Reply URL (Assertion Consumer Service URL) field in the Azure portal.
In the Sign on URL text box, type one of the following URLs:
NOTE: The default Mitel application is the application accessed when a user clicks on the Mitel Connect tile in the Access Panel. This is also the application accessed when performing a test setup from Azure AD.
https://portal.shoretelsky.com - for US and Canada accounts, to use the Mitel Account portal as your default Mitel application
https://portal.shoretel.eu - for UK accounts, to use the Mitel Account portal as your default Mitel application
https://portal.shoretel.com.au - for Australia accounts, to use the Mitel Account portal as your default Mitel application
https://teamwork.shoretel.com - to use Teamwork as your default Mitel application (Teamwork is supported in the US and Canada only)
Click Save in the Basic SAML Configuration dialog box in the Azure portal.
In the SAML Signing Certificate section on the SAML-based sign-on page in the Azure portal, click Download next to Certificate (Base64) to download the Signing Certificate and save it to your computer.
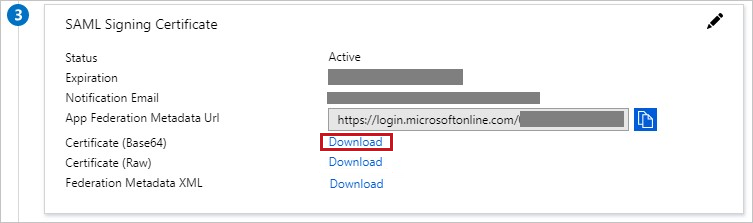
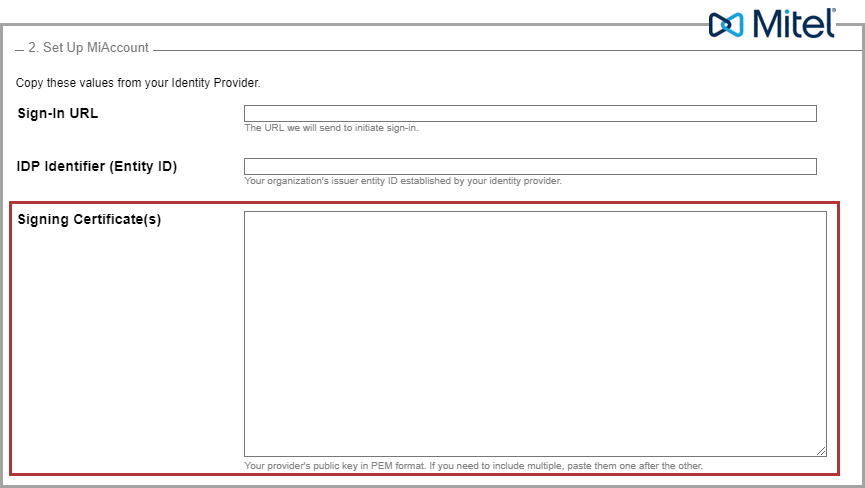
Open the Signing Certificate file in a text editor, copy all data in the file, and then paste the data in the Signing Certificate field in the Mitel Account portal.
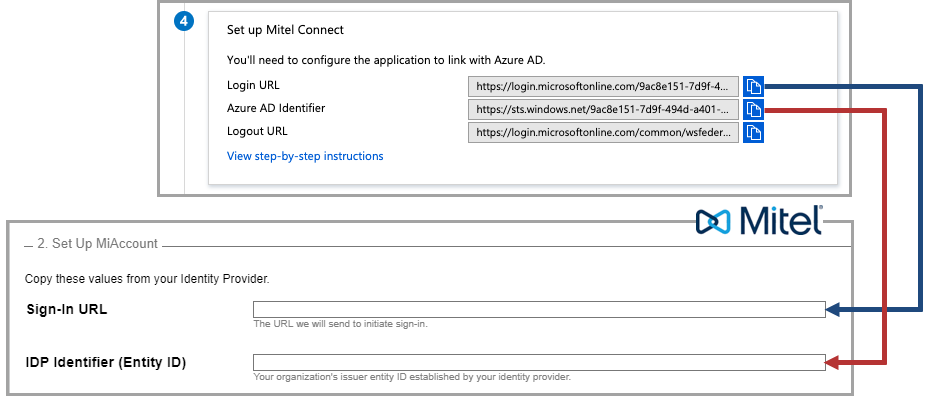
In the Set up Mitel Connect section on the SAML-based sign-on page of the Azure portal, do the following:
Copy the URL from the Login URL field and paste it into the Sign-in URL field in the Mitel Account portal.
Copy the URL from the Azure AD Identifier field and paste it into the IDP Identifier (Entity ID) field in the Mitel Account portal.
Click Save on the Connect Single Sign-On Settings dialog box in the Mitel Account portal.
Create an Azure AD Test User
This section describes how to create a test user named Britta Simon in the Azure portal.
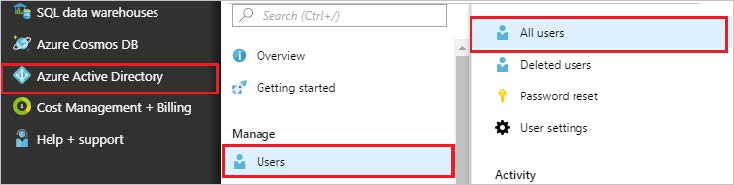
In the Azure portal, in the left pane, click Azure Active Directory, click Users, and then click All users.
Click New user at the top of the screen.

In the User properties dialog, perform the following steps:
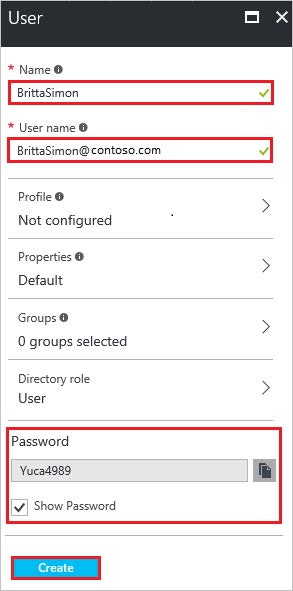
In the Name field, type BrittaSimon.
In the User name field, type brittasimon@<yourcompanydomain>.<extension>.
For example: BrittaSimon@contoso.com
Select the Show password check box, and then write down the value that is displayed in the Password box.
Click Create.
Assign the Azure AD Test User
This section describes how to enable Britta Simon to use Azure single sign-on by granting access to Mitel Connect.
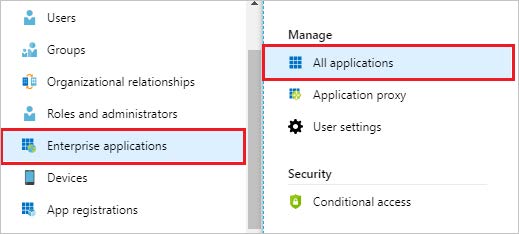
In the Azure portal, click Enterprise Applications, and then click All applications.
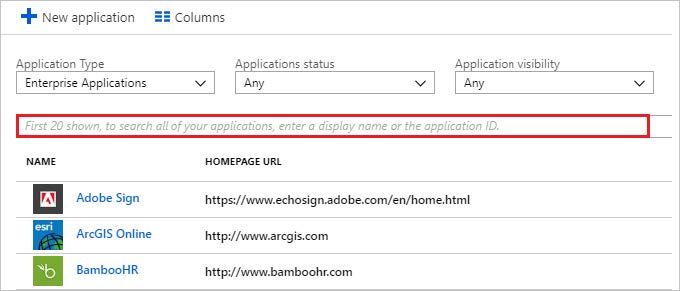
In the applications list, click Mitel Connect.
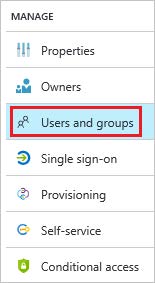
In the menu on the left, click Users and groups.
Click Add user, then click Users and groups in the Add Assignment dialog.
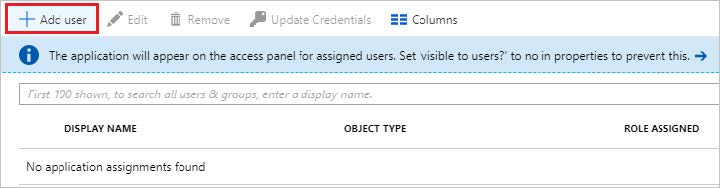
In the Users and groups dialog, select Britta Simon in the Users list, then click Select at the bottom of the screen.
If you are expecting any role value in the SAML assertion, select the appropriate role for the user from the list in the Select Role dialog, and then click Select at the bottom of the screen.
In the Add Assignment dialog, click Assign.
Create a MiCloud Connect Test User
This section describes how to create a user named Britta Simon on your MiCloud Connect account. Users must be created and activated before using single sign-on.
For details about adding users in the Mitel Account portal, see Adding a User.
Create a user on your MiCloud Connect account with the following details:
Name: Britta Simon
Business Email Address: brittasimon@<yourcompanydomain>.<extension>
Example: brittasimon@contoso.com
Username: brittasimon@<yourcompanydomain>.<extension>
Example: brittasimon@contoso.com; the user's username is typically the same as the user's business email address
NOTE: The user's MiCloud Connect username must be identical to the user's email address in Azure.
Test Single Sign-On
This section describes how to test your Azure AD single sign-on configuration using the Access Panel.
When you click the Mitel Connect tile in the Access Panel, you should be automatically redirected to sign in to the MiCloud Connect application you configured as your default in the Sign on URL field. For more information about the Access Panel, see Introduction to the Access Panel.