Enabling the Unify Phone integration in a customer account
After adding the Unify Phone integration to a customer account, you need to provide
the necessary details to enable the integration. You can either enter the details of an
existing Unify Phone tenant or the information required to create a new tenant.
Regardless of the option selected, the tenant will be linked to the customer’s CloudLink
account at the end of the process.
-
Link a pre-existing Unify Phone tenant if Unify Phone is already configured to work with an OpenScape PBX (such as OpenScape Business), and you want to enable CloudLink Chat within the Unify Phone application.
- Create a new Unify Phone tenant if the customer uses a MiVoice PBX (such as MiVoice 5000), and you want users in the CloudLink account to be able to access the Unify Phone application.
Perform the following steps to enable the integration:
-
If you are on-boarding a pre-existing tenant:
-
Select the Are you onboarding a pre-existing
tenant? checkbox.
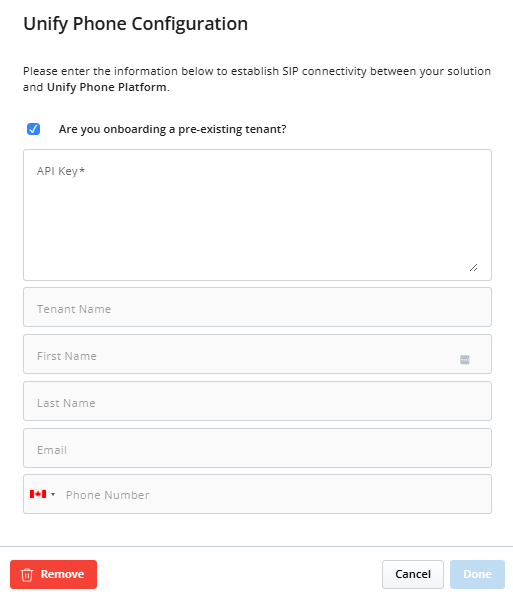 The API Key* field appears, and all other input fields are disabled.
-
Select the Are you onboarding a pre-existing
tenant? checkbox.
-
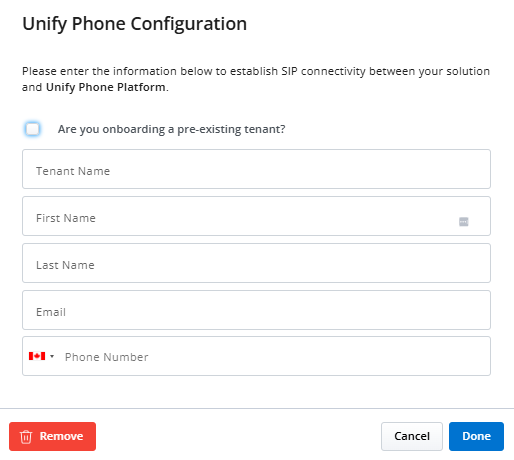
If you are creating a new Unify Phone tenant:
-
Make sure the Are you onboarding a pre-existing
tenant? checkbox is not selected.
-
Make sure the Are you onboarding a pre-existing
tenant? checkbox is not selected.
Note:
Once the Unify Phone integration is enabled, the tenant details—whether pre-existing or new—cannot be edited. If you need to update the tenant details, you must first remove the integration, then add it back and enable the integration again by providing the correct information.
↑