Register and Install the MiTeam Meetings Application
Note: The following procedure applies only to users who do not have Single Sign-On (SSO) configured for their Mitel account. Users who have SSO configured by their IT administrator need not register their information with Mitel. They can use the SSO functionality to access the application. For more information, contact your IT administrator or see Configuring Single Sign-On for CloudLink with Microsoft Azure AD.
Before you log in to the application for the first time, you must register and set up your Mitel One account. Perform the following steps to set up your account.
- Ensure that you have received an e-mail bearing the subject line ‘Welcome to MiTeam Meetings’ from no-reply@mitel.io. This is a verification e-mail sent to you when the administrator selects you as a user while deploying the MiTeam Meetings application. If you do not find this e-mail in your mailbox, check your Junk or Spam folders for recent e-mails sent to you from no-reply@mitel.io.
Note: The link provided in the welcome email will expire after 4 days and can be used only once.
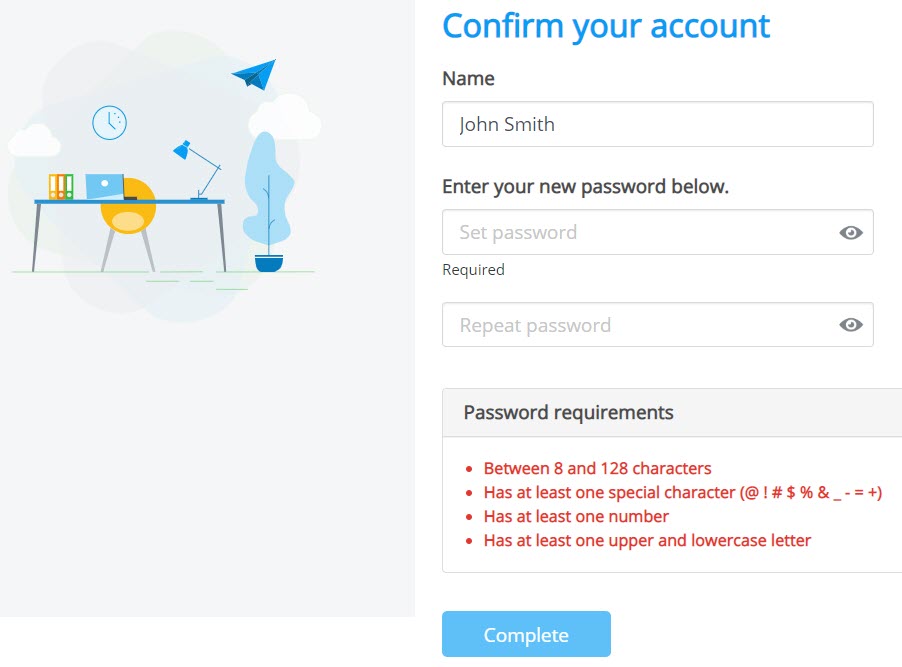
- The verification e-mail includes a Finish building your account button. Pressing this button takes you to the Mitel user confirmation page, where you must provide some details to complete the account registration process.

- In the Name field, enter your name. This is the name that will be visible to other users when you use the application. Create a new password for MiTeam Meetings and click Complete after accepting the terms and conditions to complete the account registration process.
Note: The password must contain at least 8 characters.
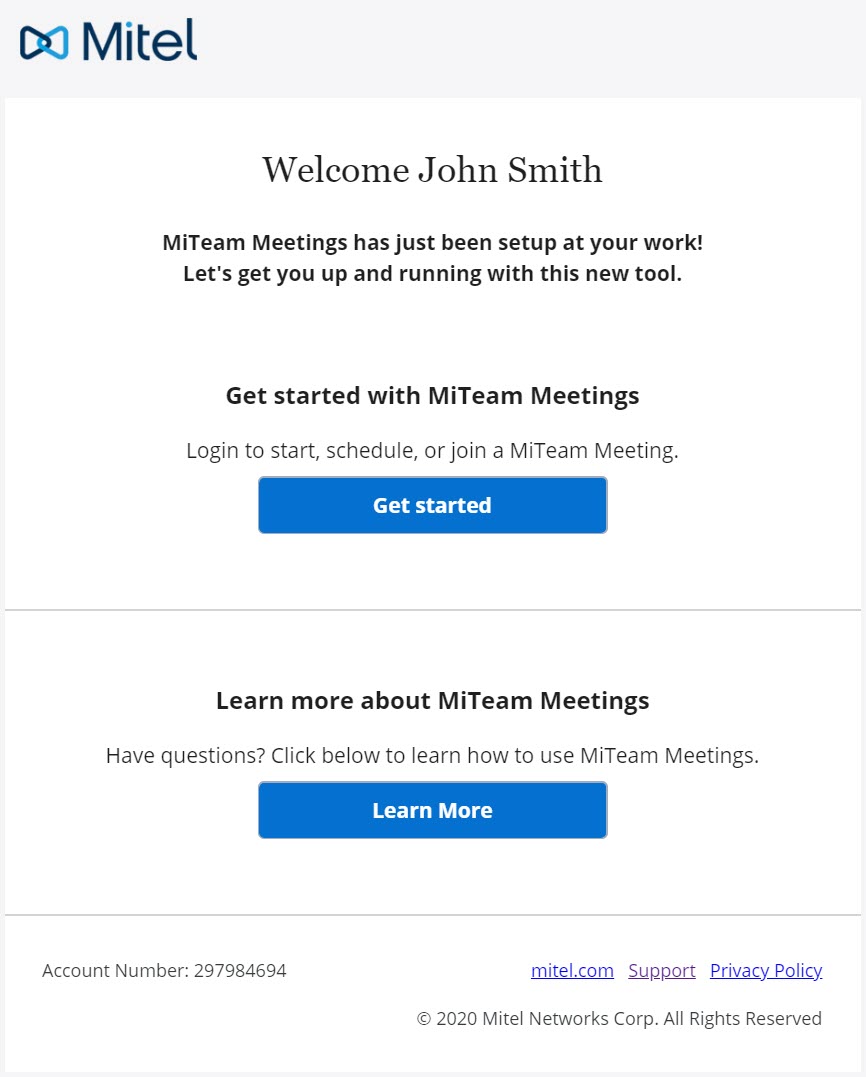
After you have successfully registered your account, you will receive another email from no-reply@mitel.io. Click Get started to access the MiTeam Meetings web application, and click Learn more to open the MiTeam Meetings help documentation.
To access the Welcome page:
- As a guest user, click on any meeting link received in the email. The Welcome page opens.
- As a registered user, log in to the MiTeam Meetings web application, and click on any meeting from the My Meetings list. Click the JOIN button that is displayed in the side panel. The Welcome page opens.
↑