MiCollab for Web Client
- Open the Web Client URL from the welcome e-mail message.
- Click Accept on the license agreement screen.
- Enter the Login ID and the Password provided in the welcome e-mail message.
- Click Login.
CloudLink-based Authentication
- Open the MiCollab Client.
- Click Accept on the license agreement screen.
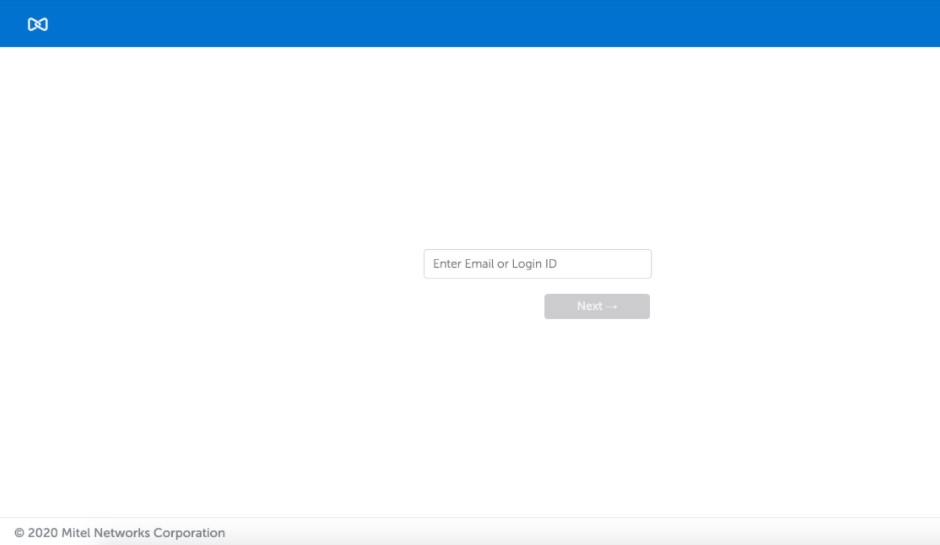
- Enter the Email ID or login ID (received in MiCollab Welcome email) and click Next.
Note: The login page displays only the username field.
- If CloudLink-based Authentication is enabled, the MiCollab server will proceed for subsequent login through the CloudLink Unified login page.
- If Azure AD is not integrated: In the CloudLink Authorization page, use your CloudLink password. This password must be setup with the help of CloudLink welcome email. Check emails from no-reply@mitel.io to setup your password if not done already.
- If Azure AD is integrated: In the CloudLink Authorization page, use your enterprise credentials to login.
Note: The E-mail is auto-populated on the CloudLink Sign-in page.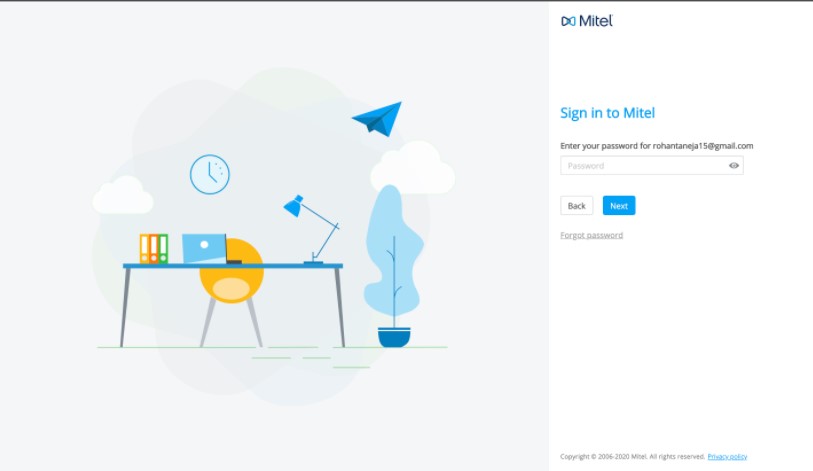 Note: If CloudLink-based Authentication is not enabled, then following authentication page is displayed. Enter the password to log in to your MiCollab Client.
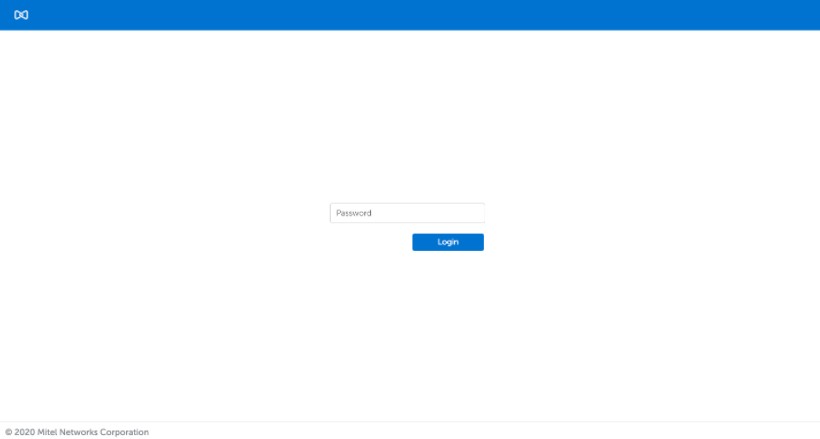
- On successful password authentication, you might be prompted to enter a second-factor authentication code, for example, OTP (based on Multifactor Authentication configuration done on Azure AD behind CL platform).
- After the successful multifactor authentication, the Client is presented with the progressing screen followed by MiCollab Home Screen. With this the CloudLink-based authentication is complete and you can use the MiCollab Client features.