- Collaborate: Perform audio, video, and web sharing
- Chat: Hold chat sessions and receive chat notifications within the meeting
- File Sharing: Store and share files
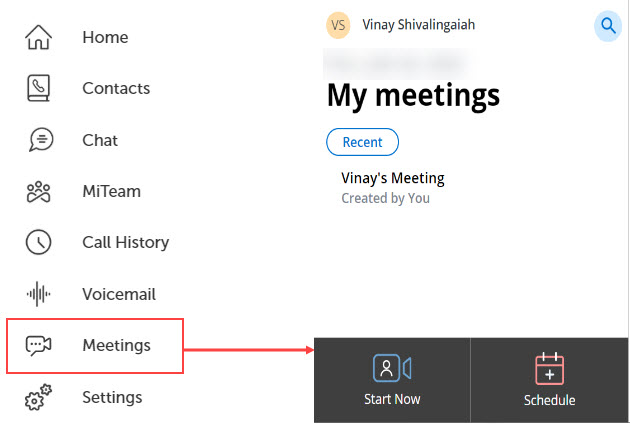
Launching Meetings application
- If you are using MiCollab Web Client, then Meetings web application is launched.
To log in and log out of the MiTeam Meetings application, see the MiTeam Meetings online help.
Using the Single Sign-On feature you can log in to your MiCollab Client and then use the Meetings application without signing on again. If you are logged in to MiCollab Client (PC, MAC, or Web Client) through the CloudLink Unified login page, clicking the Meetings option will automatically log you into Meetings and opens the Meetings application. For more details on how to log in to the MiCollab Client application, see Log in to MiCollab Client.
- Push Notification on MiCollab for Mobile Client (iOS and Android)
- Background Notifications on MiCollab Client (PC, Mac, and Web).
Creating a Meeting
- right-click the contact and select Video Meet.
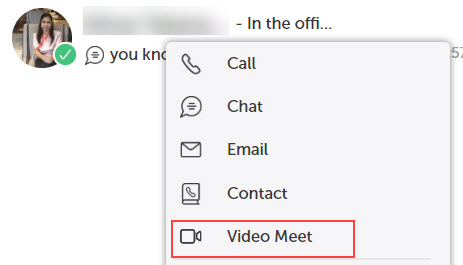
- hover over or right-click the contact from inbox, home shortcuts, Contacts menu, contact card, call history, or voicemail and then select the Video Meet option.

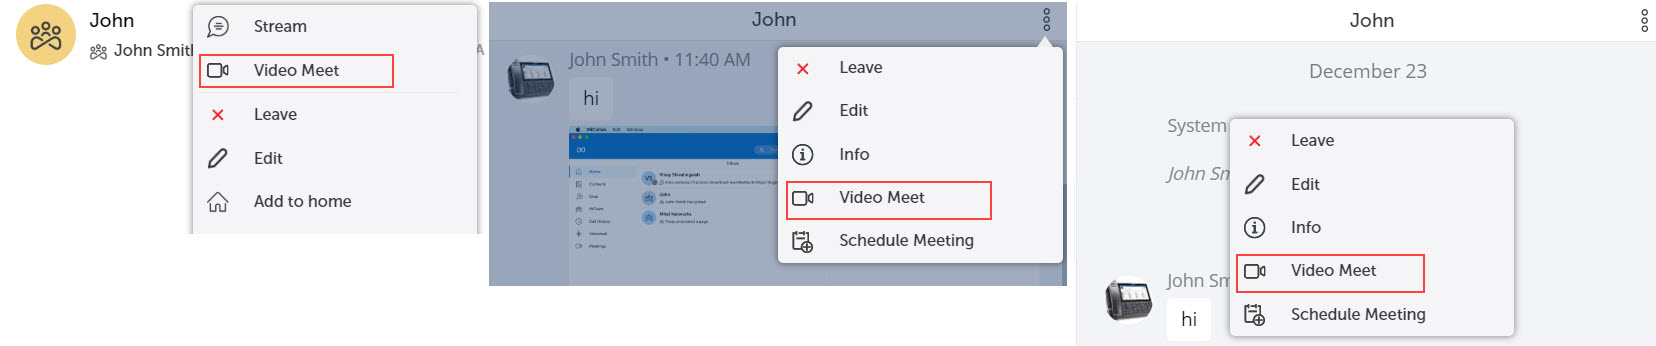
- right-click the MiTeam Stream and select Video Meet. Also you can click the more (
 ) menu or right-click the empty Streams screen and select Video Meet.
To create a Meeting from the MiCollab Mobile Client, click the Meetings option from the left menu, which will open up the Meeting application (mobile application-if installed otherwise web version) through which the user can create a meeting.
Scheduling a Meeting (only on PC, Mac, and Web)
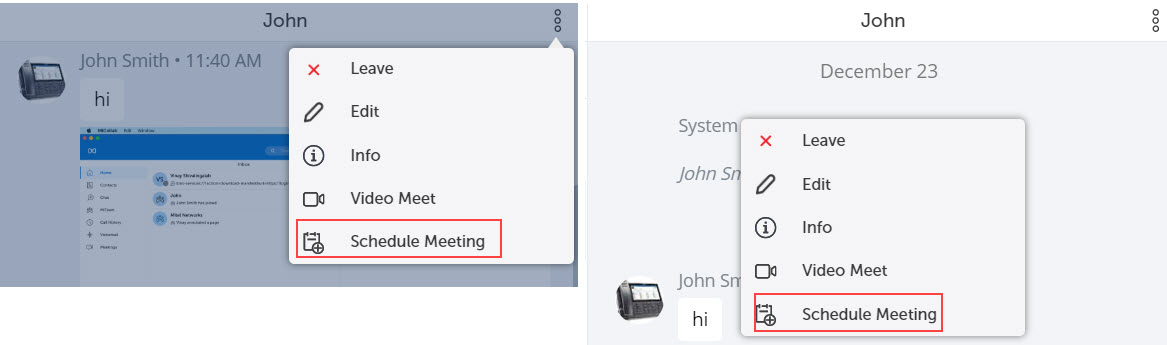
- click within the chat session and select Schedule Meeting from the more ( ) menu or right-click within the chat session and select Schedule Meeting.
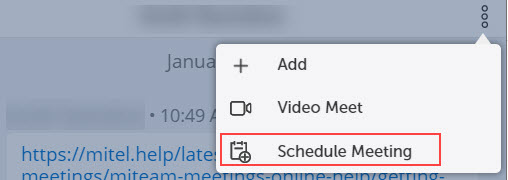
- click within the MiTeam Stream and select Schedule Meeting from the more ( ) menu or right-click the MiTeam Stream within the chat window and select Schedule Meeting.
Escalating an ongoing MiCollab audio call or a chat to Meeting
- From an ongoing MiCollab call (individual or conference call), click Screen Share. The Meetings application is launched with only screen sharing capability and the audio call will be continued through the MiCollab Client.
Note: Screen share is not available on MiCollab for Mobile Client.
- For CloudLink chat enabled users, a chat session will be created with all the users in MiCollab audio call and Join Now message is displayed in the chat conversation to join the meeting.
- For non-CloudLink users in the MiCollab call, they will receive a meeting invite in their e-mail inbox.
- For external/guest users, the initiator can invite them through the Meetings application by entering their e-mail address in the invite prompt.

OR - From a chat conversation (individual or group chat), hover over the contact or right-click from chat window and select Video Meet.
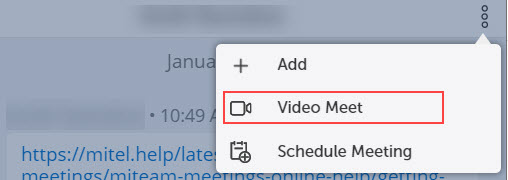
OR - Within the chat session select Video Meet from the more ( ) menu or right-click within the chat session and select Video Meet.
Joining a Meeting
- CloudLink chat enabled users can click the Join Now button in the MiCollab chat conversation to join the meeting.
Note: CloudLink users must set up their account when the Meetings application is cross-launched at first time. Follow the instructions given in the welcome e-mail to log in to the Meetings application.
- Non-CloudLink and Guest (personal and external contacts) users will receive a meeting invite in their e-mail inbox. Click the join meeting link to join the meeting.
CloudLink-based Authentication for Web Client
For using Cloudlink-based Authentication on the MiCollab client:
-
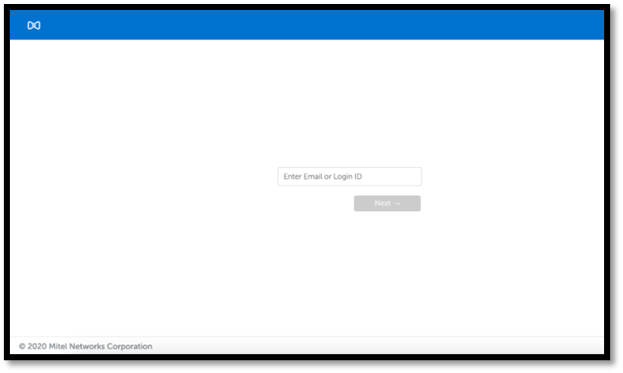
Open the MiCollab client in the web browser.
-
Enter the Email ID or login ID (received in MiCollab Welcome Email) and clickNext
-
If Cloudlink-based authentication is enabled for the user, the MiCollab client will proceed for subsequent login through the CloudLink Unified login page.
-
Azure AD is integrated: In the CloudLink Authorization page, use your enterprise credentials to login.
-
Azure AD is not integrated: In the CloudLink Authorization page, use your CloudLink password. This password must be setup with the help of CloudLink welcome Email. Check Emails from no-reply@mitel.io to setup your password if not done already.
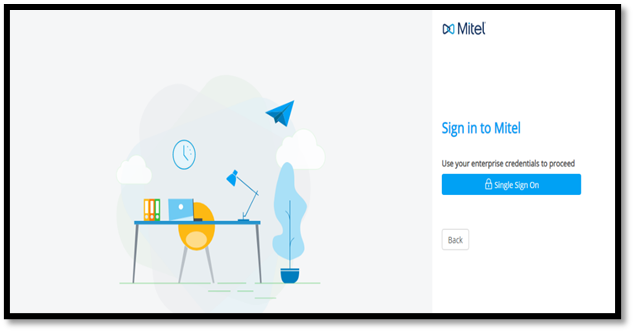
Note:The Email ID is auto-populated on the CloudLink Sign-in page.
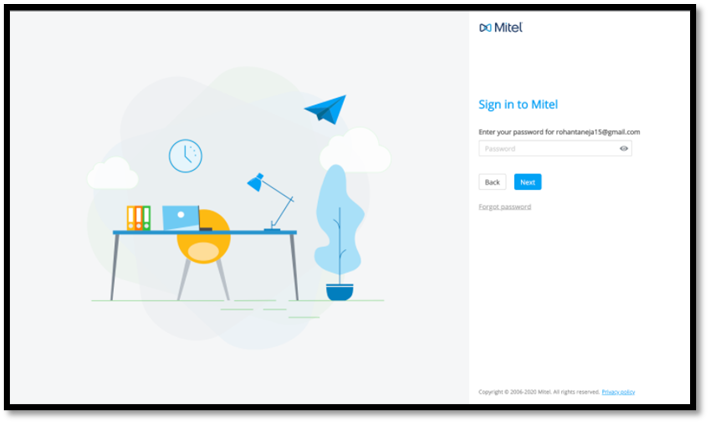
-
Azure AD is integrated along with the field Enable Mitel Credentials (optional) over CloudLink Portal: In the CloudLink authorization page, you can use the credentials which were used to verify the account over CloudLink Portal (check Emails from no-reply@mitel.io to setup your password)
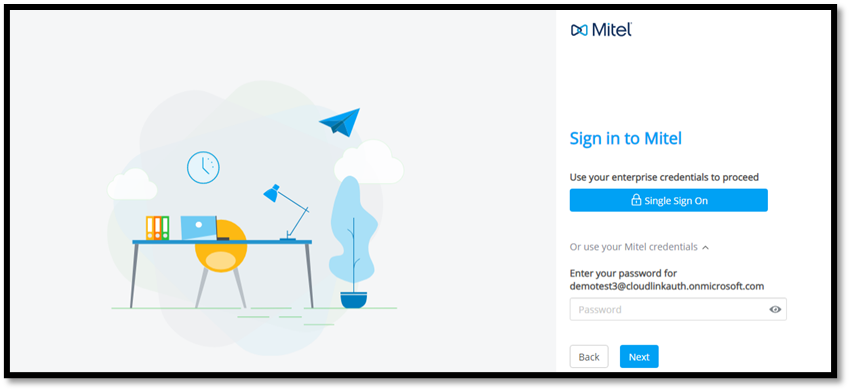
-
-
If CloudLink-based Authentication is not enabled, then the user proceeds for MiCollab Authentication, and on providing the Email/Login ID on the same page, next the password field opens.
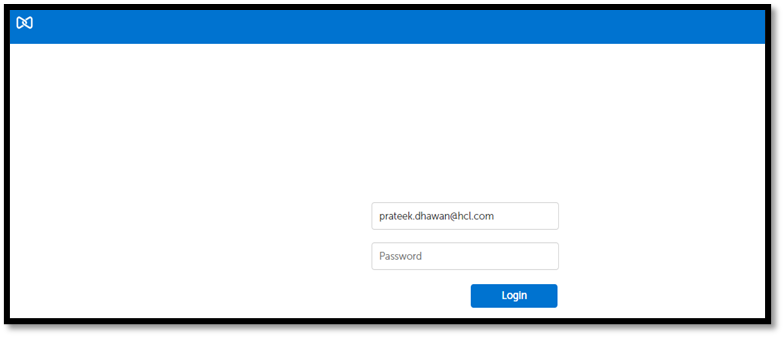
-
On successful password authentication, the user might be prompted to enter a second-factor authentication code, for example, OTP (based on Multifactor Authentication configuration done on Azure AD behind CL platform).
-
After the successful multifactor authentication, the client is presented with the progressing screen followed by MiCollab Home Screen.
With this the CloudLink-based authentication is complete and user can use the MiCollab Client features.
-
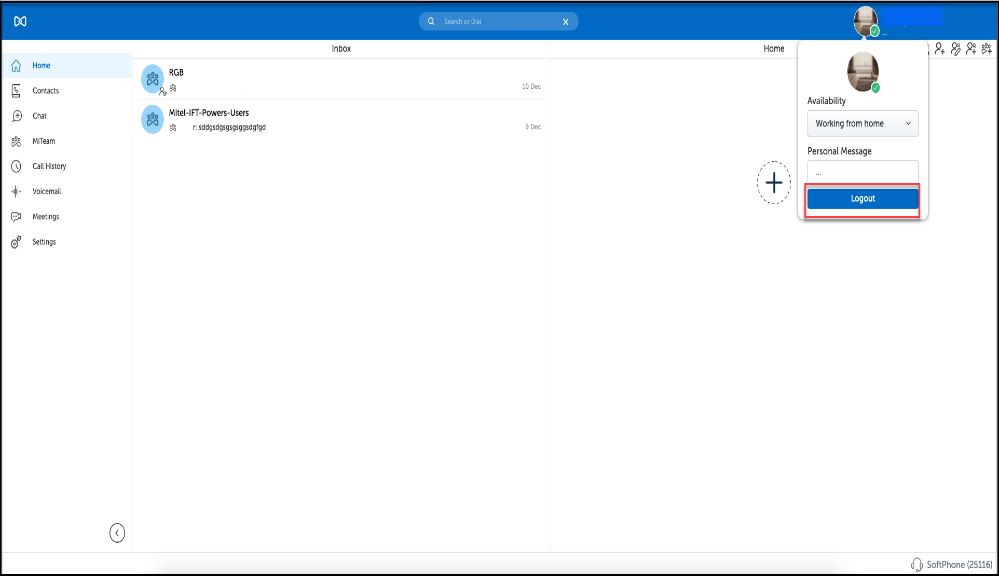
For CL authenticated users they can use the Logout functionality to logout of the Web client.