Use this procedure to configure a secure connection between integrated applications such as MiCollab Client and Google Apps such as Google Contacts or Google Calendar using the OAuth 2.0 protocol.
If OAuth 2.0 authorization is successful then Google will grant an access token to the application on the Mitel Standard Linux server. These tokens can be re-issued when they expire or if the project is changed in any way.
Create an API Project and Client ID in Google
-
Access the Google API console:
-
Open a web browser and navigate to https://code.google.com/apis/console.
-
Enter the domain administrator Email and password to log in.
-
-
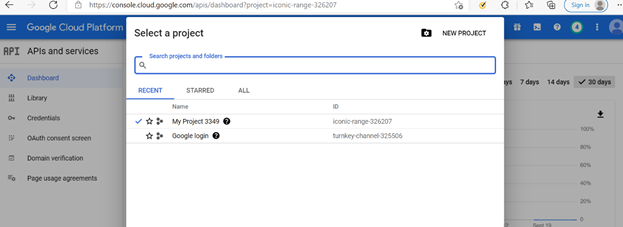
Create a new project and give it a name such as "NuPoint Advanced UM." Remain in the project.
-
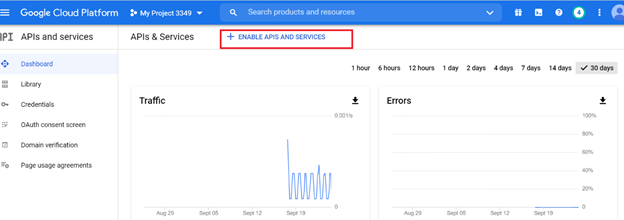
Enable Google APIs for the project:
-
Open the side menu and select API Manager.
-
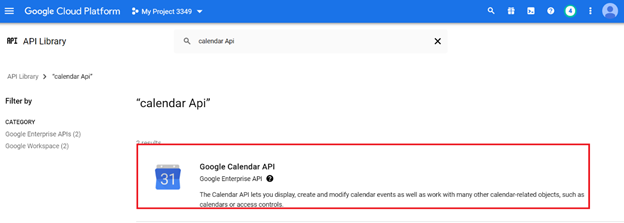
Select a Google API such as "Calendar API" and click Enable API.
-
Repeat for all Google APIs you want to support.
Note:The preceding instructions are provided as a guide only. For up-to-date instructions, refer to the Google online help: https://developers.google.com/workspace/guides/create-project.
-
-
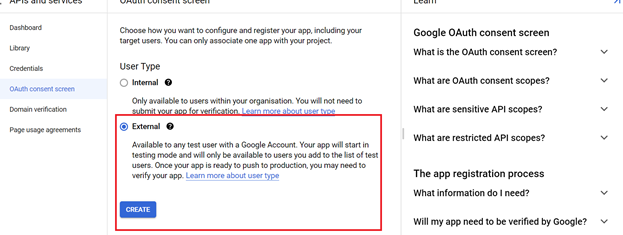
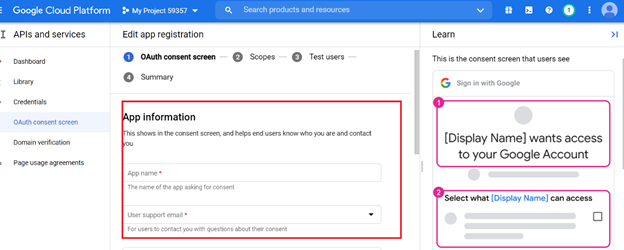
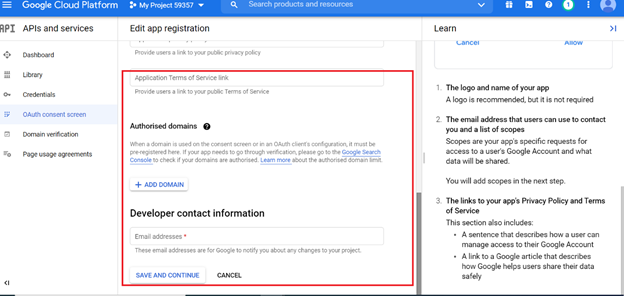
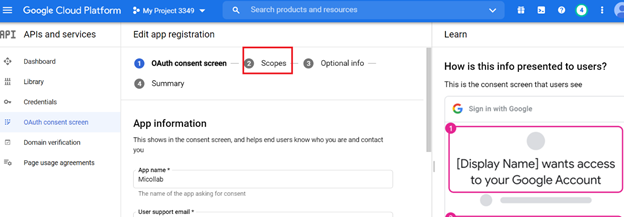
Configure the OAuth 2.0 consent screen.
To configure the OAuth consent screen, please follow the following link: https://developers.google.com/workspace/guides/create-credentials#configure_the_oauth_consent_screen.
 Note:
Note:Following scopes are required for Google Calendar API:
- /auth/calendar.readonly
- /auth/calendar.events.readonly
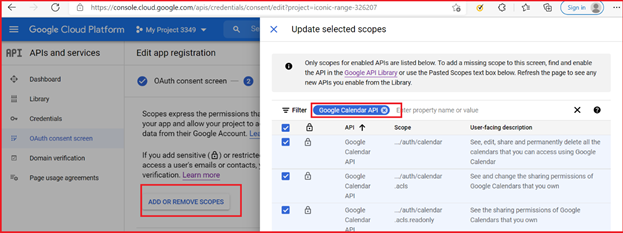
-
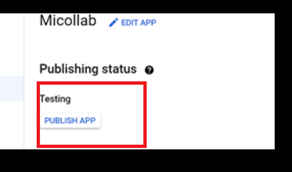
Publish the application.
-
Create the OAuth 2.0 Client ID and Secret for the project:
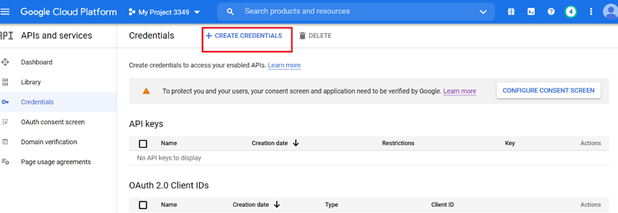
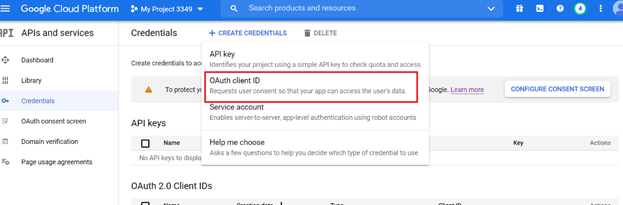
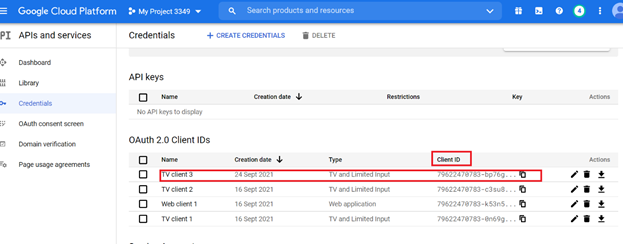
To create the OAuth 2.0 Client ID and Secret, please follow the following link: https://developers.google.com/workspace/guides/create-credentials#create_a_oauth_client_id_credential
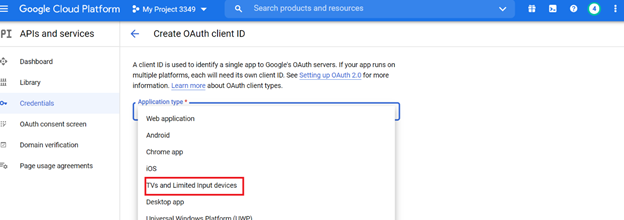
Note:For the Google Calendar API, please select Application type as TVs and Limited Input devices.
Google provides a Client ID and Client secret. Record them and the Product name for use in the next procedure.
Generate an Authorization Code in MSL
This procedure involves copying your OAuth 2.0 credentials (client ID and matching secret) from the Google APIs console to MSL, which generates an authorization code and then grants an access token. The application on the MSL server employs the access token to integrate with Google services.
-
Log in to the MSL Server Manager as "admin".
-
In the navigation tree, under Configuration, click Google Apps.
-
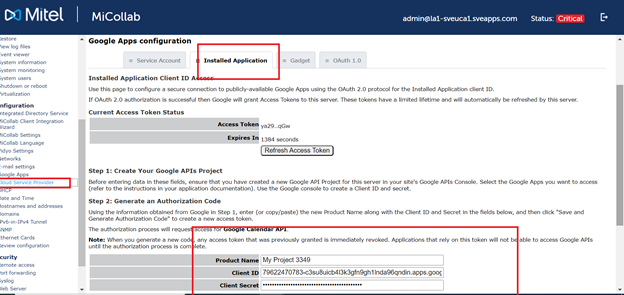
Select the Installed Applications tab.
-
Under Step 2, copy and paste the following from the Google APIs console:
-
Product Name
-
Client ID
-
Client secret
-
-
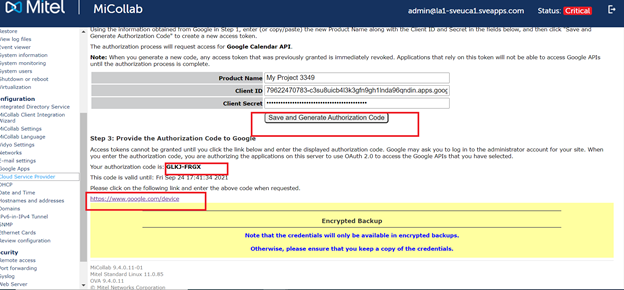
Click Save and Generate Authorization Code. The authorization code is generated and displayed. Remain on the Installed Applications tab in the MSL Server Manager.
-
Under Step 3, do the following:
-
Copy the authorization code.
-
Click the link provided to access the Google API console.
-
Allow Access Permission in Google
-
After clicking the link to access the Google API console, log in to your account.
-
Submit the authorization code to allow access in Google.
Google grants the access token, which enables MSL to access services in the API project. Note that after the access token is generated, the panel displays its current status (access token ID and expiry time in seconds).
-
The access token is valid only for the set of operations and resources described in the token request. For example, if an access token is issued for the Google Calendar API, it will not grant access to the Google GMail API.
-
If you regenerate the client ID and secret, you must then regenerate the authorization code in MSL.
-
If an access token expires or you wish to change the list of supported services, you can repeat the procedures to Create an API Project and Generate an Authorization Code.
-
OAauth 2.0 data is not included in system (MSL) backups. Accordingly, if you perform a backup and restore procedure, you must then re-enter the OAuth 2.0 data in order to restore the Google Apps integration.