User Profile Tab
The User Profile tab allows an administrator to set or configure user profiles for MiCollab Client Service.
With Centralized Client Management, the administrator can control/manage the Dynamic status, Auto Start settings for Windows PC clients, Calendar Integration and Set Advisory, and the Call Through functionality for the Mobile Clients. This gives the administrator the ability to add, delete or update the user profiles created from the MiCollab Client Service Admin portal.
With Release 9.3 onwards, when the system migrates with this feature, all the existing users will be moved or assigned under the default user profile. This will ensure that all the existing users/features will work as they were previous to Release 9.3 with no change. These default user profiles cannot be controlled by the administrator.
The administrator can control only the user profiles that are newly created from the MiCollab Client Service via the User Profile tab
-
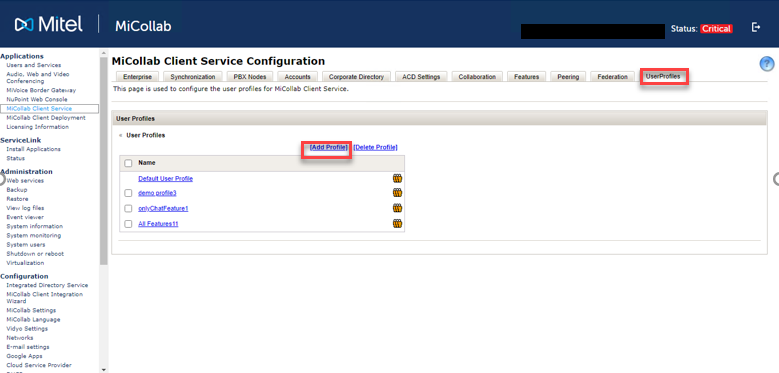
Navigate to Applications > MiCollab Client Service > User Profiles.
-
Under User Profiles, click on Add Profiles.
-
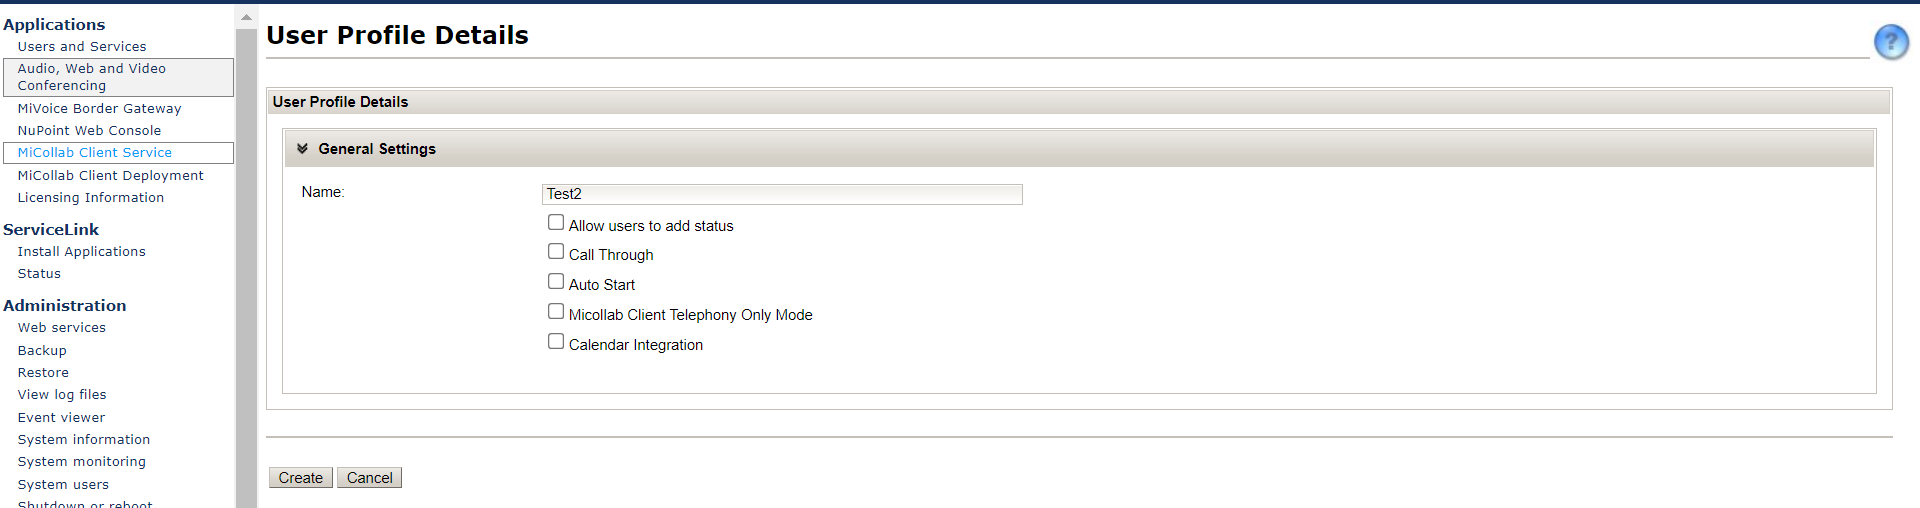
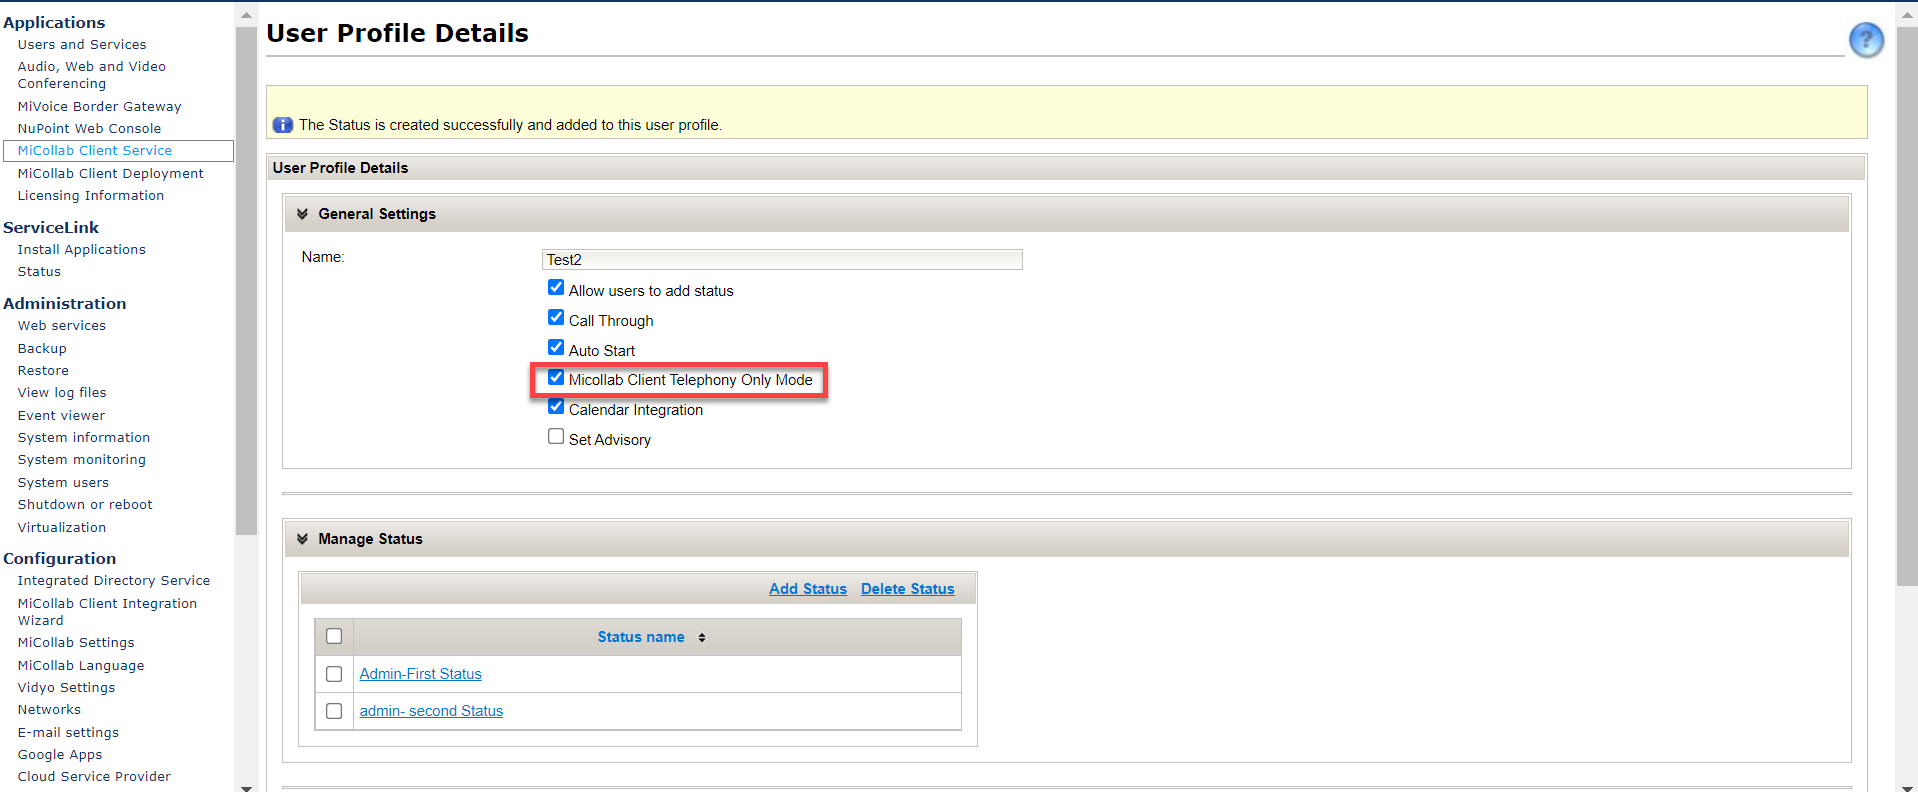
Enter the Name of the profile under General Settings.
-
Select the following options:
-
Allow the users to add status
-
Call Through
-
Auto Start
-
MiCollab Client Telephony Only Mode
-
Calendar Integration
-
Set Advisory
Note:The Allow users to add status option enables the user to add any user-defined dynamic status from the client-side. If this option is left unchecked, then the user cannot add a status by themselves.
Note:Calendar Integration and Set Advisory will appear when the Calendar Integration is enabled at Enterprise.
-
- Click Save.
To manage dynamic status:
The option Allow users to add status, under General settings, enables the user to add any user-defined dynamic status from the client-side. If this option is left unchecked in the MiCollab server, by the administrator, then the user cannot add a status by themselves. The dynamic statuses, if selected to be managed by the administrator, can be managed using the following procedure.
The Flexible CLI option will be editable by the end-users for the administrator provisioned dynamic statuses.
The Remote extension drop-down option will be editable for all the administrator provisioned dynamic statuses with MiVoice MX-One.
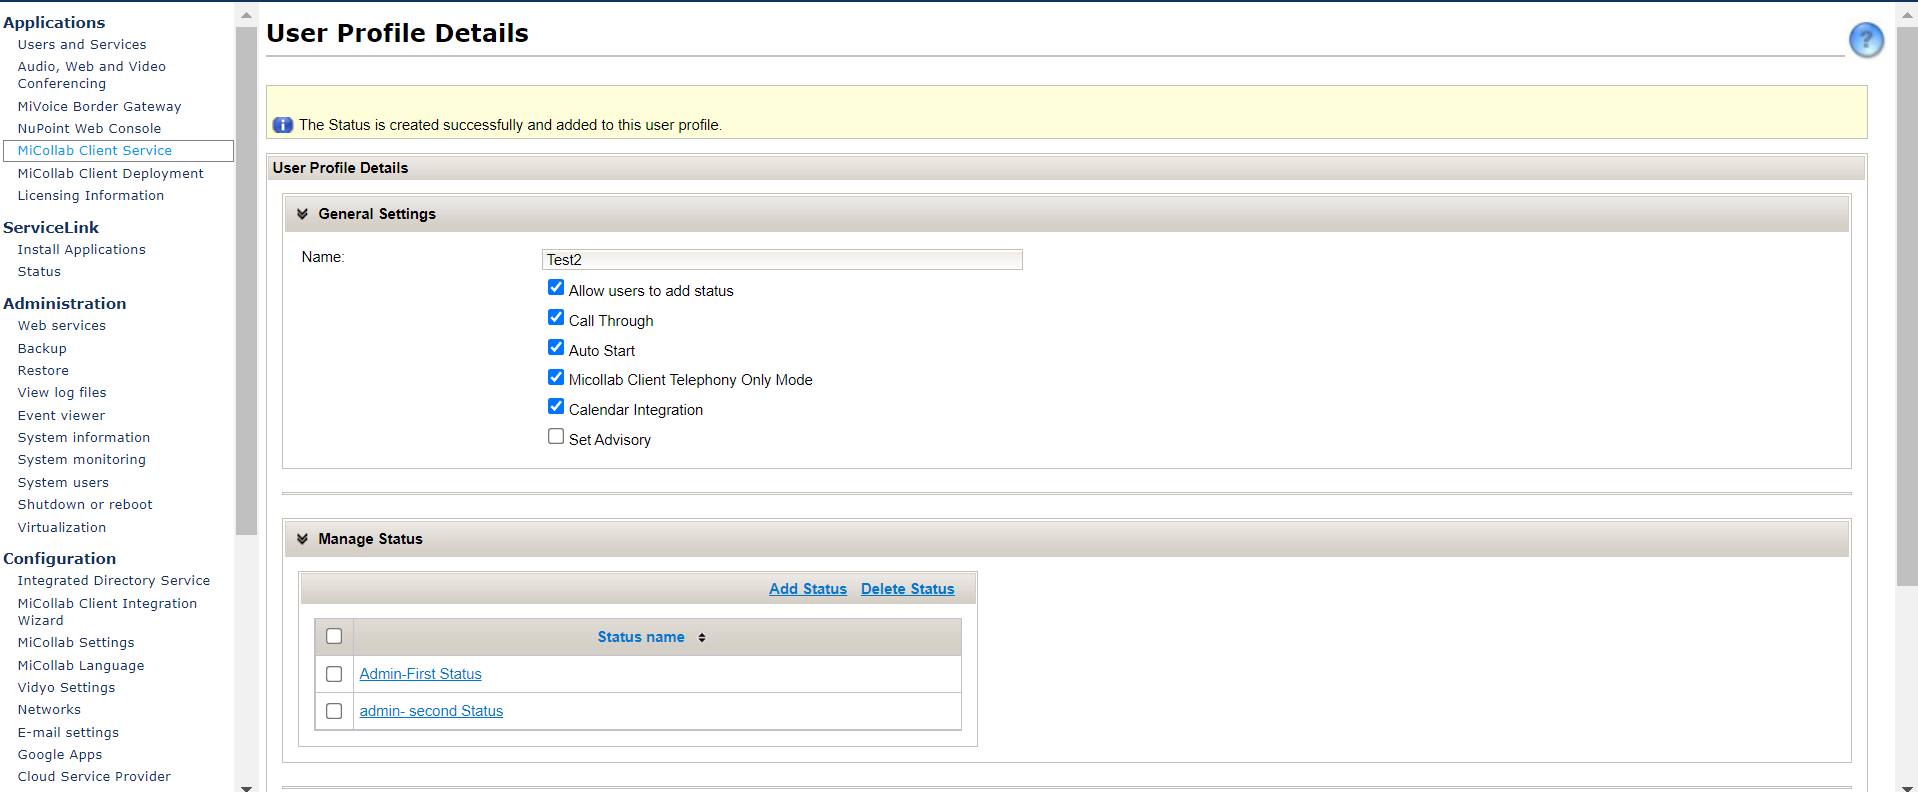
Once a user profile is added, the next steps to manage a status can be performed using the following steps:
-
Navigate to Applications > MiCollab Client Service > User Profiles.
-
Then go to, User Profiles > Manage Status > Add Status.
-
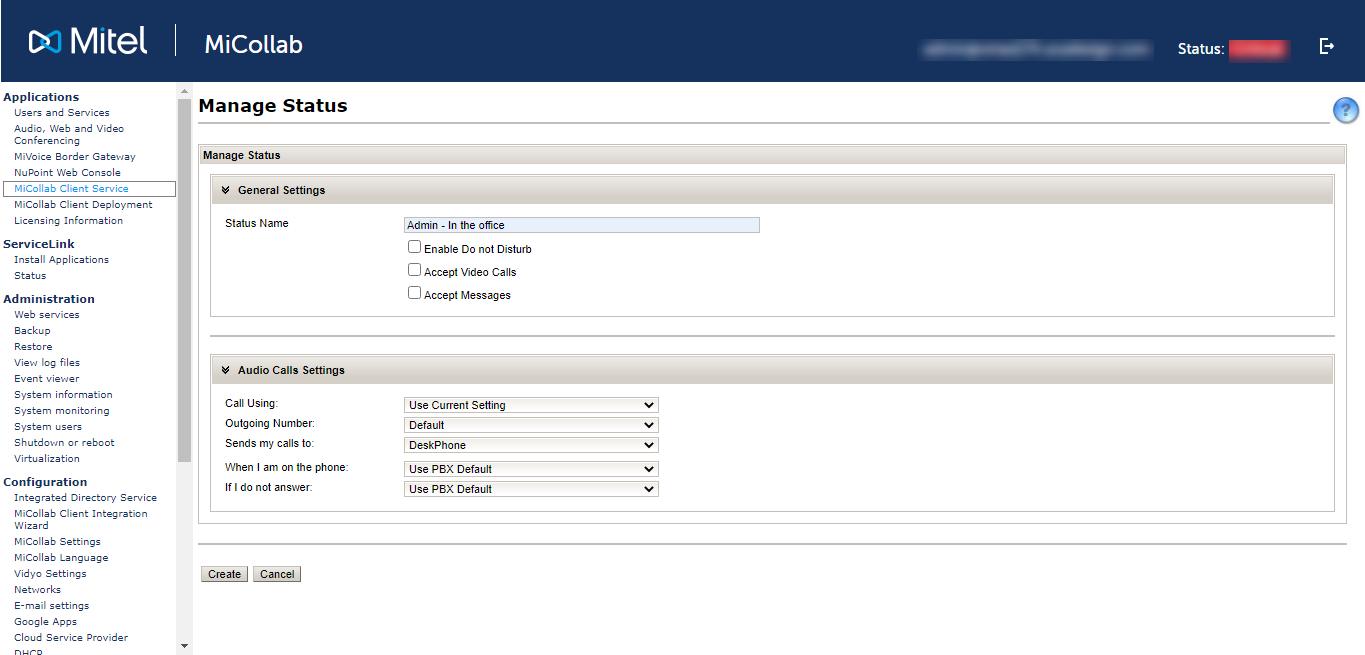
Enter the Status Name under General Settings.
-
Next, check the following check-boxes based on how the profile should be set:
-
Enable Do Not Disturb
-
Accept Video Calls
-
Accept Messages
-
-
Under Audio Call Settings, select the following fields:
-
Call Using –the default setting is Use Current Settings
-
Outgoing Number - the default setting is Default
-
Send my calls to - the default setting is PBX Default
-
When I am on the phone - the default setting is PBX Default
-
If I do not answer - the default setting is PBX Default
If the device selected by the administrator is not available for the user, then that field will be set to default device.
Also, if some device is added to a user after the creation of the admin status, then the admin should reset all the status assigned to that user which will delete all the existing statuses of the user and create new ones.
The settings defined by the end-user in the MiCollab Next-Gen Client under Settings > Call Settings > Call Using dropdown will have a priority over the Call using setting which is defined by the administrator in the dynamic status of User Profile. So whatever option the user selects in the MiCollab client’s Call Using dropdown, that is either Softphone, Deskphone, Prompt, or Managed by status, these options would take precedence over the settings defined by the administrator in the Admin Portal in the dynamic status’ Call Using option.
Note:For any dynamic status that is created by the administrator in the user profile, enabling or disabling the option Accept Messages would work only in case of Legacy chat. This will have no effect on the end-user clients in case of CloudLink chat.
-
- Click Create.
Once the status is created, assign a user profile to the user, and then the same can be viewed under MiCollab client > Settings> Manage Status.
Note:The status that are created via the admin- defined user profile cannot be edited or deleted by the end-user.
Managing Shortcuts
Perform the following steps to manage the shortcuts from the User Profile:
-
Navigate to Applications> MiCollab Client Service > User Profiles.
-
Under User Profile Details > Home Page Settings, you can control/manage the following shortcuts:
- Add Contact
- Add URL
- Add Speed Dial
- New Group

-
Click on each of the options to create the shortcuts:
-
Add Contact
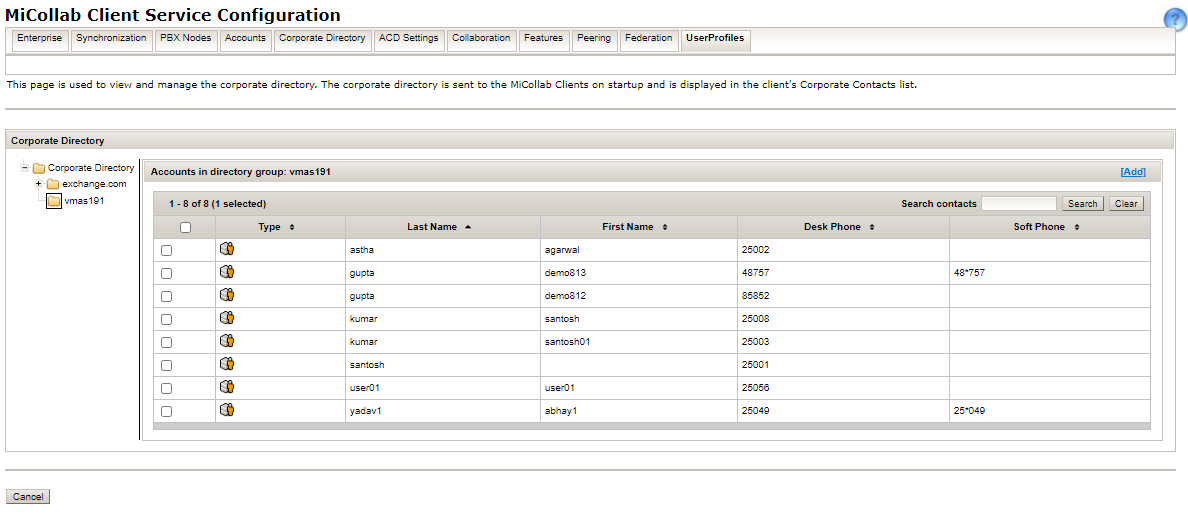
-
Add URL
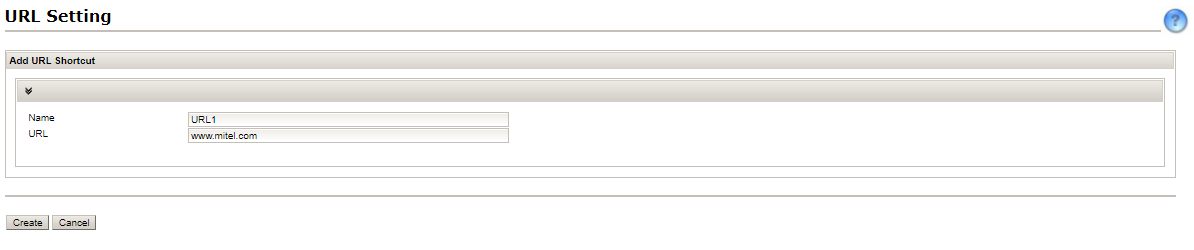
-
Add Speed Dial
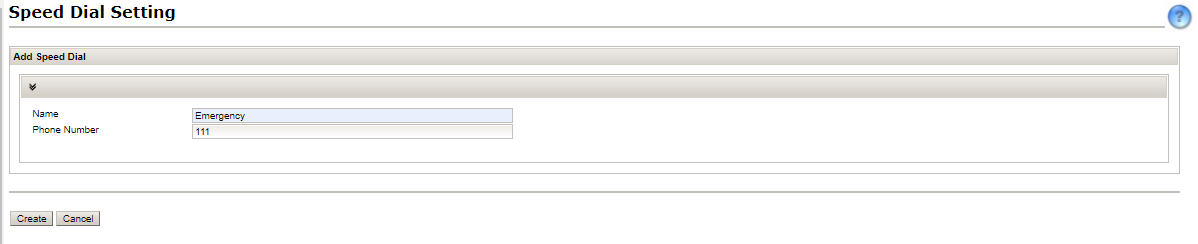
-
Add Group
Note: The administrator can add any number of participants within a group. There is no limit on the number of participants.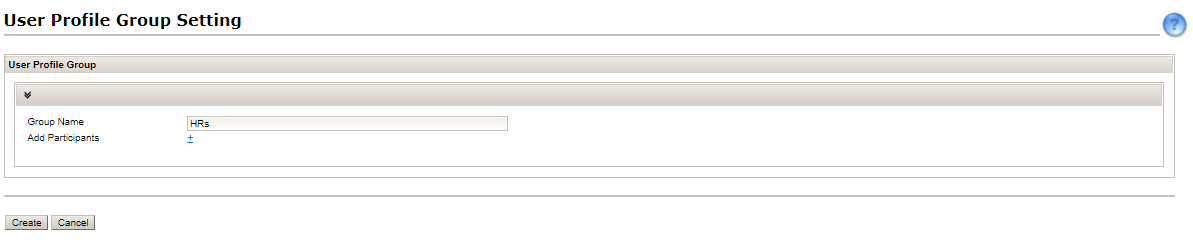 Note:
Note:These shortcuts cannot be edited or deleted by the end-user from the MiCollab Client side once they are managed by the administrator from the MiCollab Client side.
-
Bulk User Provisioning from the Admin Portal:
-
Navigate to Applications > MiCollab Client Service > User Profiles.
-
Under User Profiles, all the user profiles are listed. Click on the orange icon against each profile.
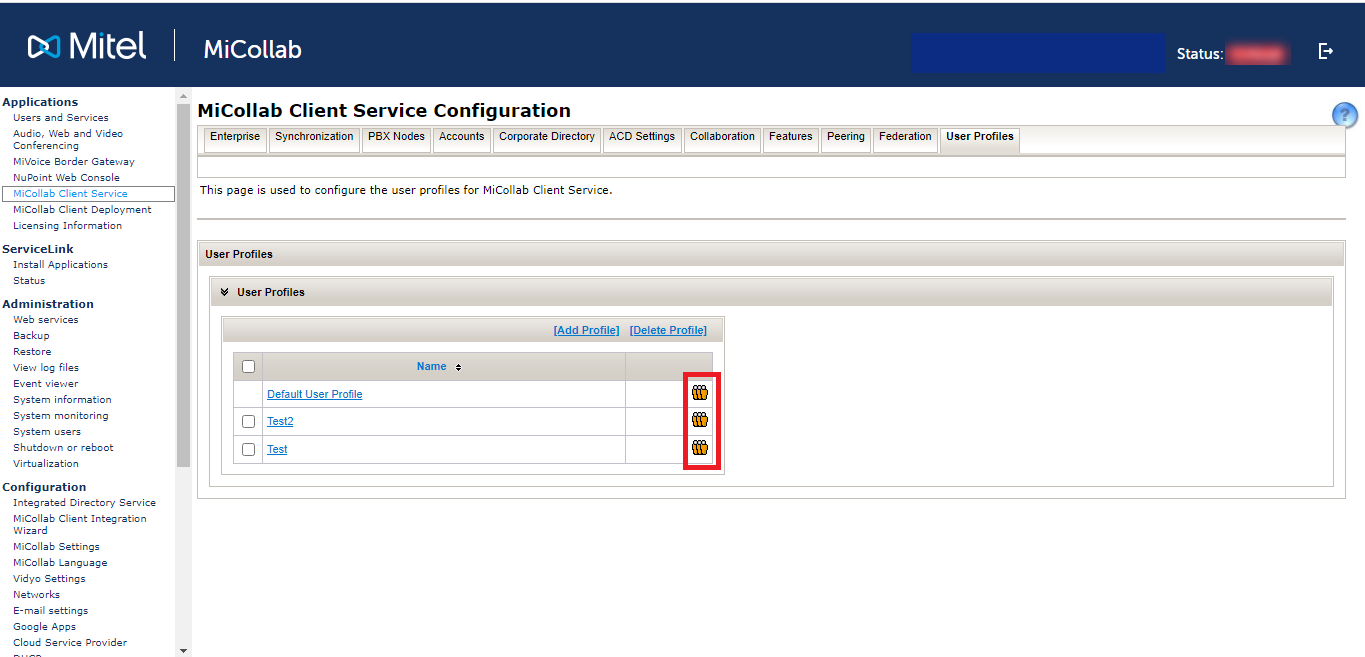
A warning message is displayed. Click OK to proceed. This will list the members to whom the profile is already assigned.

-
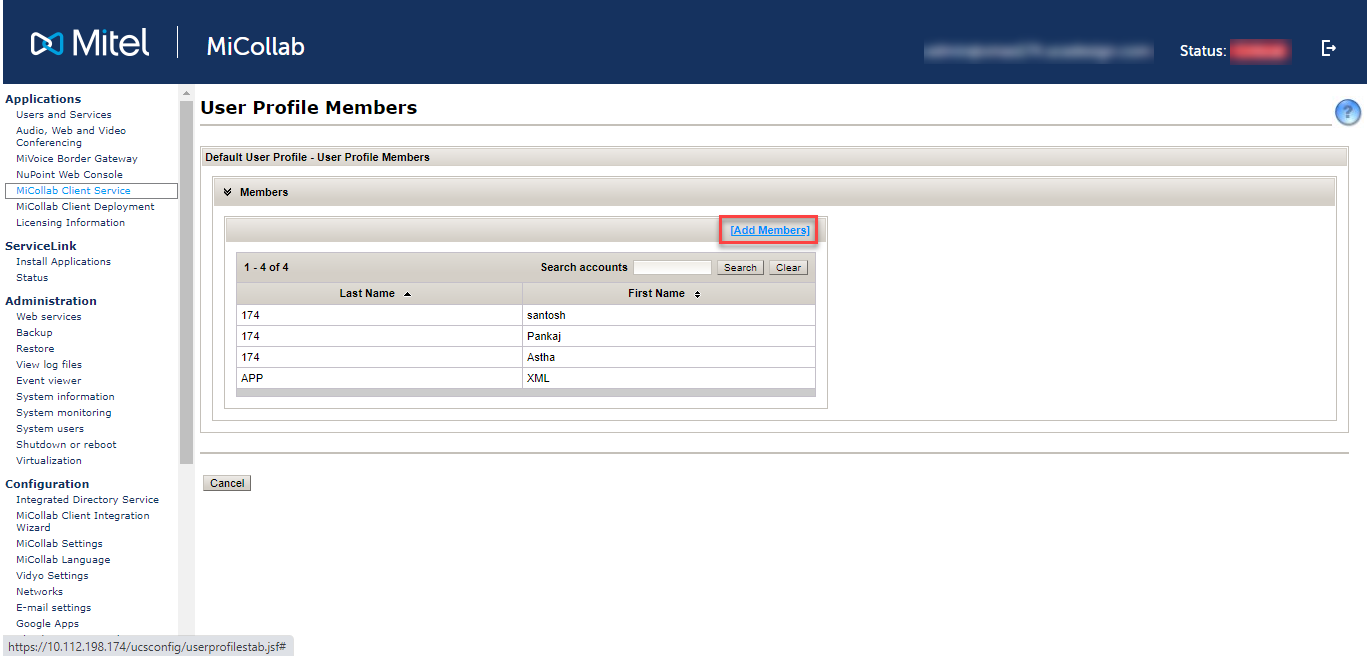
Click on Add Members and select one or more members against whom the profile needs to be assigned
-
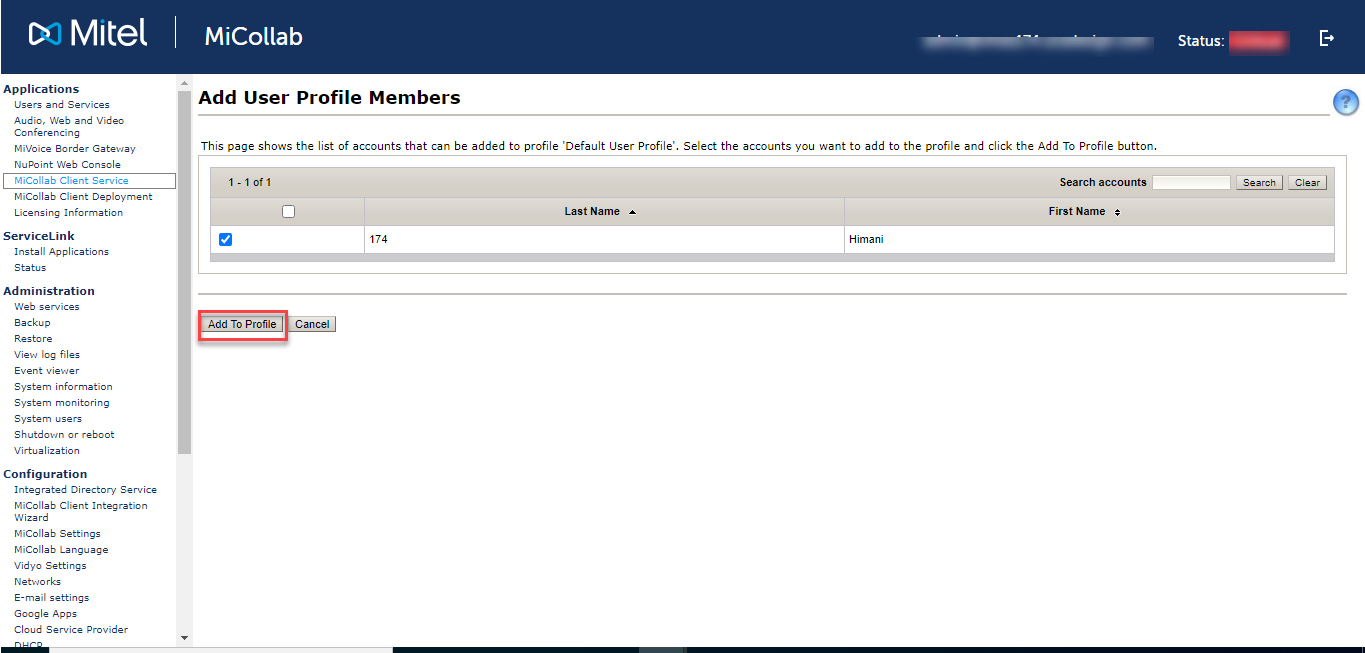
Once all the members are selected, click on Add to Profile.
The members will be assigned to that profile.
Enabling MiCollab Client Telephony Only Mode
The MiCollab Client Telephony Only Mode enhances the end-user experience while placing calls with a Mitel application (e.g. Mitel Assistant), using the MiCollab Client as the telephony endpoint. This mode is only applicable to MiCollab PC Clients and it provides the end-users with the required telephony features while being integrated with other Mitel applications. Mitel applications can cross-launch the MiCollab PC Client using the Tel URI protocol. The administrator can enable/disable this mode from the MiCollab Client Service Administrator portal under the User Profiles tab for all or for selected group of users. This mode remains disabled for default user profile.
.