Call features
The MiCollab PC Client with Telephony- only mode remains in the system tray-bar and when opened, displays a small UI. The user can further re-size the client window during non-active calls. You can also maximize and minimize the client UI window and when closed, sends the icon into the system tray. To launch the client from the system tray, double click on the MiCollab icon or right-click on the icon and then click on Show MiCollab. When the Client sits on the system tray, the user gets a notification for the same.
During an on-going call, you can right-click on the icon resting in the system tray and click on Show MiCollab option to launch the client.
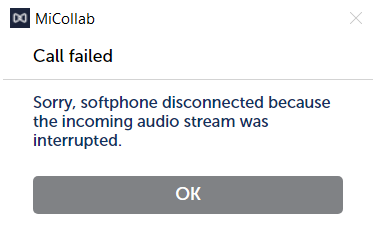
During an active on-going call, if the softphone gets disconnected or goes into the offline mode, a pop-up notification is displayed to the user as below.
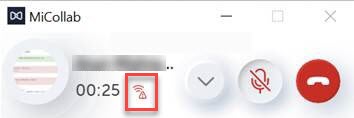
In case there is a sudden disruption in the network or if the server is unavailable during an on-going call, the user will see an indicator on the floater screen or on the mid-call screen, depending on which screen is available in the foreground displaying that network connection is unavailable.

Incoming calls
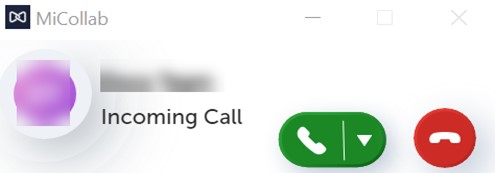
During an incoming call, a notification floater appears in the center of your computer screen, irrespective of the client being minimized in system tray or is present in foreground.
You can hover over the floater window to display the entire details of the incoming call, such as the entire name of the caller, the ring group details, company name, etc. This automatically changes the size of the floater window to accommodate the details of the incoming call. You can either accept or decline the call from the notification floater window. Clicking the answer button would display the list of available destination devices to answer the call.

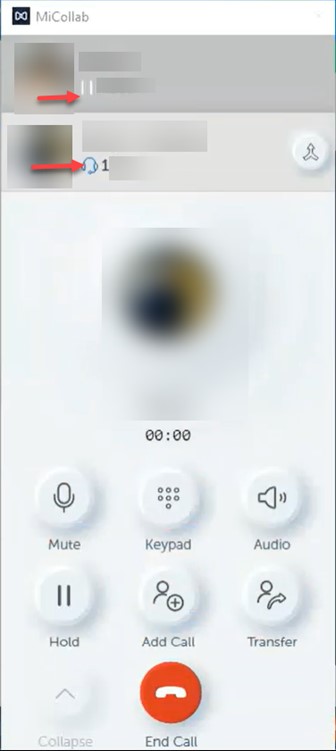
When the call is accepted, the same floater displays the on-going call details.
The active call floater remembers its last position on the screen during the last call and moves to the same position during the current call.
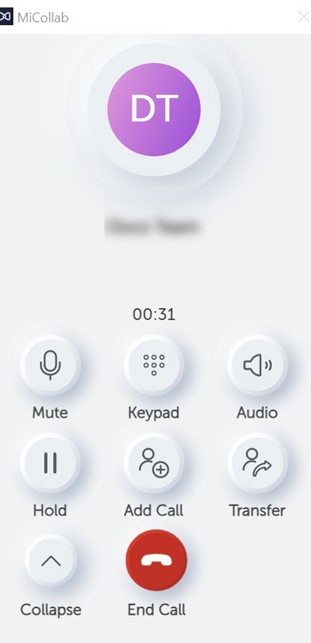
You can mute/unmute the on-going call, end the call from the floater window, or expand the floater window to display the other call control options during an active call. This floater window can be dragged across screens and placed anywhere.

The call control features during an active call includes:
|
Call Control features |
Icons |
|---|---|
|
Mute/Umute |
 |
|
Keypad |
 |
|
Audio (displays the audio settings which are also accessible from the left bottom of the client footer) |
 |
|
Hold/Unhold |
 |
|
Conference - Initiated using the add call option |
|
|
Transfer |
|
|
End call |
|
|
Collapse (to return to the floater window) |
|
|
Handoff (to move the on-going call to another available device) |
|
The call control features of the on-going active call are similar to those of the PC Client.
Outgoing calls
You can place an outgoing call by using the Mitel Assistant application in MS teams. For more information on Mitel Assistant, please refer to: Mitel Assistant Documentation.
If a user makes a call from Mitel Assistant and the call fails, an error pop-up notification is displayed with the failed call details. The user should take necessary steps to dismiss the notification pop-up and only then the next call can be placed. If the error notification is not dismissed, the call dialled via Mitel Assistant will be ignored by the MiCollab Telephony-only client.
One additional way to dial an outgoing call is from the Phone menu or search for a contact from the Search or Dial field in the header menu of the MiCollab PC Client with Telephony-only mode. The call history of the calls dialled from the Mitel Assistant is also logged under the Phone menu of the MiCollab PC Client with Telephony- only mode.
If there is an error while dialling a number, an error notification is displayed at the same place where the dialling floater shows.
Outgoing calls using MS Teams
To dial an outgoing call from the Mitel Assistant, perform the following:
- Open the MS Teams application.
- Click the More added apps icon (…) and select the Mitel Assistant application.
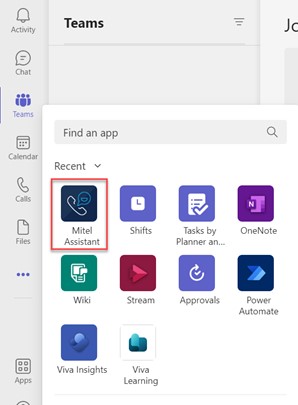
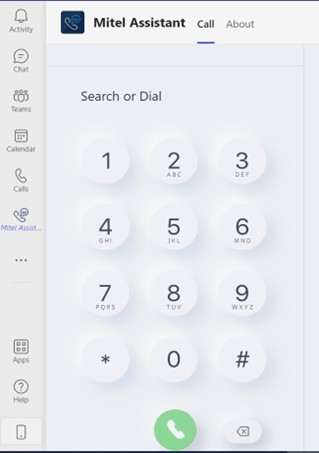
- Once the Mitel Assistant application opens using MS Teams, you can use the dialpad to dial the desired number or search for the username from Mitel Assistant.
The numbers dialled from the Mitel Assistant get routed via the MiCollab application and the call logs are also listed in Call History of the MiCollab PC Client Telephony-only mode Settings.
Outgoing calls from the MiCollab PC Client with Telephony-only mode
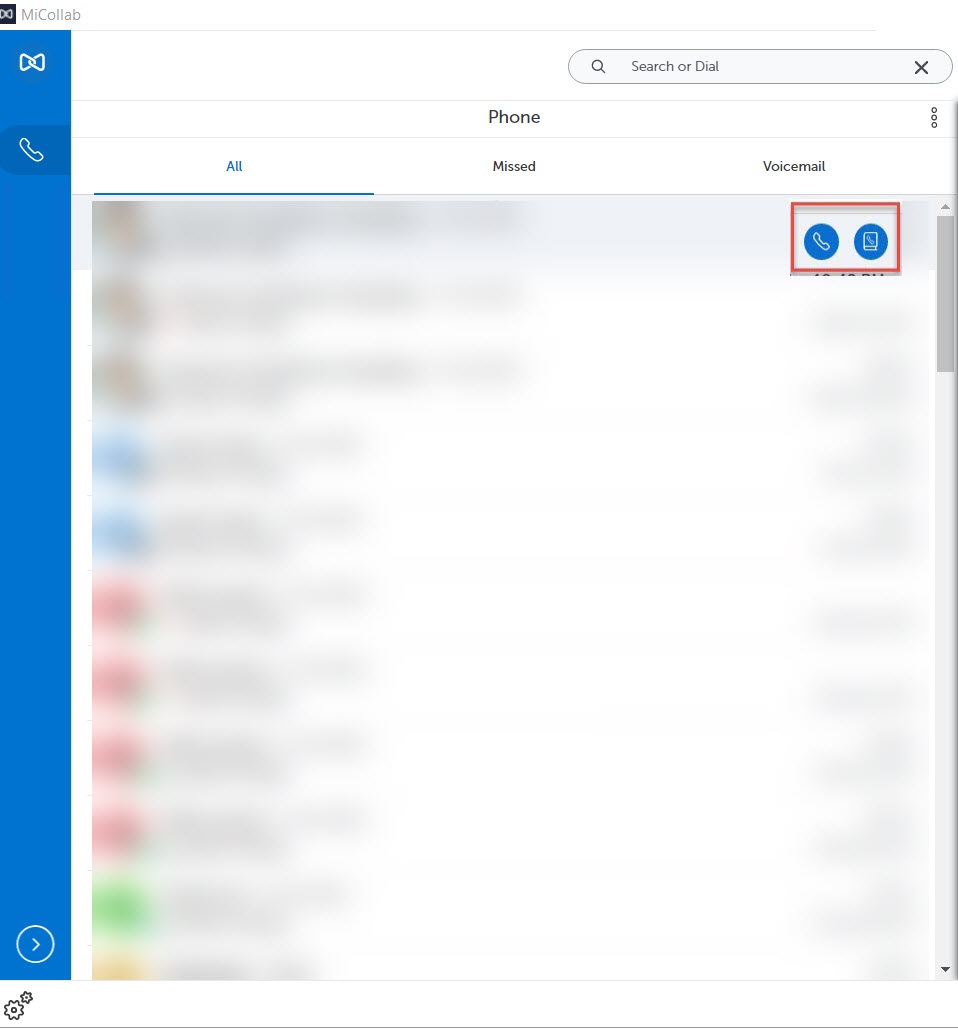
From the MiCollab PC Client with Telephony-only mode, you can dial the outgoing calls from the Phone menu or search from Search or Dial field.
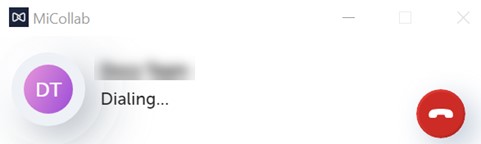
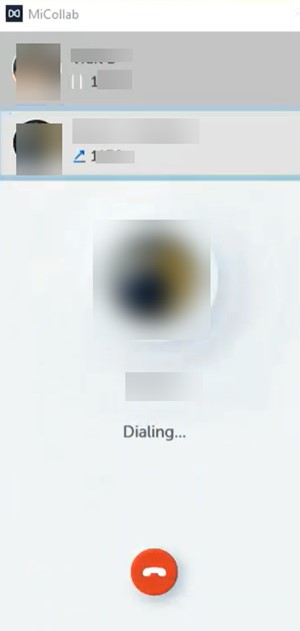
After a call is dialled, the main client closes and the floater window appears at the center of the screen displaying the call status.
Incoming call during an active call
If there is a second incoming call while a MiCollab call is already active, the call screen displays and notifies the incoming caller ID. You can accept or decline the call. If the second call is answered, the first caller goes on hold.

Outgoing call during an active call
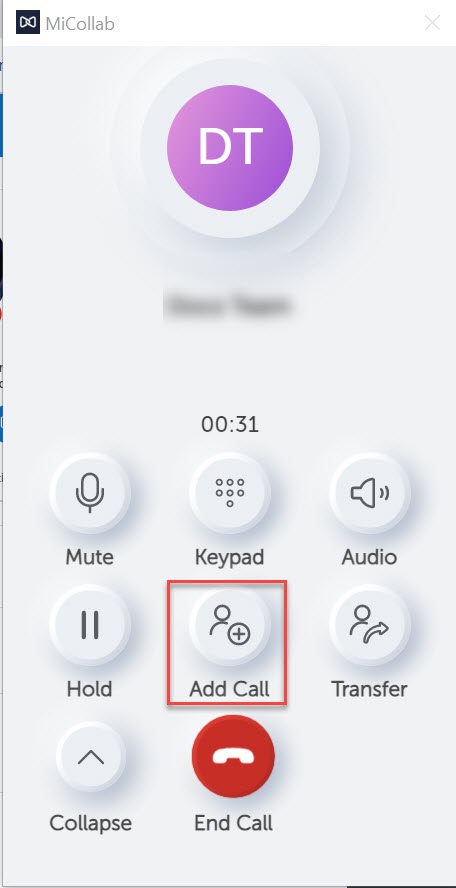
While on an active on-going call, you can dial another recipient (via add call option) and the current call goes on hold. You may choose to keep either the caller on hold, or speak to the other.
Transfer a call
While on an active MiCollab call, you can select Transfer from the call control window, choose a contact and click Consultation Call for a supervised transfer or Blind Transfer for an unsupervised transfer.
Conference call
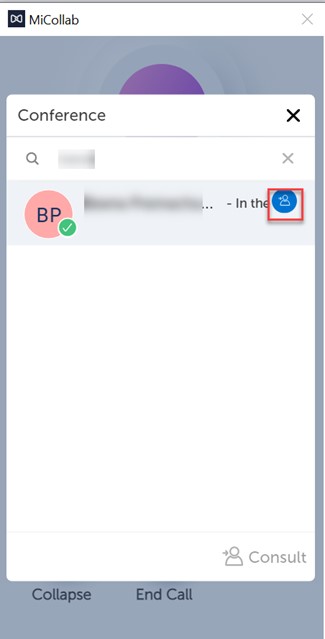
To initiate a conference call while on an active call, click the Add Call button from the call control window and select the contact you want to add to the active call. The active call is put on hold and a new call (to the third contact) is initiated. Once the third contact answers the call, select the Add Call icon to initiate the three-party conference call.
At this phase of the Telephony-only Client feature, a maximum of three contacts can participate in a conference call.

Handoff a call
The handoff option allows the user to move the on-going call to another available device. If there are more than two available devices, the user gets to select their preferred device from the pop-up which lists the available devices. In case there are just two devices, then on clicking the handoff button, the device changes automatically to the available one and vice-versa.
Click on the Handoff button from the call control window, which then displays the available devices (Softphone/Deskphone, etc). Once you select the preferred device, a notification is displayed in the active call window, that the call is now moved to xxxx device (xyxyx device number).


