Steps to register your application at Microsoft Office 365
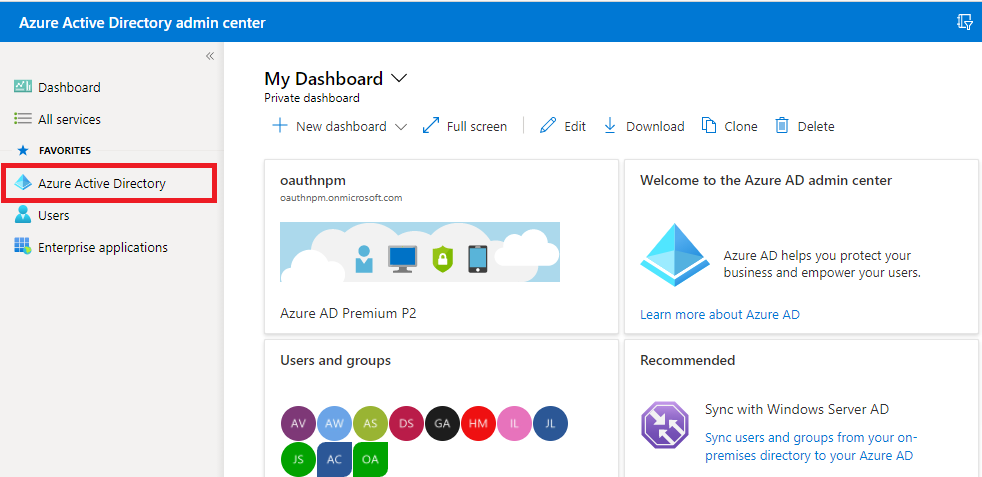
- Open a browser and navigate to the Azure Active Directory admin center and login using admin account.
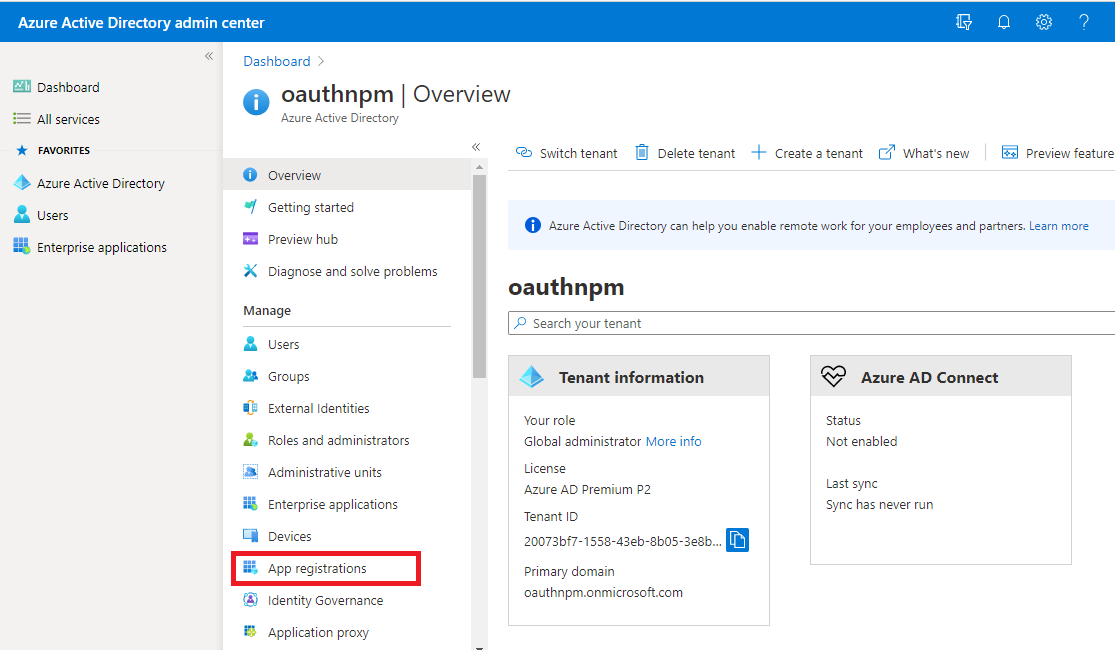
- Select Azure Active Directory in the left-hand navigation, then select App registrations under Manage.
-
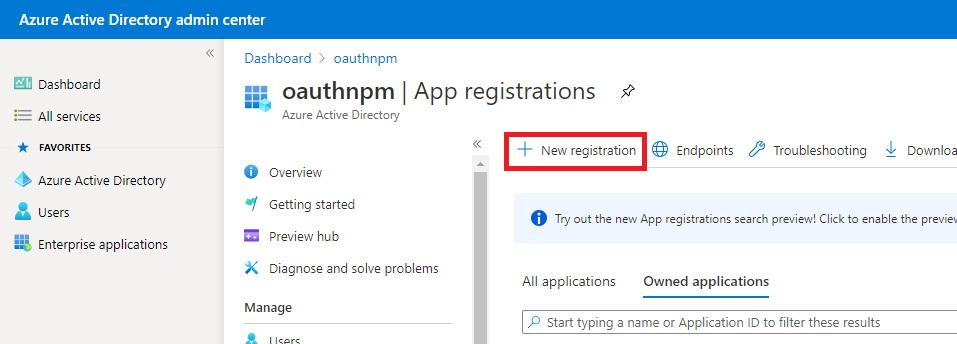
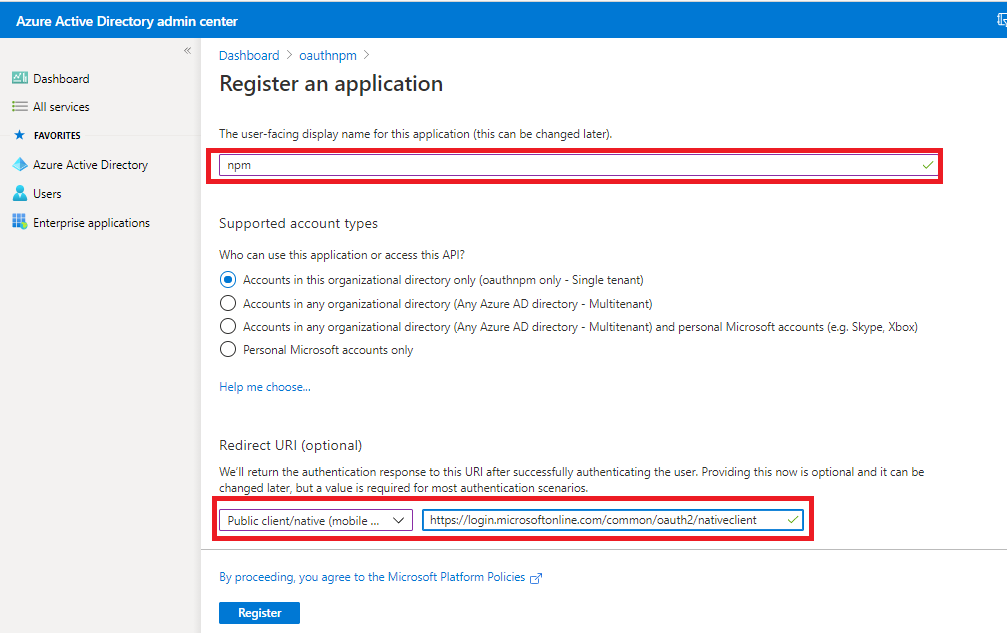
Select New registration. On the Register an application page, set the values as follows:
- Set Name to a friendly name for your app.
- Set Supported account types to Accounts in this organizational directory only.
- For Redirect URI, change the dropdown to Public client (mobile & desktop) and set the value to https://login.microsoftonline.com/common/oauth2/nativeclient
-
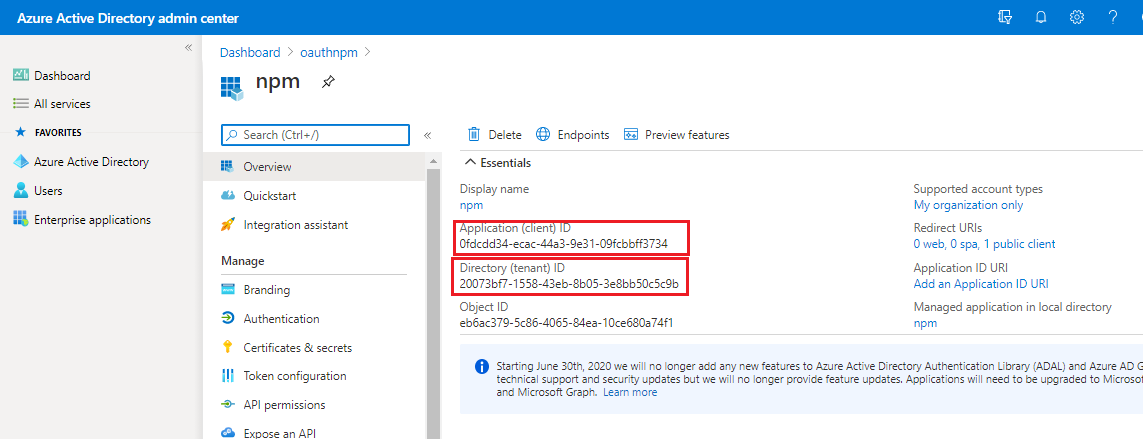
Click on Register. On the next page, copy the value of the Application (client) ID and Directory (tenant) ID and save them, you will need that later.
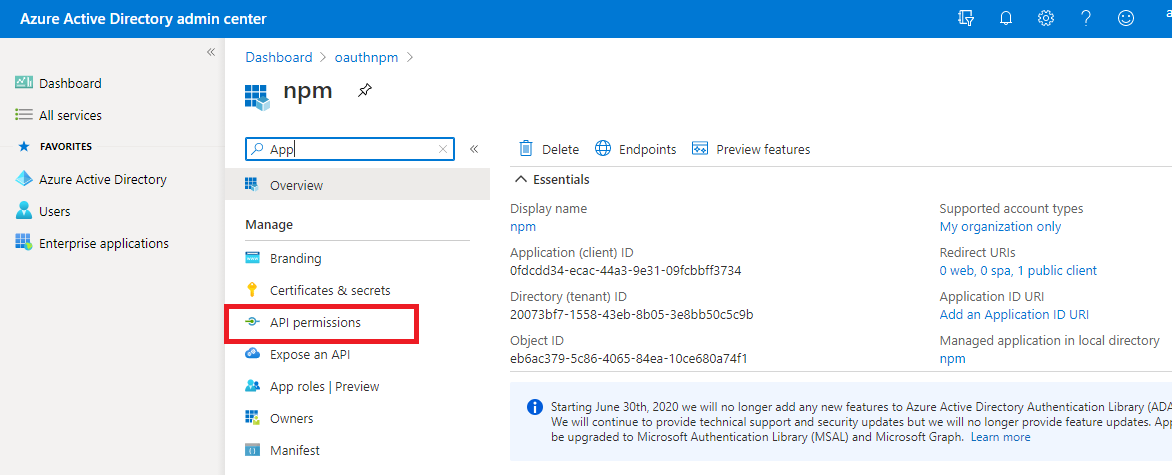
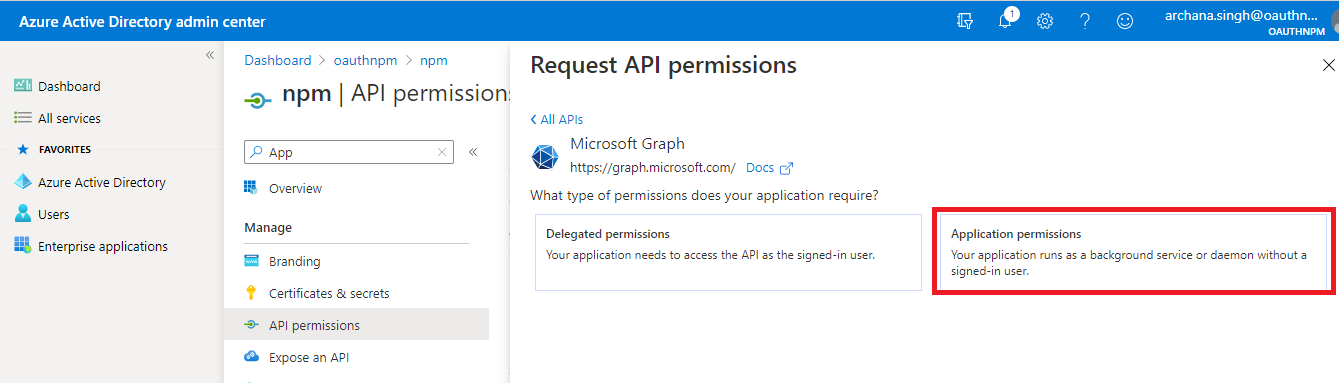
- Select API permissions in the left-hand navigation under Manage.
-
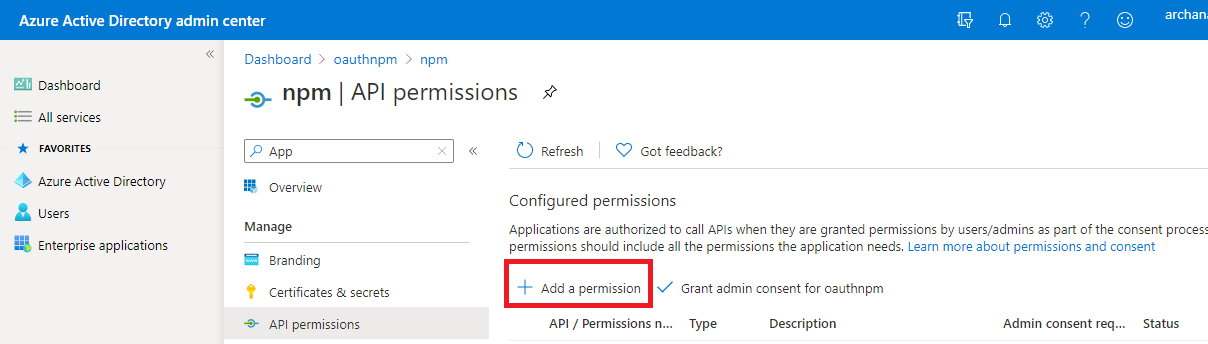
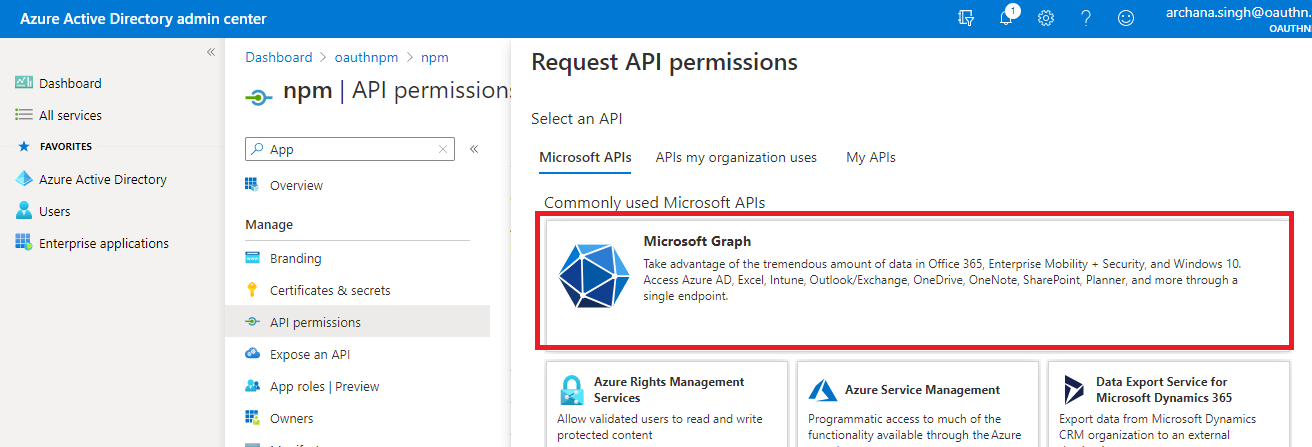
Select Add a permission. On the Request API permissions page, select Microsoft Graph.
-
Select Application permissions and then select:
-
Mail.Read
-
Mail.ReadWrite
-
Mail.Send
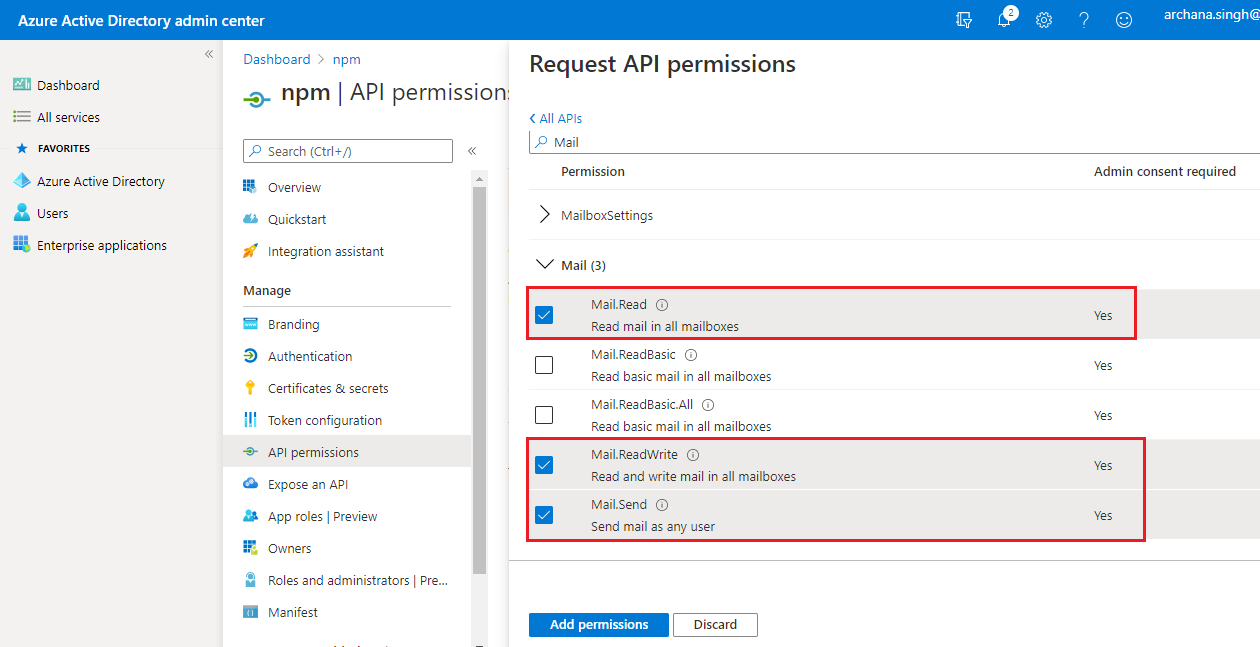
Click on Add permissions
-
-
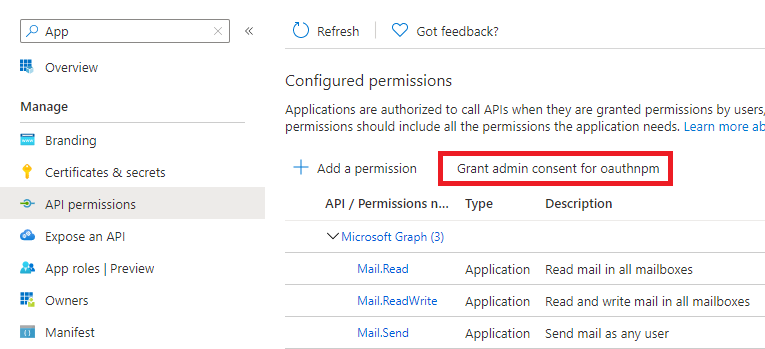
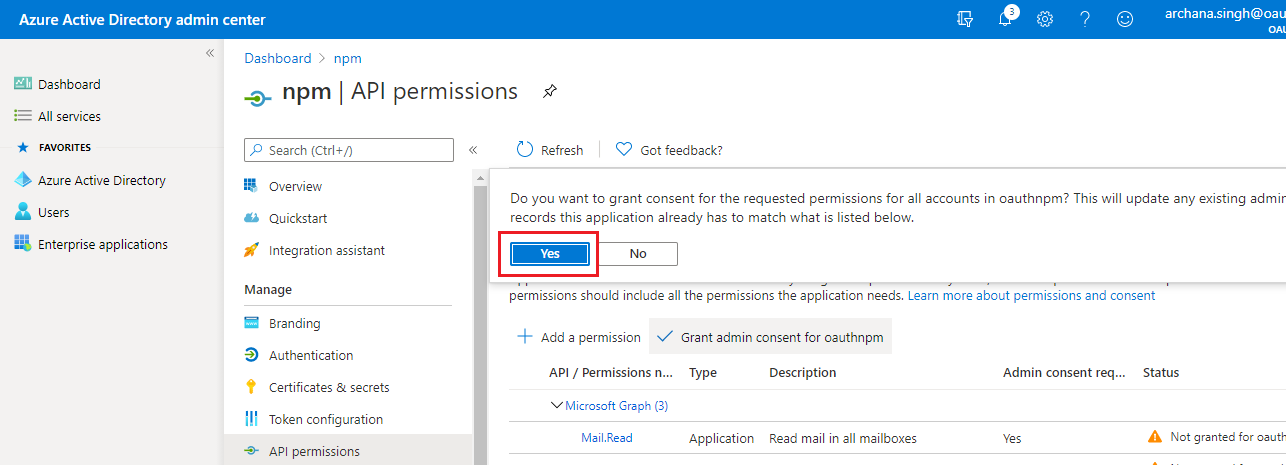
Select Grant admin consent for org and click on the Yes button in the consent dialog.
-
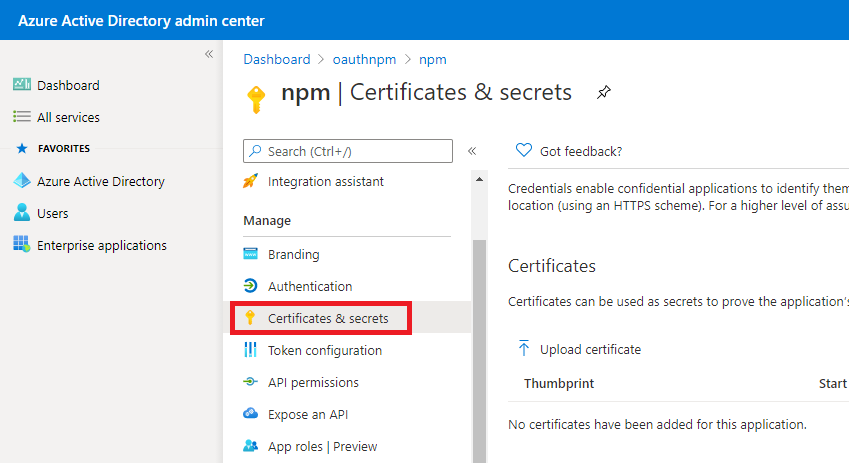
Under Manage, click on Certificates & Secrets from the left-hand navigation pane.
-
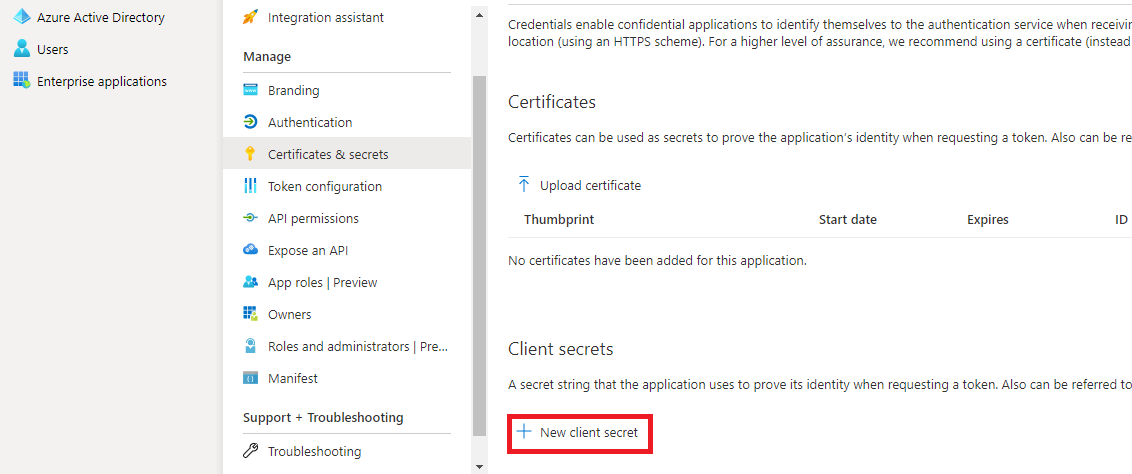
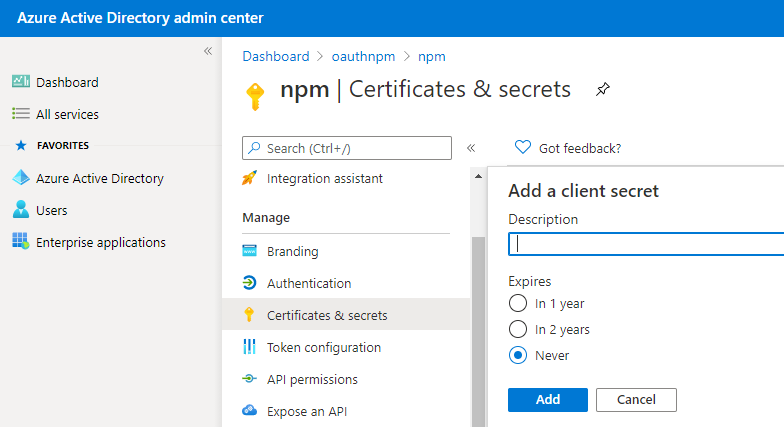
Select New Client Secret, add a small short description and select Add.
-
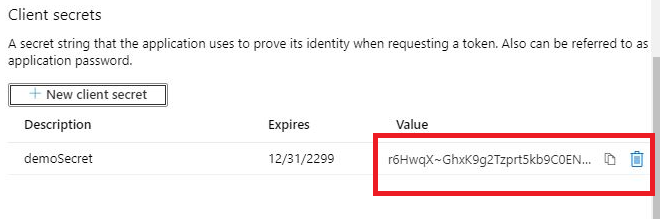
Copy the value of the newly added client secret and save it, as you will need it later.
-
The below values will be required to configure OAuth 2.0 in MiCollab.
- Tenant-ID (generated in Step-4)
- Application-ID (generated in Step-4)
- Client Secret (generated in Step-11)
Note:-
For New Deployments - The admin of Office 365 needs to perform Step 1 to Step 12
-
For Existing Sites - If the application is already registered in their tenant, they need to follow Step 5 to Step1