Emergency Location
The Emergency Location service provides the dispatchable location of the end-users for the 911 calls for MiCollab Softphone users. This location is conveyed along with the 911 calls that are made.
Prerequisites: The network helper component must be installed for the Emergency Location feature to work.
Installing the Mitel Network Helper for RedSky and Intrado users
In the Windows system, this dialog box will always appear (when the client is launched) only if the Mitel Network helper is not installed.
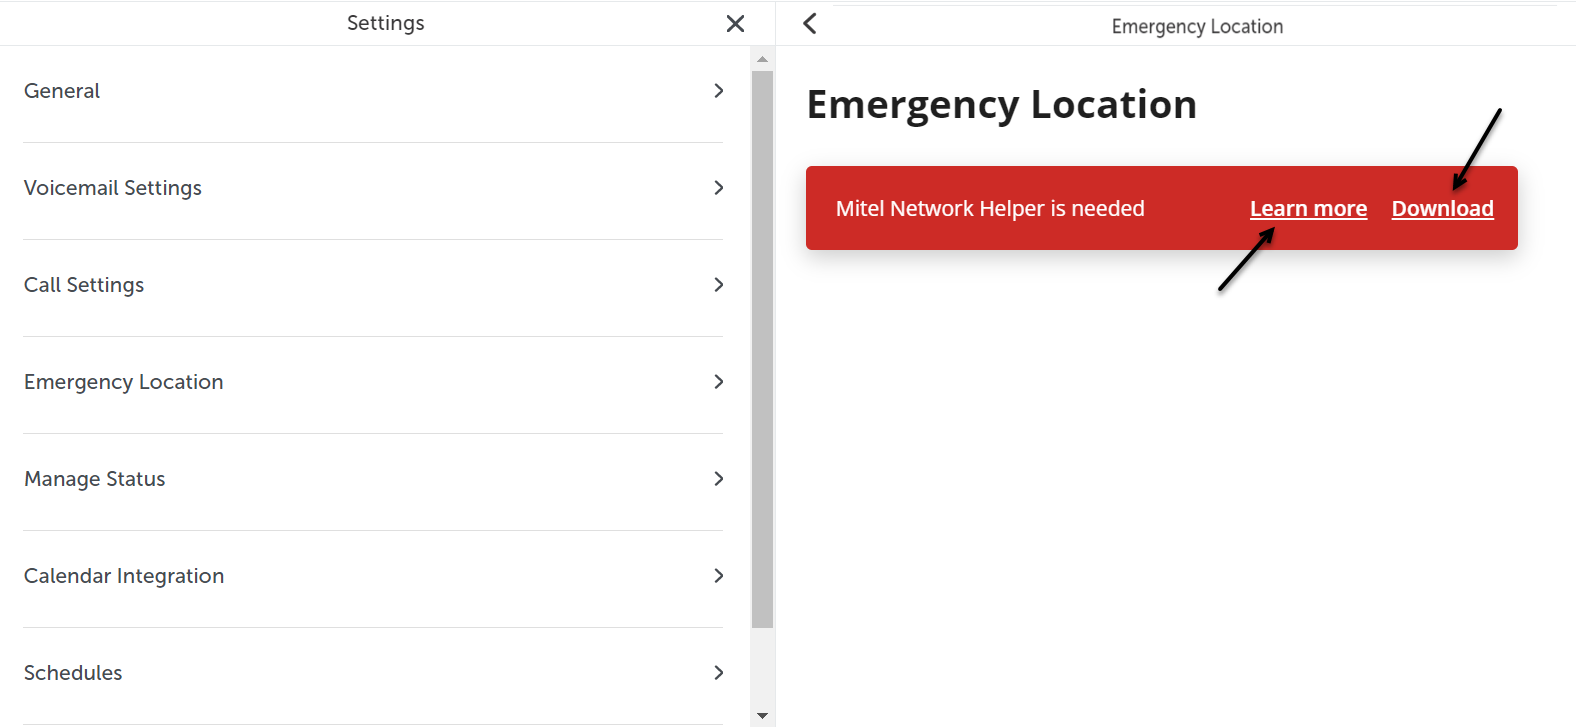
- From the MiCollab Client Header menu, click on your avatar to open the User Profile menu and then click on Settings.
- Click on Emergency Location.
- Click on the Download option.
To know more about the 911 emergency calls and RAY BAUM's Act, click on Learn More.
- Once the file is downloaded, run the file and install the Network Helper component.Note:
In the case of a PC client, when the user downloads the Network Helper, the installer runs and installs automatically after the download. It does not need to be run manually.
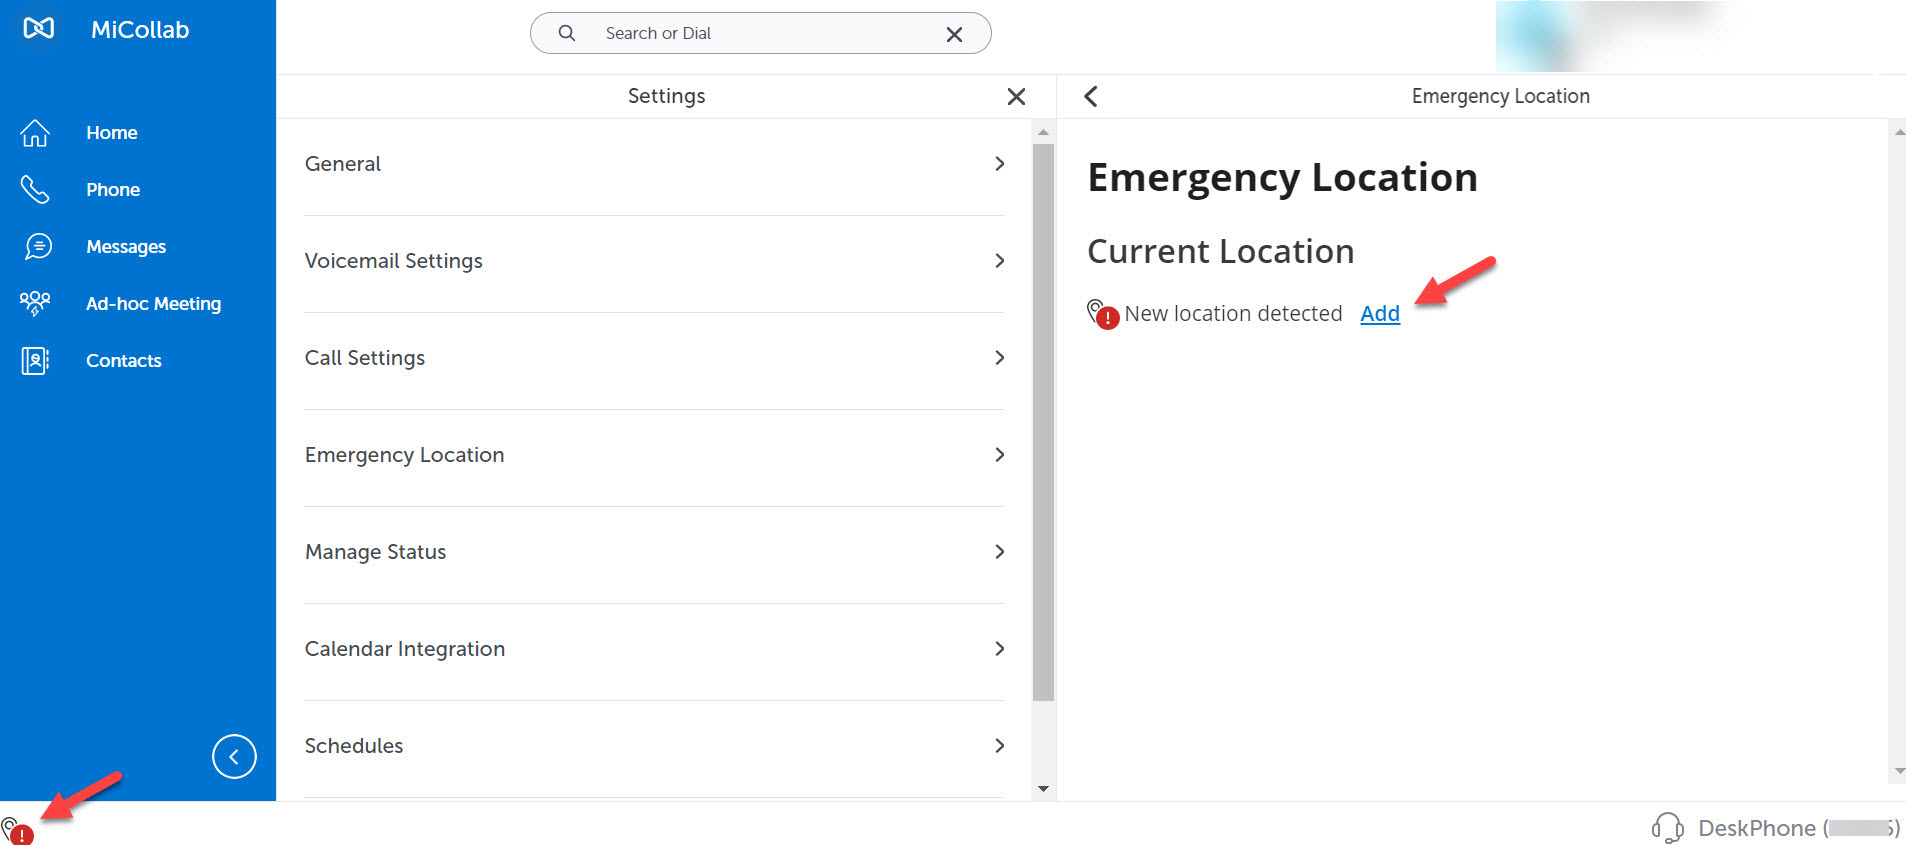
When the Network Helper is installed, the option to add a location will appear in the MiCollab Client.
When the Mitel Network Helper gets upgraded to the next version, under the Emergency Location window, you can see the option to update the Network Helper version. Click on Download to upgrade the Mitel Network Helper version installed in your system.
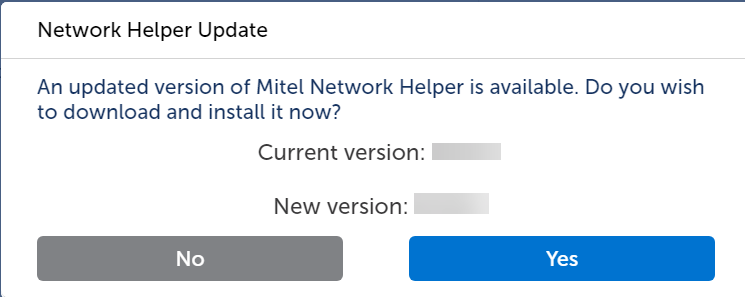
If an update is available for Mitel Network Helper, and the user is logged out and they log in (re-login) back, the user will receive a pop-up notification to upgrade to the latest version. Here, the user either can click Yes to upgrade to the latest Mitel Network Helper or click No to continue with the existing version.
Virtual Environment for Emergency Location
When a MiCollab client is in a virtual environment, for example, Citrix, Microsoft RDS, or VMware Horizon (this virtual environment is set by the administrators in the server), the following message will be displayed under the Emergency Location settings:
You are in a virtual environment. Please keep your location up to date.
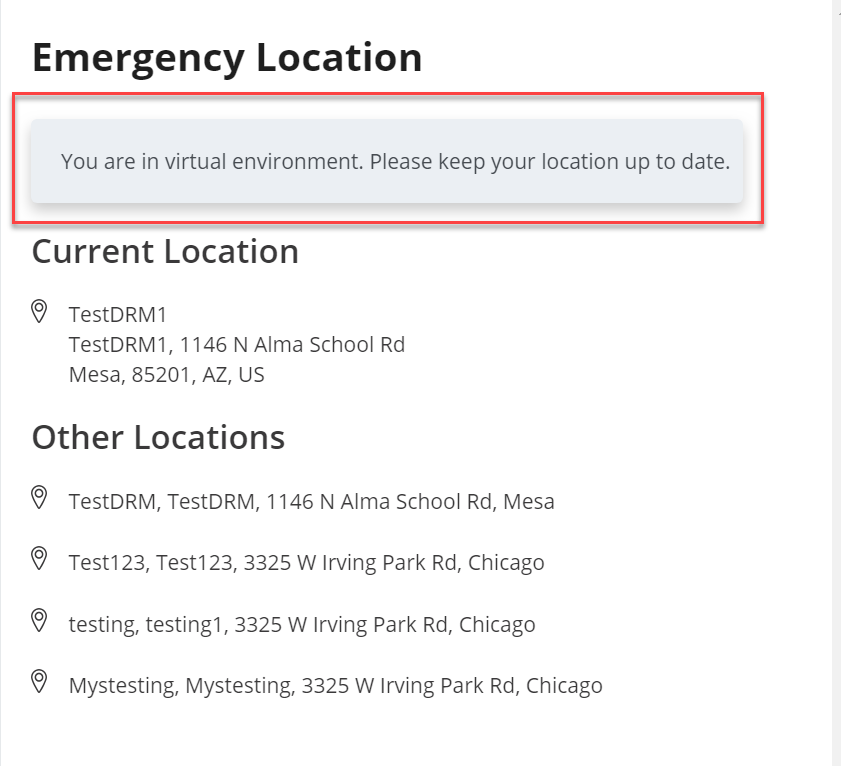
You can add your location under the Emergency Location settings. The saved location will persist until the user updates it. It is the responsibility of the user to keep their location up to date.
Updating the Emergency Location manually
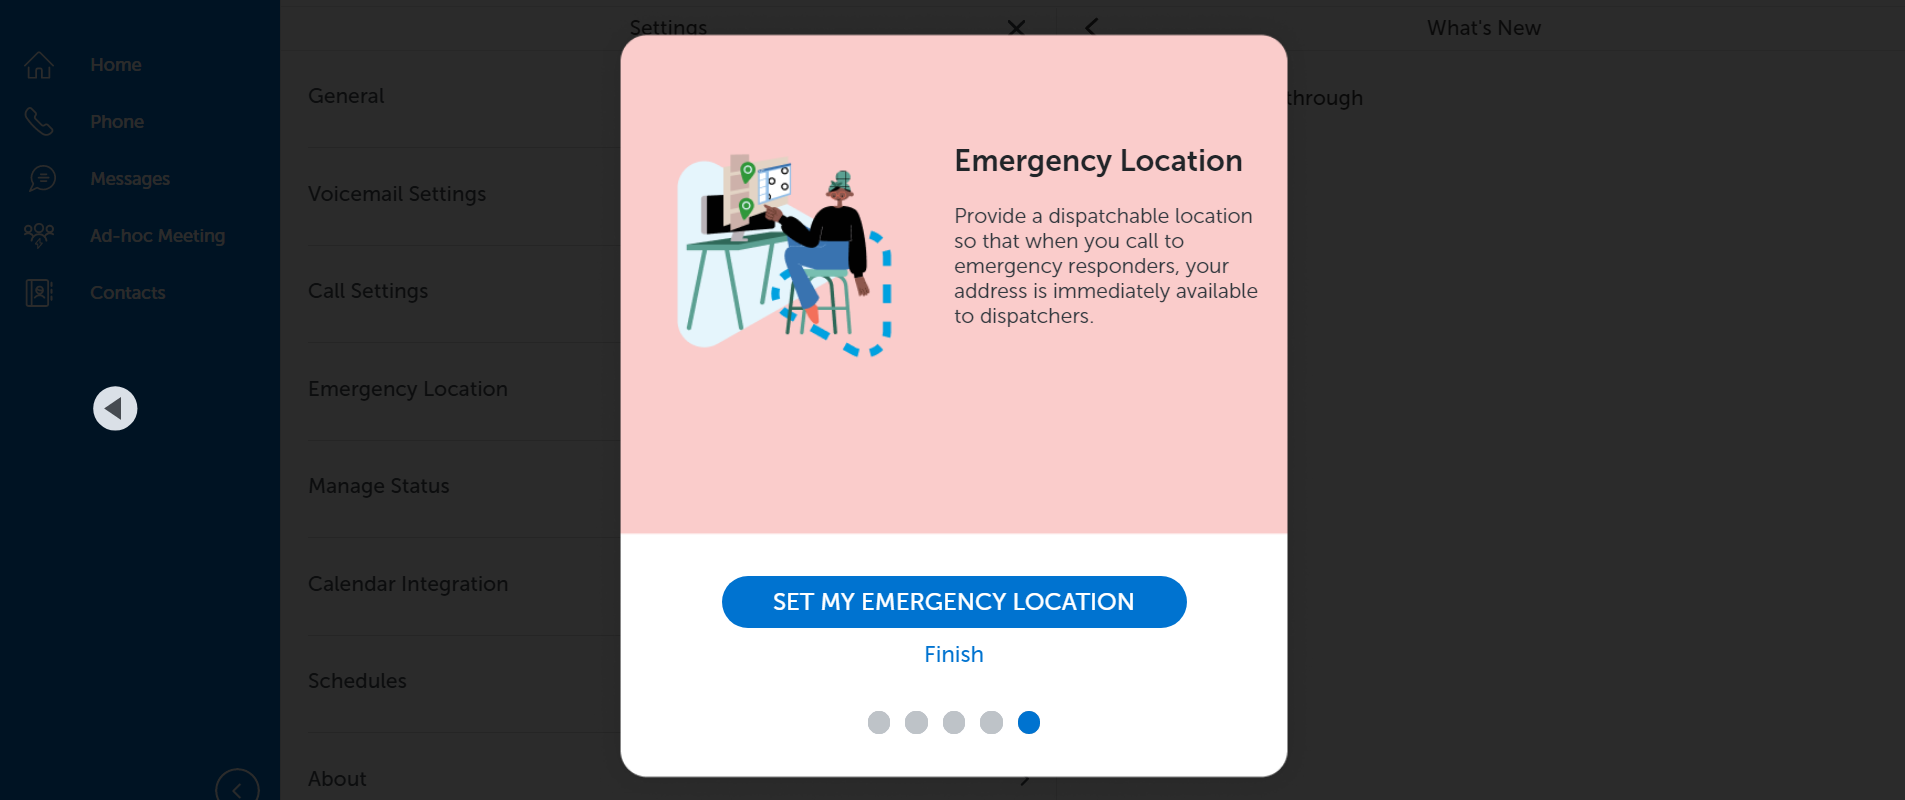
- If you are a new user, you can set the Emergency Location from the First Time User Experience (FTUE) page by clicking the SET MY EMERGENCY LOCATION button. The Emergency Location screen will be displayed, where you can add the location details.
- If you are an existing user, you can set the Emergency Location as follows:
- Click on the Emergency Location availability indicator at the bottom left of the client.
OR
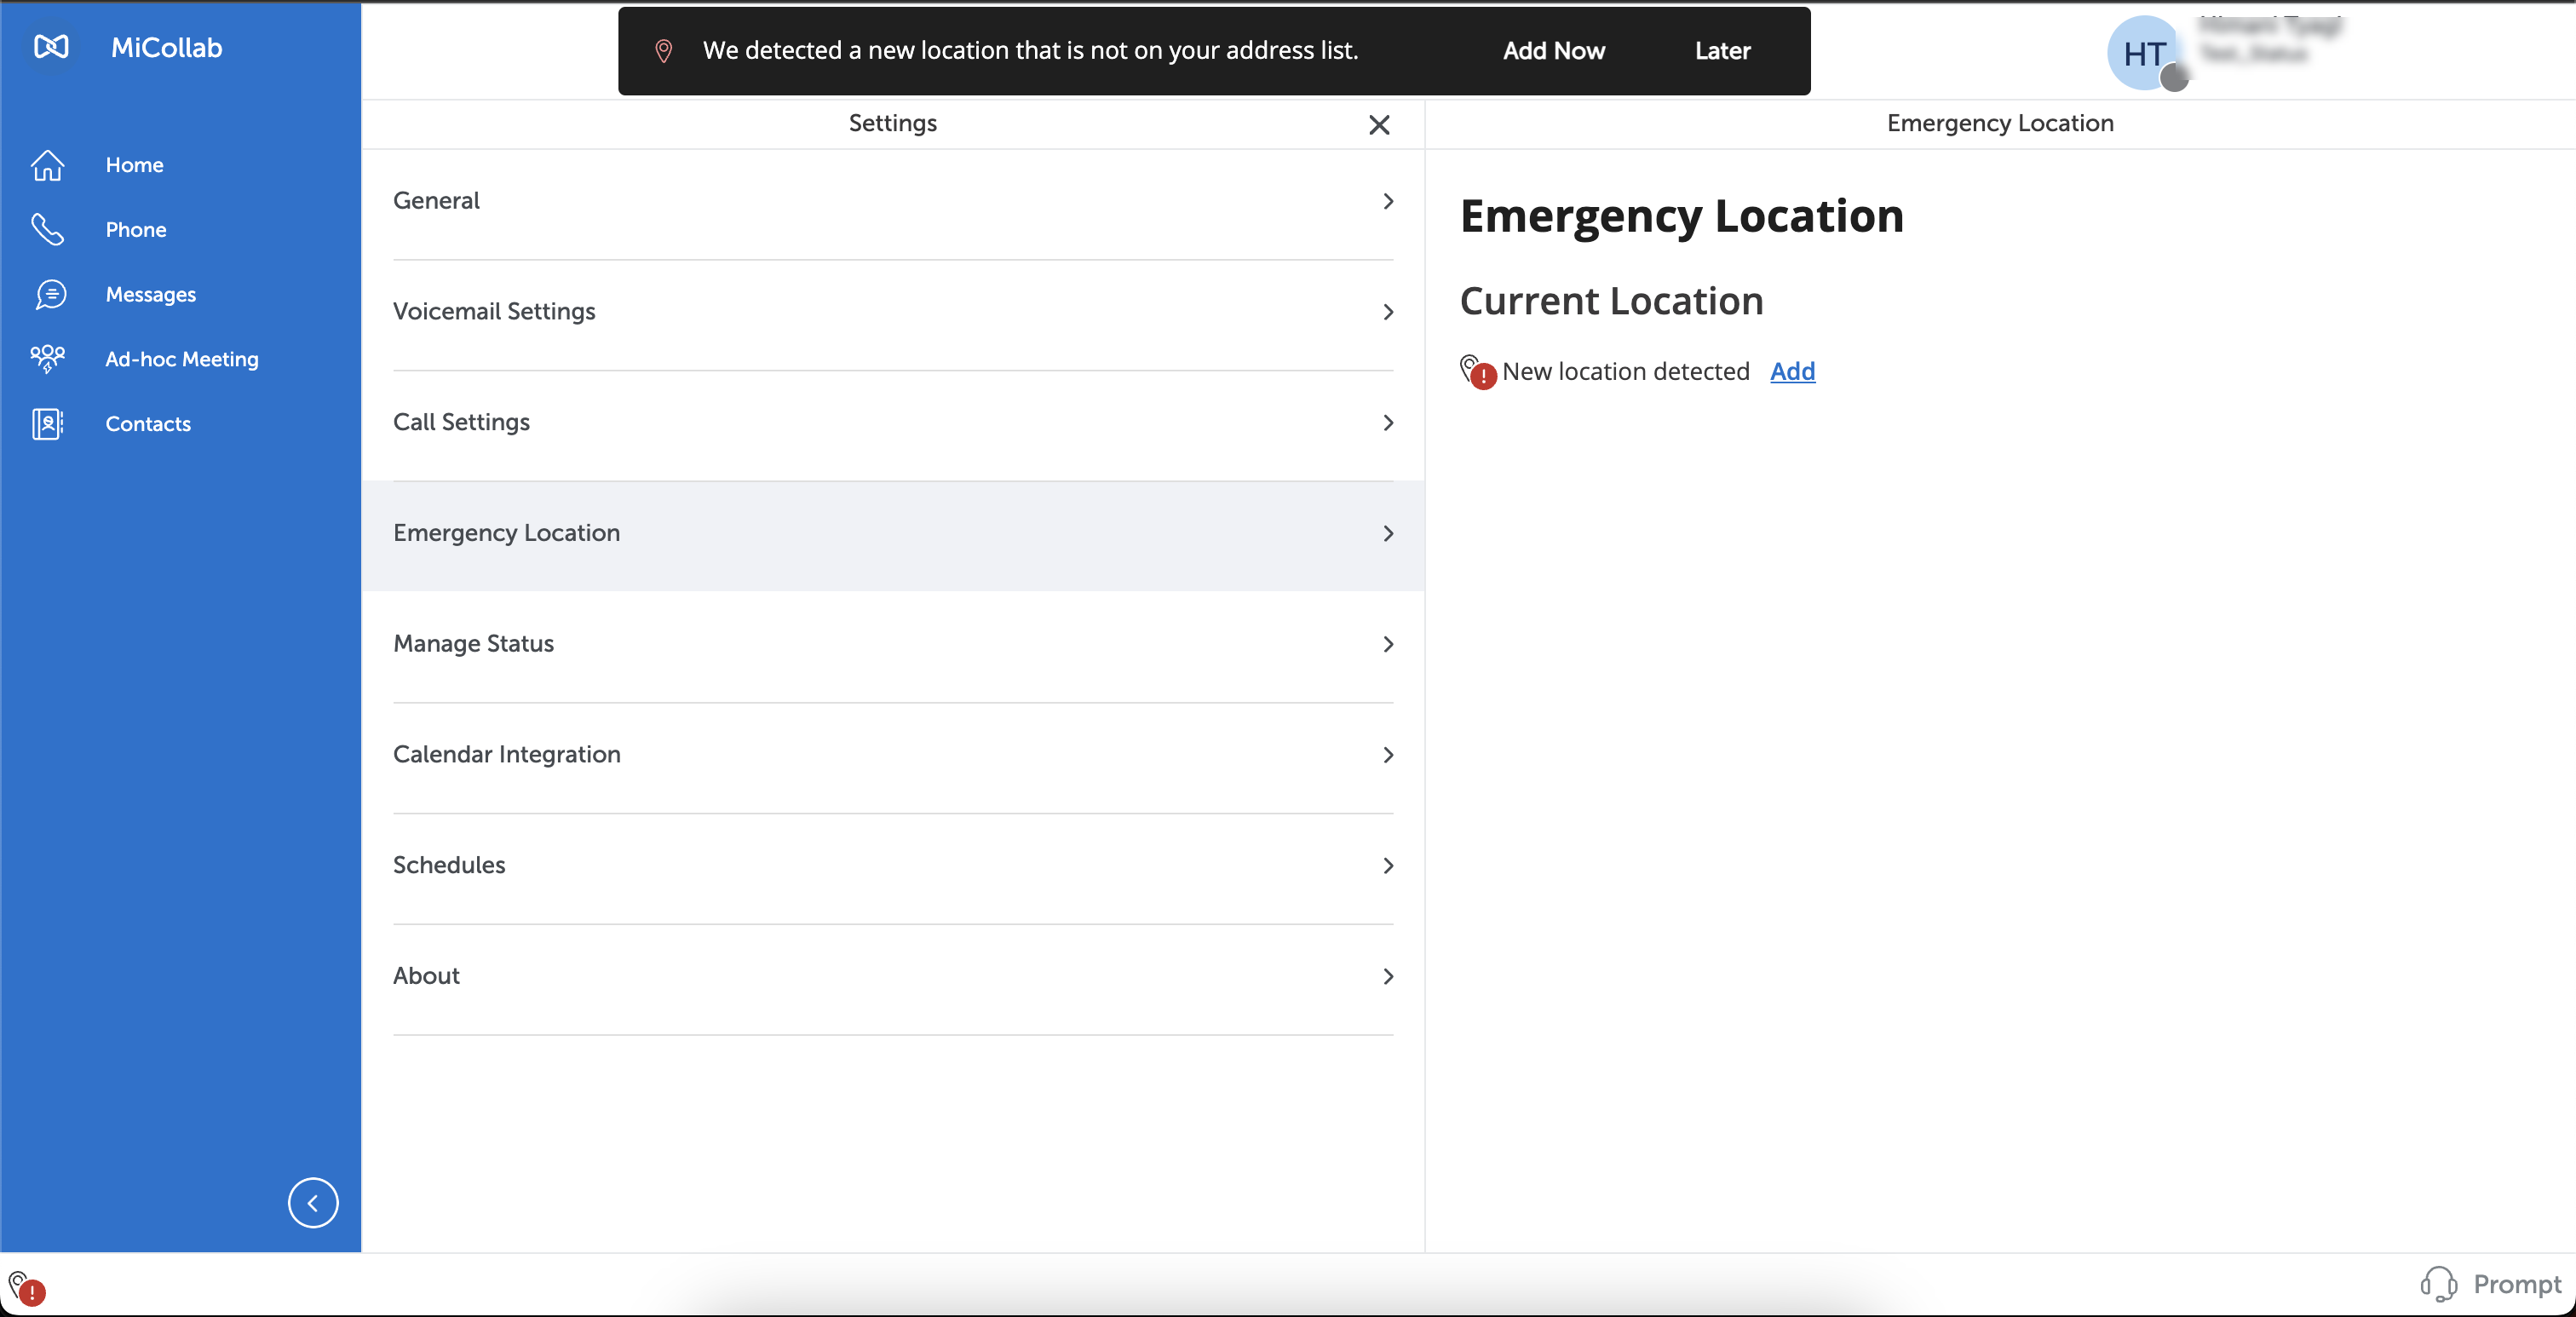
From the MiCollab Client Header menu, click your avatar to open the User Profile menu and then click on Settings > Emergency Location.
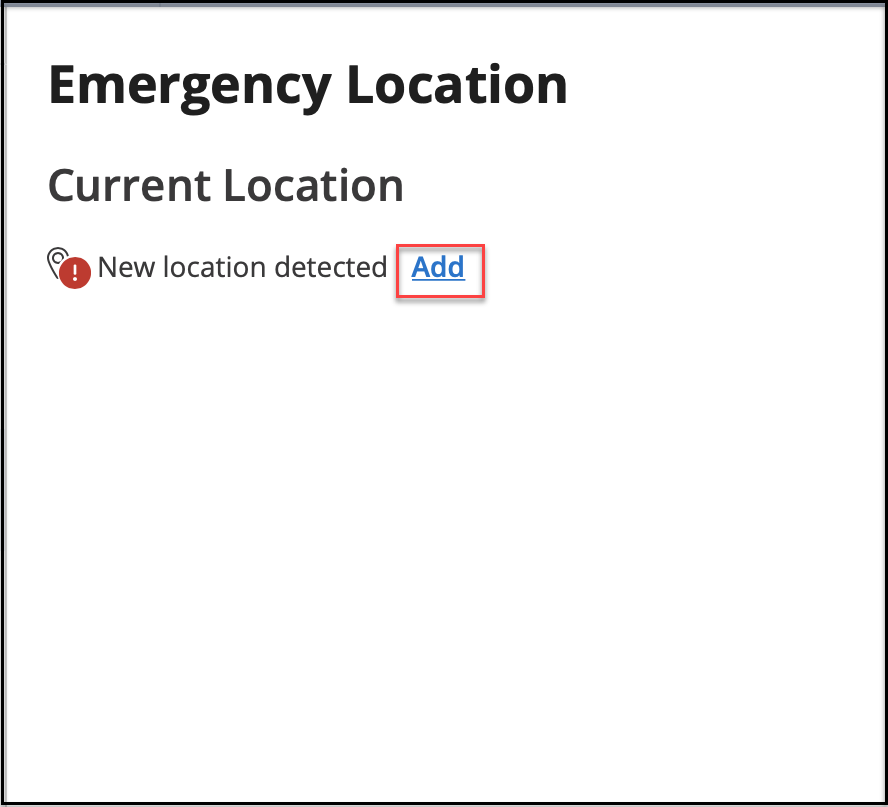
The Emergency Location page opens.
- Click on the Add option.
 Note: A MiCollab user may need to enter the Emergency Location details multiple times for the below scenarios:
- when the user is in a mesh network where they have multiple base stations (BSSID), the Emergency Location details may need to be entered against each BSSID.
- when the user is connected to the same network with different frequencies. E.g. 2.4 GHz vs 5 GHz.
For some of the networks, this may be hidden from the user; but each frequency can have its own BSSID and the user's location may need to be entered for each if the BSSID.
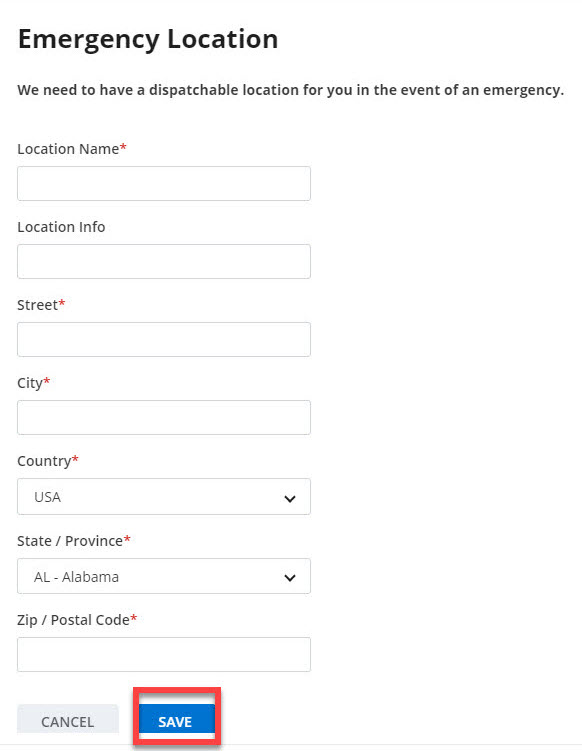
- To complete the address or location details, enter the required information in each of the fields and click on Save. Note: The Location Info field can have a maximum of 20 characters.Note: For users who have selected the Intrado service, in the street address field the address should be correctly and appropriately entered. However, depending on the location entered, Intrado may not insist on the street address being fully validated. If the address is accepted, then it is sufficient for proper emergency call routing.
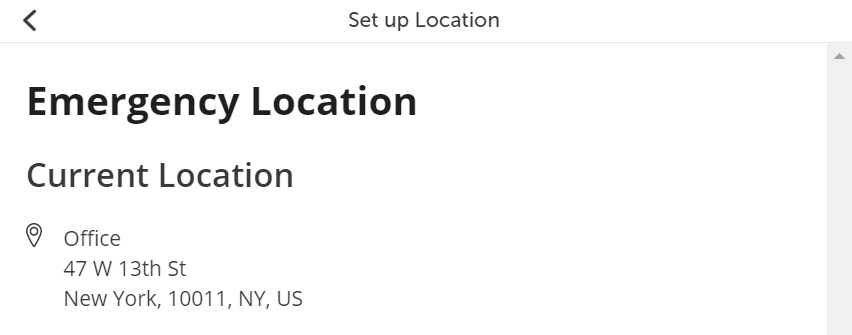
- Once the Emergency Location details are saved, the information is displayed under the Emergency Location page as Current Location.
- Click on the Emergency Location availability indicator at the bottom left of the client.
Emergency Location Notification
The Emergency Location prompt will appear when the location is not saved by the user. If the End-user prompt allowed checkbox is enabled in MiCollab Server by the administrator, in the location prompt, both Add Now and Later options would be displayed. If the End-user prompt allowed checkbox is disabled by the administrator, then only the Add Now option is displayed in the location prompt.
The Emergency Location taskbar notifications will be displayed each time when the location is saved.
- If the user has not saved a location, the following use cases can occur:
- When MiCollab Client is started or the network is changed, a pop-up notification will appear at the top of the screen with the following message:
We detected a new location that is not on your address list.
Two options, Add Now and Later are displayed in the pop-up notification which are both enabled. Click on Add Now, the Emergency Location screen is displayed, where the user can set a location by clicking on Add. If the user selects the option Later, the pop-up notification disappears from the screen, but reappears when the user logs back or restarts the MiCollab Client.Note: The user can perform other actions like making a call, sending a message, adding a new contact with the pop-up message being displayed, etc. The pop-up will disappear only if the user sets a location or clicks the Later option.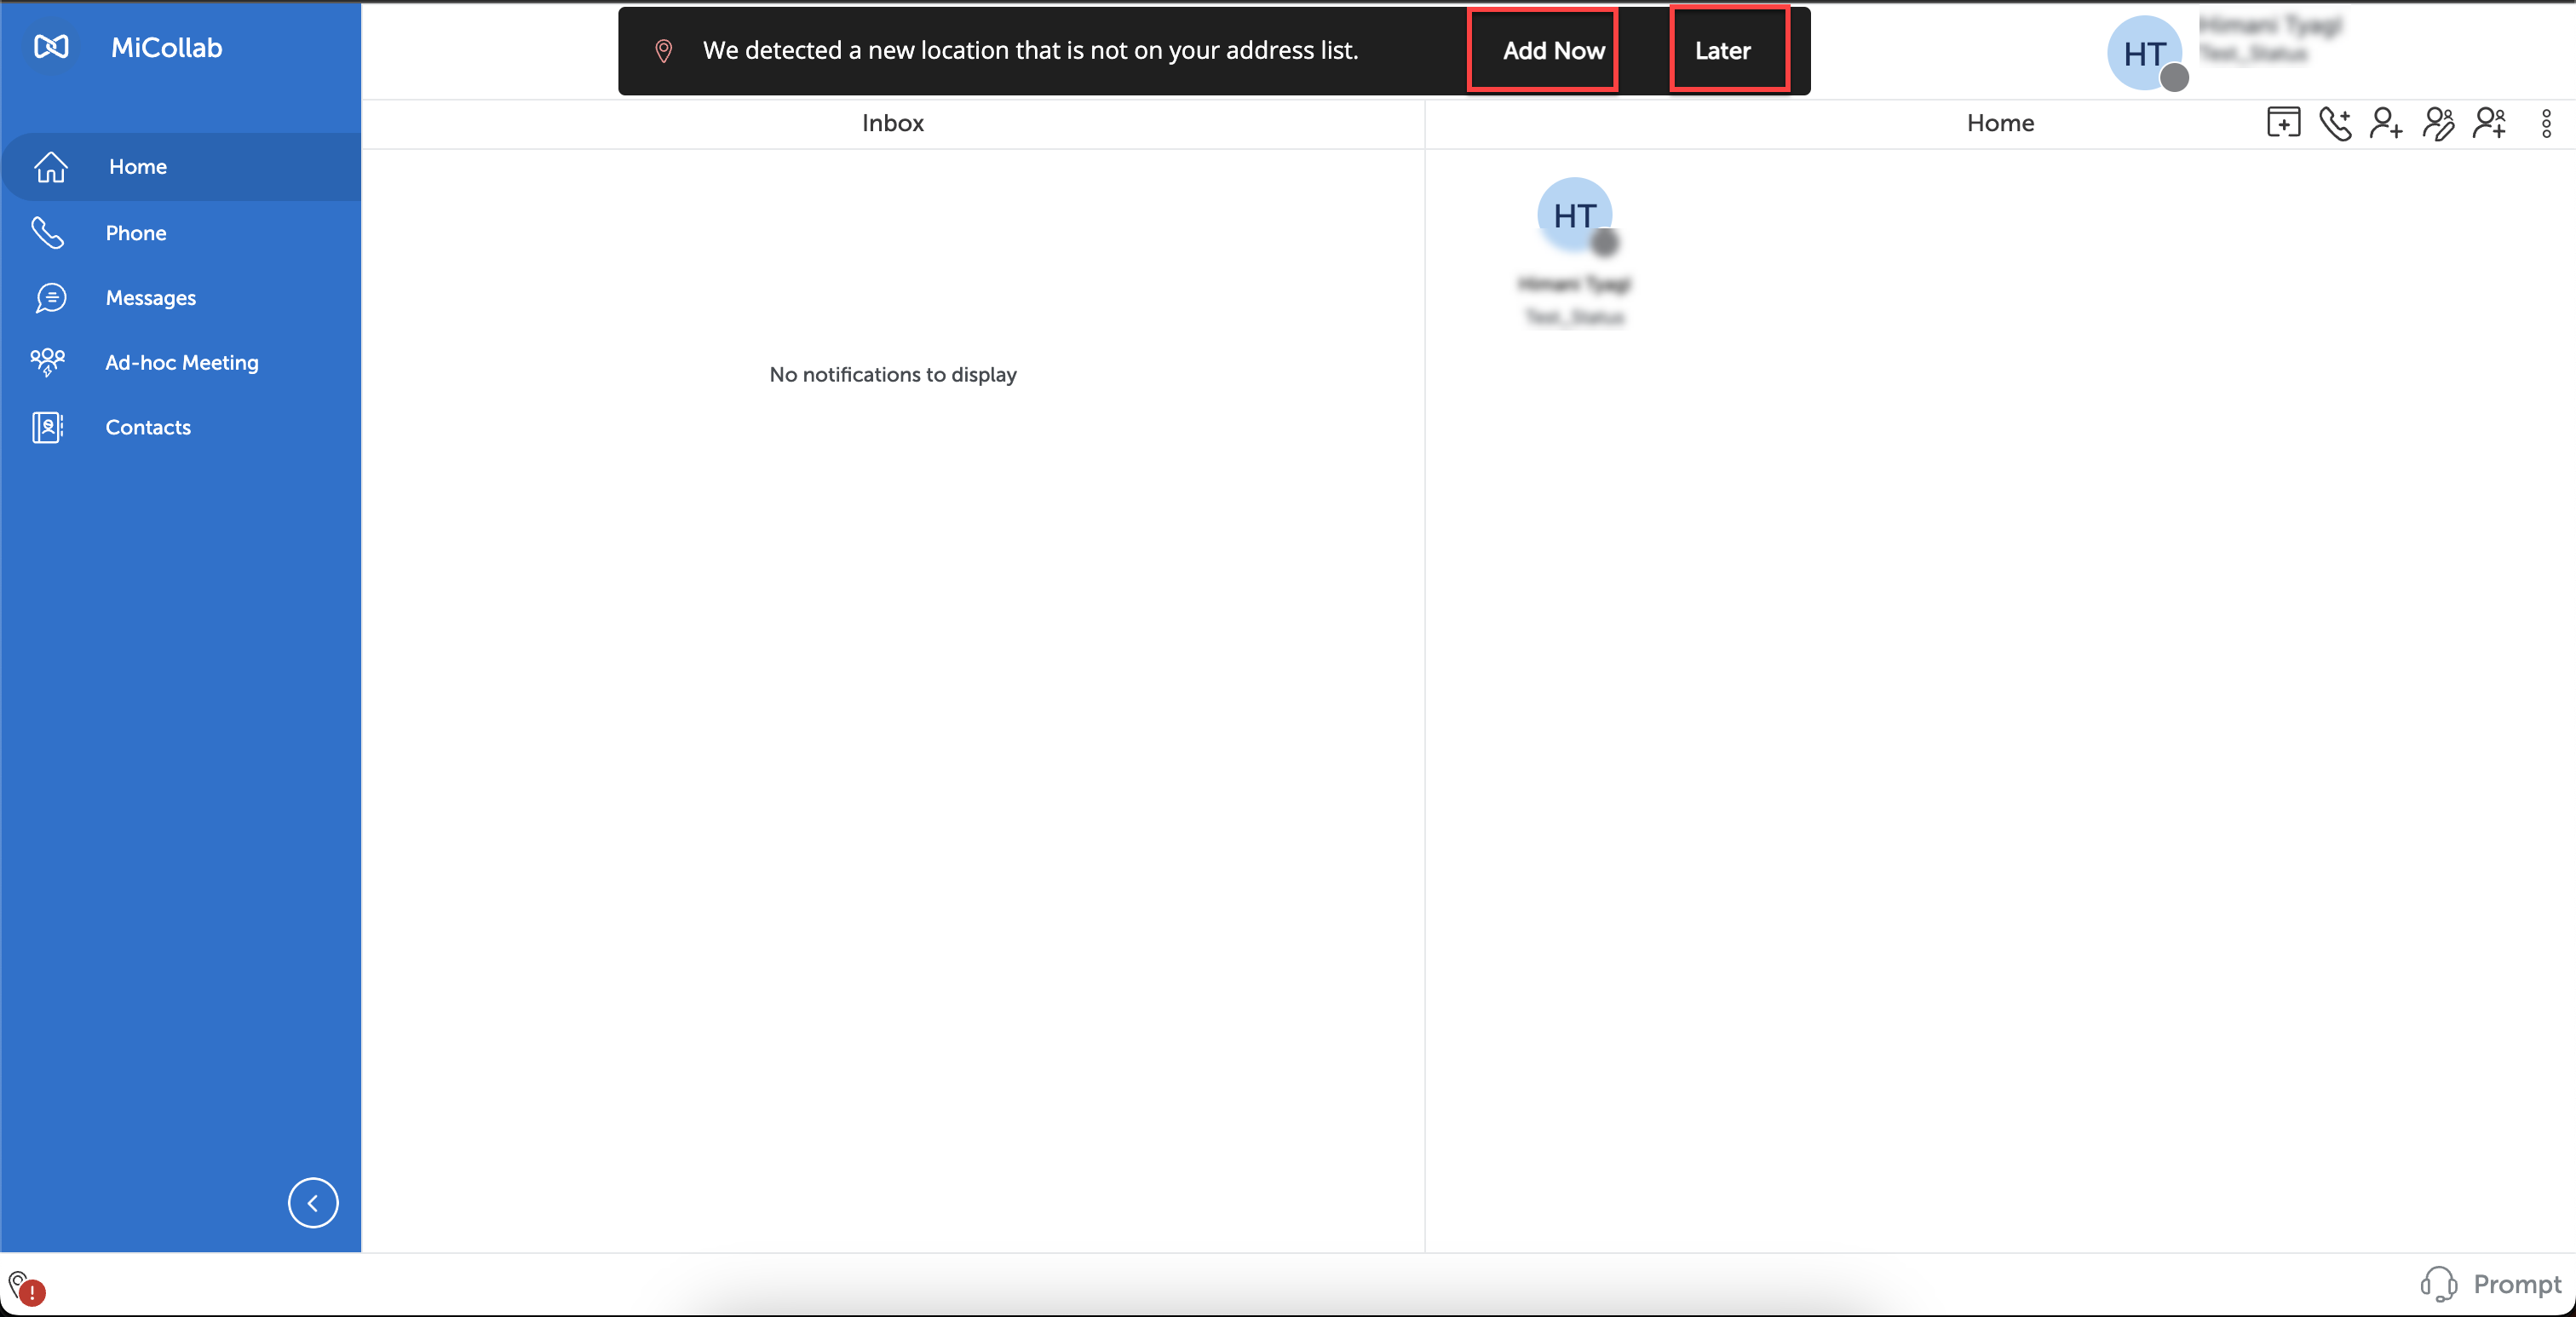
- When MiCollab Client is started or the network is changed, a pop-up notification will appear at the top of the screen with the following message:
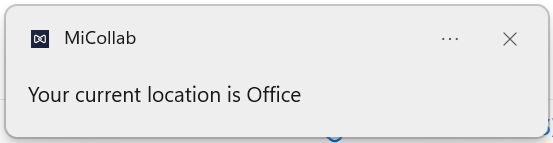
- If the user has saved a location and when MiCollab Client is started, it will display the following notification at the bottom right of the client:
Your current location is <location name>.
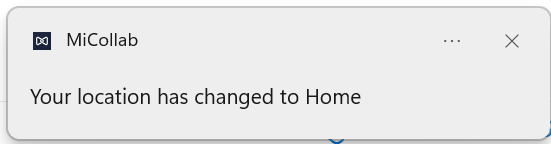
- In case if the network is changed and the current location is detected, it will display the following notification:
Your location has changed to <location name>.
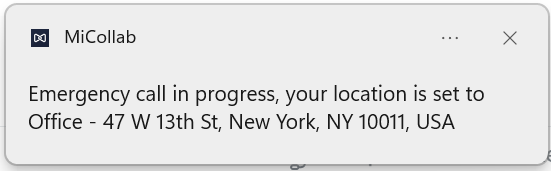
- If the location is already set and while making a 911 call, it will display the following notification:
Emergency call in progress, your location is set to <location details>.
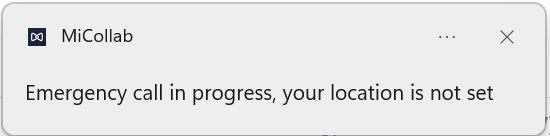
- If the location is not set and while making a 911 call, it will display the following notification:
Emergency call in progress, your location is not set.
- If the client starts on the virtual environment and no location is set, the following use cases can occur:
- When MiCollab Client is started, a pop-up notification with the message:
We detected a new location that is not on your address list.
and a taskbar notification with the message:Your administrator has indicated you are in a virtual environment. Please set and maintain your location.
would appear.Two options, Add Now and Later, are displayed in the pop-up notification, which are both enabled. Click on Add Now, and the Emergency Location screen is displayed, where the user can set a location by clicking on Add. If the user selects option Later, the pop-up notification disappears from the screen, but reappears when the user logs back or restarts the MiCollab Client.Note: The user can perform other actions like making a call, sending a message, adding a new contact, etc and other MiCollab functionalities with the pop-up message/prompt being displayed. The pop-up will disappear only if the user sets a location or clicks the Later option.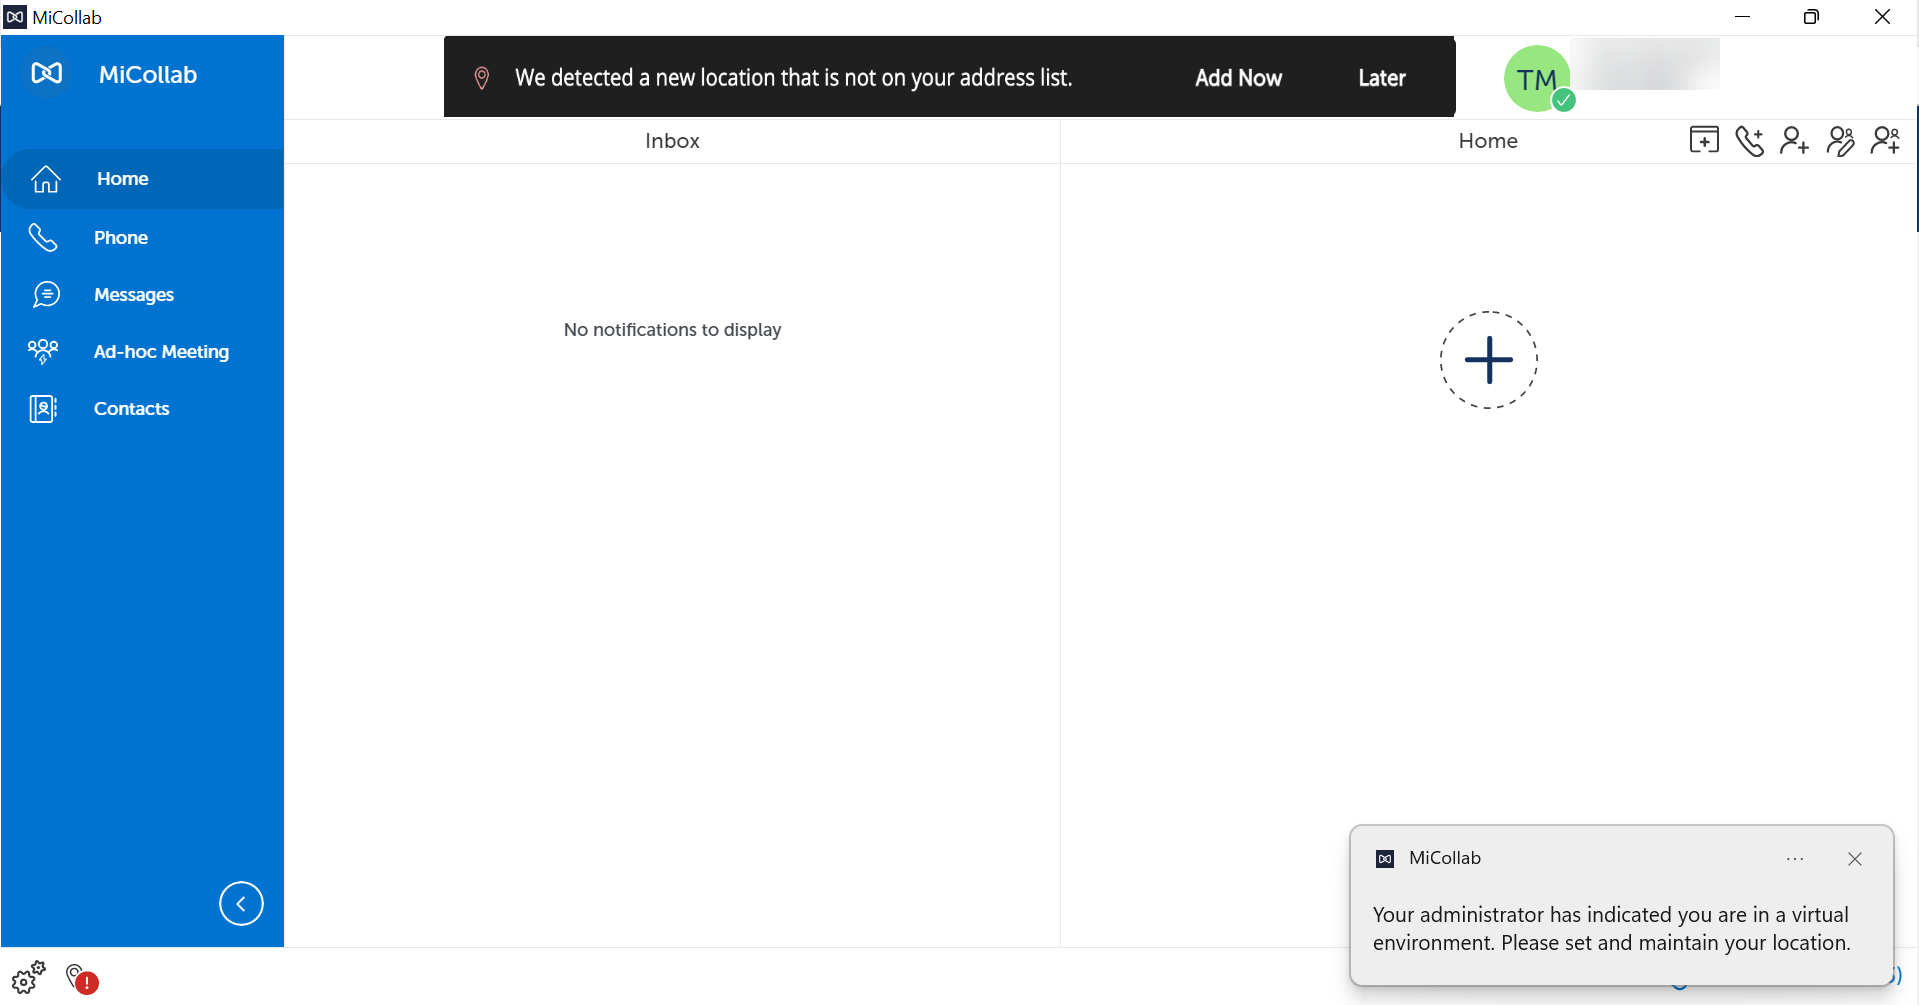
- When MiCollab Client is started, a pop-up notification with the message:
MiCollab client users need to periodically check and ensure that the correct address is displayed under the Emergency Location of the client because the client may not always detect a change in location. This check should be done when you start/restart the client or change the location, to see if the new location change is reflected in the client. Specifically, if the user's network is provided by a 4G/LTE Hotspot, or tethered mobile phone, or other mobile devices, then the client will not detect a change in locations.
In case if you have enabled Intrado as your service, you can have only one address for one network information. If you modify it, the service will keep updating the existing record without creating a new one.
Editing the Emergency Location details
To edit or modify the location settings,
- Click on the Edit option, which appears next to the Current Location when hovering over the details.
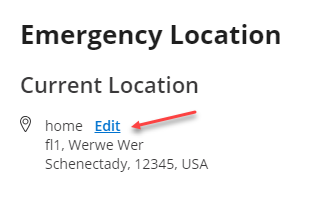
- Modify the fields or copy the current information from the Copy from option and click on Save.
