Log in to MiCollab Client
MiCollab for PC and MAC Clients
- Using the link in the deployment e-mail:
- Click the link provided in the deployment e-mail message. This opens the MiCollab Client application.
- Click Accept on the license agreement screen.
- Enter the password provided in the welcome e-mail message and click Apply.
- Using the authentication code in the deployment e-mail:
- Open the MiCollab Client application.
- Copy and paste the authentication code provided from the deployment e-mail and click Apply.
- If this is not your first login, click Import to import the user data. Click Accept on the license agreement screen. Enter the password provided in the welcome e-mail message and click Apply.
- Using the MiCollab Web Client:
- With MiCollab Client (PC or MAC) running in the background, log on to MiCollab Web Client and click the QR code (User Profile > Settings > General > Self Deployment).
- Click Open MiCollab. This opens your PC or MAC Client.
- Click Accept on the license agreement screen.
- Enter the password provided in the welcome e-mail message and click Apply.
- Using the UPN
You can also log in to the MiCollab Client using the UPN (User Principle Name) field from Azure AD.
CloudLink-based Authentication
- Open MiCollab Client.
- Click Accept on the license agreement screen.
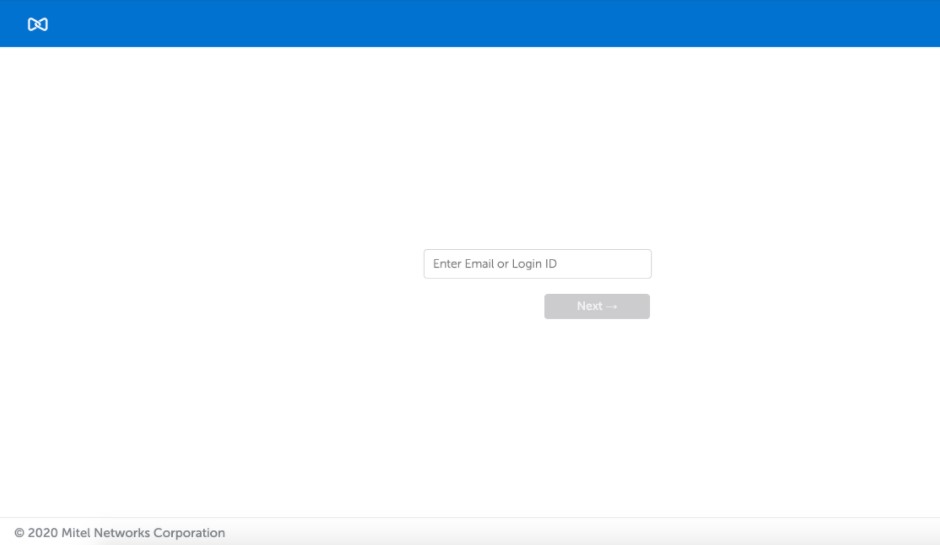
- Enter the Email ID or login ID (received in MiCollab Welcome
email) and click Next. Note: The login page displays only the username field.
- If CloudLink-based Authentication is enabled, the MiCollab server
will proceed for subsequent login through the CloudLink Unified
login page.
- If Azure AD is not integrated: In the CloudLink Authorization page, use your CloudLink password. This password must be setup with the help of CloudLink welcome email. Check emails from no-reply@mitel.io to setup your password if not done already.
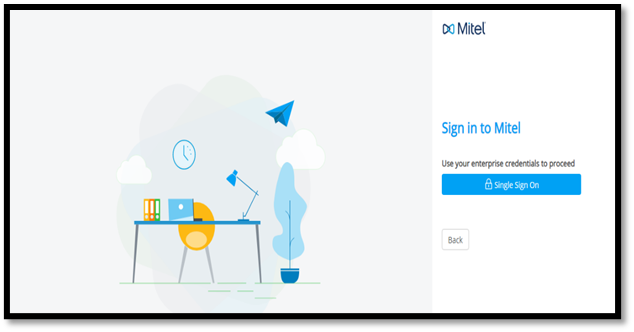
- If Azure AD is integrated: In the CloudLink Authorization page, use your enterprise credentials to login.
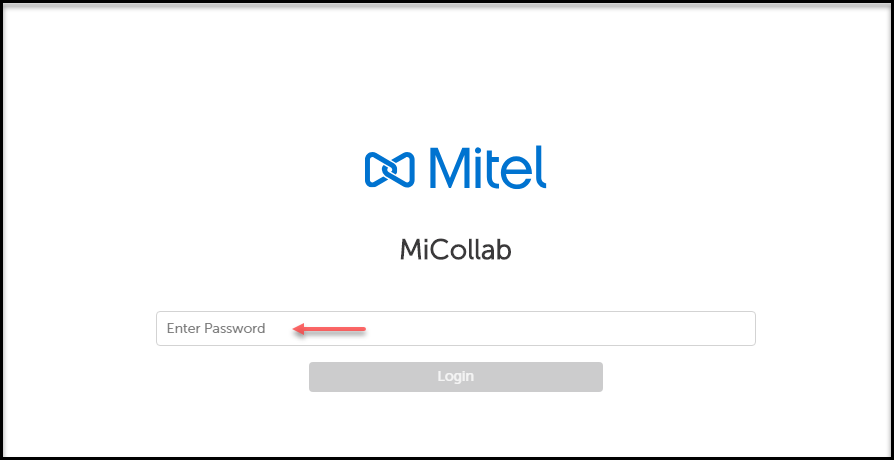
Note: The E-mail is auto-populated on the CloudLink Sign-in page.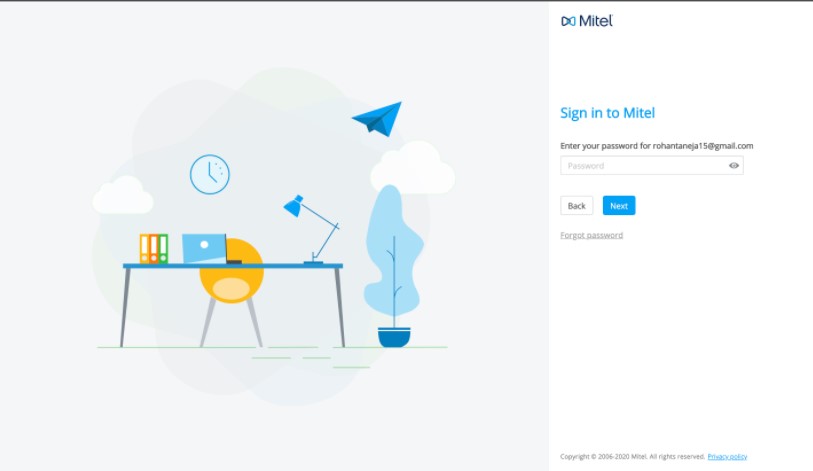 Note: If CloudLink-based Authentication is not enabled, then the following authentication page is displayed. Enter the password to log in to your MiCollab Client.
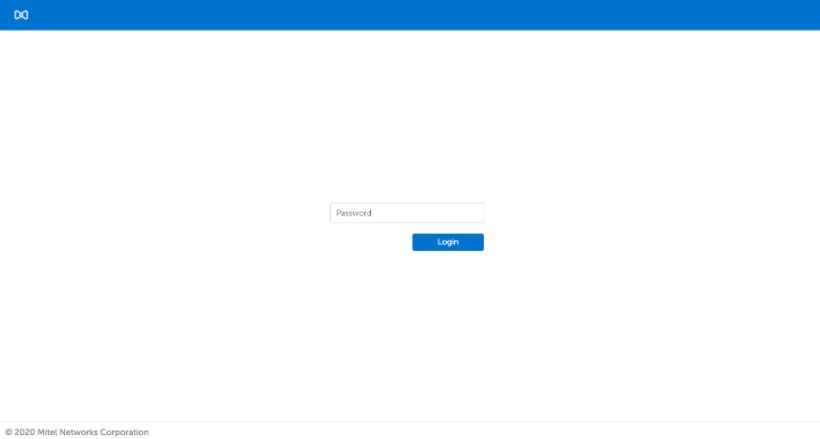
- On successful password authentication, you might be prompted to enter a second-factor authentication code, for example, OTP (based on Multifactor Authentication configuration done on Azure AD behind CL platform).
- After the successful multifactor authentication, the Client is presented with the progressing screen followed by MiCollab Home Screen. With this the CloudLink-based authentication is complete and you can use the MiCollab Client features.
Manual login for native clients
CloudLink Authentication also supports manual login in native clients (iOS, Android, PC, and MAC OS).
Perform the following steps for manual login for the native clients:
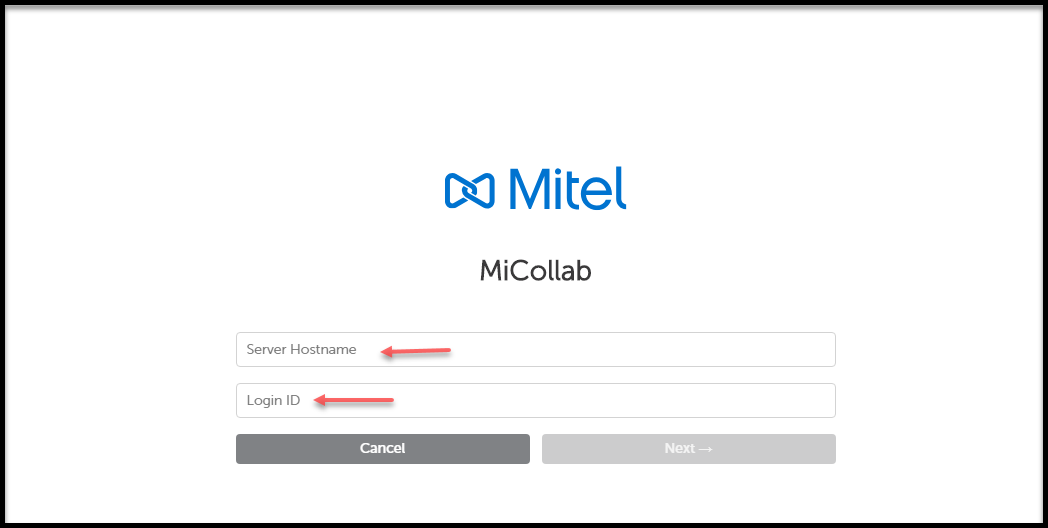
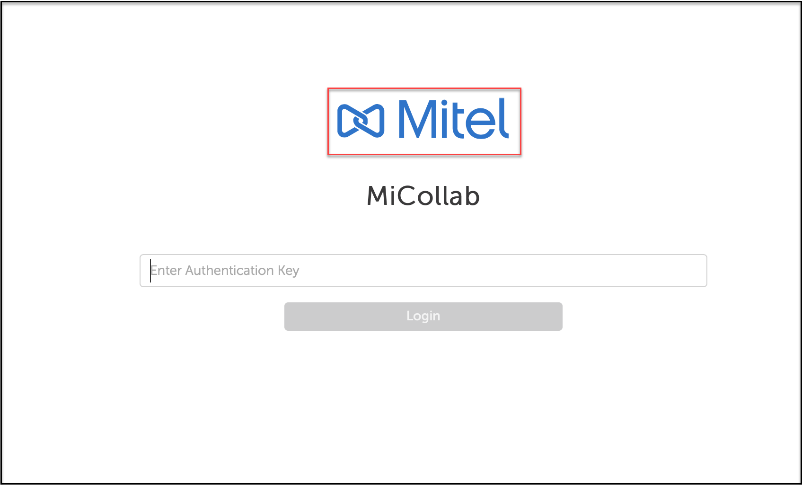
Tap on the Mitel logo three times to open the Manual Login screen.
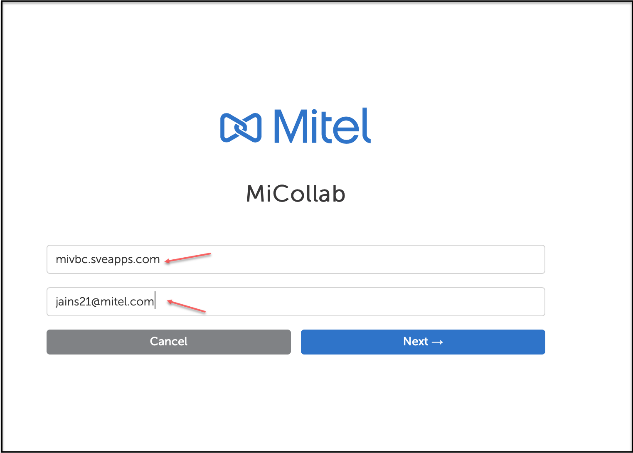
In the Manual login screen, enter the Server Hostname and Login ID/Email ID.
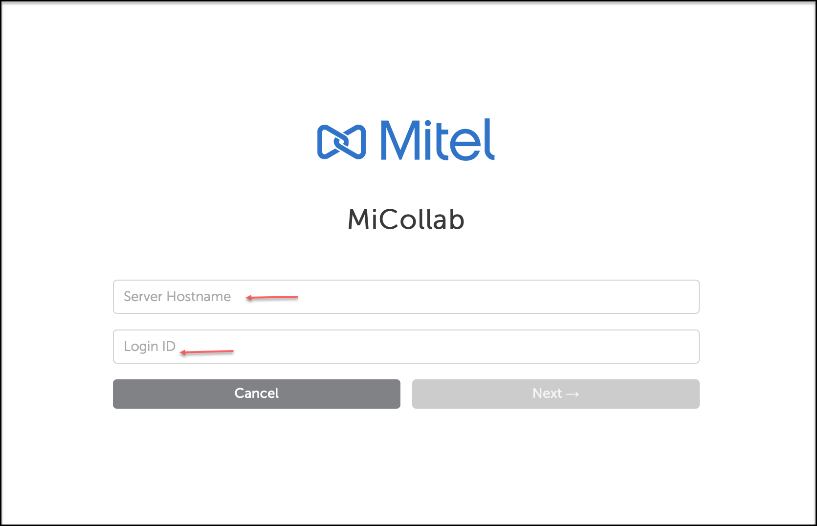
Click Next.
If CloudLink-based Authentication is enabled for the user, the MiCollab client will proceed for subsequent login through the CloudLink Unified login page.
Azure AD is integrated: In the CloudLink Authorization page, use your enterprise credentials to login.
Azure AD is not integrated: In the CloudLink Authorization page, use your CloudLink password. This password must be setup with the help of CloudLink welcome Email. Check Emails from no-reply@mitel.io to setup your password if not done already.
Note:In case the MiCollab Client version 9.2 is upgraded to 9.3 after the MiCollab server upgrade to 9.3, then MiCollab Mobile Client does not direct to the Single Sign-On page in this step.
Perform below few steps for the MiCollab Mobile client to enable to SSO page:
Click on the Back button on the Password page.
Enter the username.
- Click Next.
The Mobile Client then directs the user to the Single Sign-On page followed by the password page.
Note: The Email ID is auto-populated on the CloudLink Sign-in page.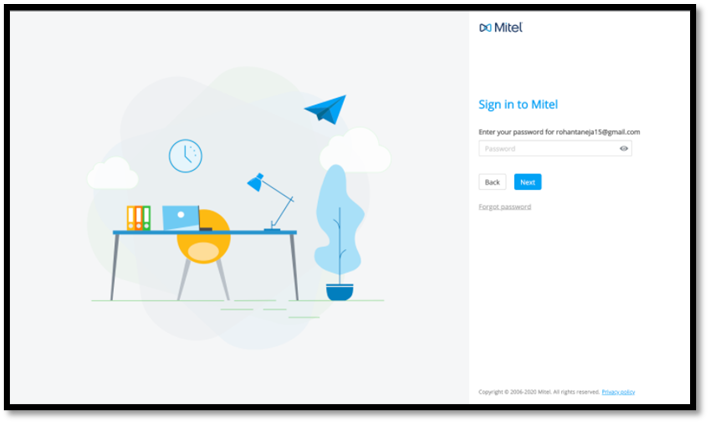
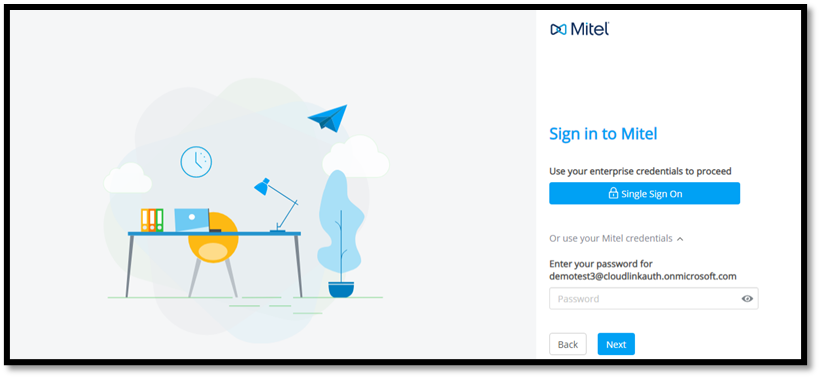
Azure AD is integrated along with the field Enable Mitel Credentials (optional) over CloudLink Portal: In the CloudLink authorization page, you can use the credentials which were used to verify the account over CloudLink Portal (check Emails from no-reply@mitel.io to setup your password).
If CloudLink-based Authentication is not enabled, then the user proceeds for MiCollab Authentication, and on providing the Email/Login ID on the same page, next the password page opens.