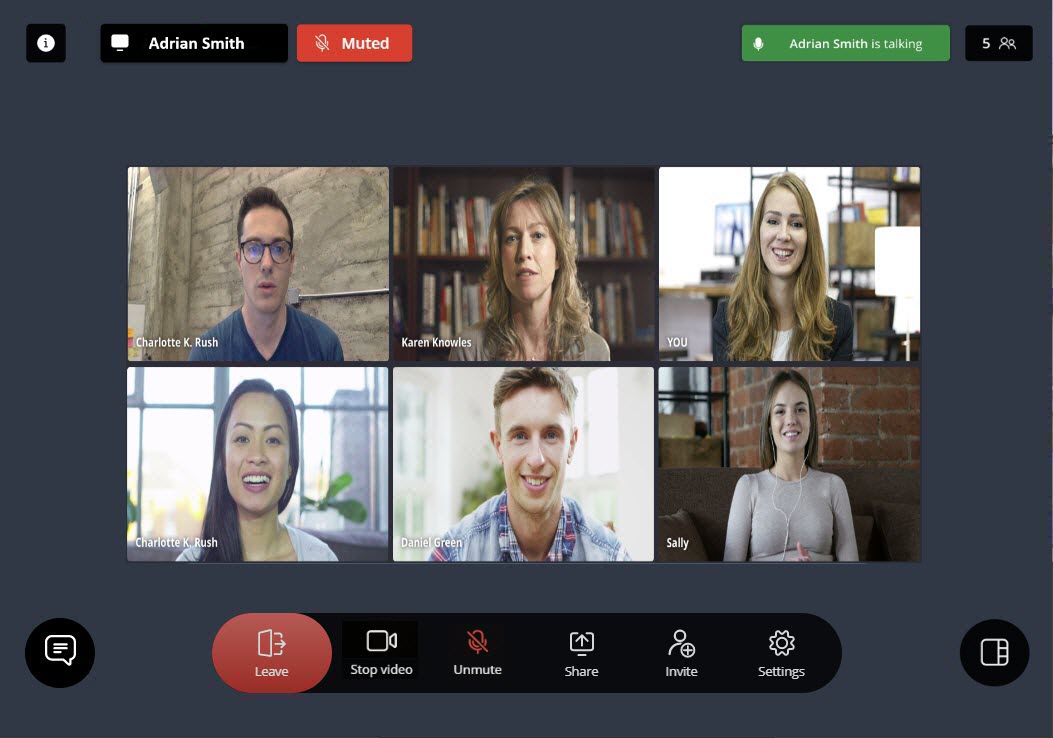
Following are the various controls displayed during an ongoing meeting. Click any of these controls to invoke the feature:
| Control | Function |
|---|---|
|
Click this icon to leave an ongoing meeting.
|
|
|
Click this icon alternately to turn on and turn off your camera. |
|
|
Click this icon alternately to mute and unmute your mic. |
|
|
Click this icon alternately to start and stop screen sharing during a meeting. |
|
|
Click this icon to invite more users to an ongoing meeting. |
|
|
Click this icon to open the Settings menu. |
|
|
This icon indicates that all the participants invited to the meeting will be automatically accepted into the meeting. Note: This icon will be displayed only if you have joined a meeting as a Registered User.
|
|
|
During Video Tiles mode, click this icon to switch to Active Talker mode. The Active Talker mode will switch the large video window between whoever speaks during a meeting. |
|
|
During Active Talker mode, click this icon to switch to Video Tiles mode. The Video Tiles mode will display the video of all the participants in the meeting who have their video turned on, and the avatar of the participants who have their video turned off. Note: By default, you will join a meeting in Video Tiles mode.
|
|
|
During Active Talker mode or during Screenshare, if you have the video tiles of participants turned on, click this icon to switch to List view. You will no longer see the video of other participants, even though others in the meeting can see your video. |
|
|
During Active Talker mode or during Screenshare, if you have the video tiles of participants turned off, click this icon to switch to Video tiles view, which will enable you to view the video of all the participants in the meeting who have their video turned on. |
|
The meeting creator will see this icon on the top right of the screen. Clicking this icon opens a panel where the meeting creator can select which users will be sent to the waiting room before being accepted into the meeting.
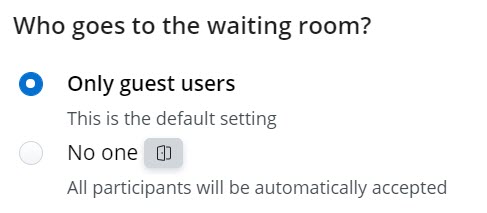
For more information about which users goes to the waiting room before joining a meeting, see the FAQ Who goes to the waiting room before joining a meeting?. |
|
|
Click this icon to toggle on and toggle off the chat window. All the chat messages transmitted during a meeting can be viewed in the chat window. |
|
|
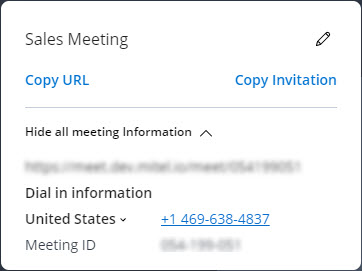
Clicking this icon opens a panel where you can do the following:
 |
|
|
This icon on the top left of your screen is the Screenshare indicator. It displays the name of the participant who is sharing the screen during a meeting. The Screenshare indicator will also display an Undock icon ( Clicking the Undock icon ( |
|
|
This icon on the top left of your screen indicates that you are on mute. You can click this icon to unmute your mic. When you Push to Talk, the icon changes to |
|
|
This icon on the top right of your screen is the Active Talker indicator. It displays the name of the speaker during a meeting. |
|
|
This icon appears in the User Tile of users encountering issues with the network or an outage during the call. The audio and video communication with these users might be affected while this icon is displayed. This icon will disappear when the connection with these users is properly re-established. |
|
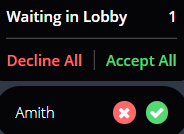 |
A registered user will see this prompt during an ongoing meeting to accept or reject the guest users in the Waiting Room into the meeting. Click Accept All to allow these users into the meeting. Click Decline All to prevent these users from joining the meeting. To accept or decline specific users, click the |
| Push to Talk |
When you are on mute, press and hold the Spacebar to unmute your mic. Releasing the Spacebar will mute your mic again. You can also mute and unmute your mic alternately by quickly tapping the Spacebar twice in succession. |
| Push to Mute |
When your mic is unmuted, press and hold the Spacebar to mute your mic. Releasing the Spacebar will unmute your mic again. You can also mute and unmute your mic alternately by quickly tapping the Spacebar twice in succession. |
In addition to the various controls mentioned above, there are controls that are displayed on hovering over the User Tile.
| Control | Function |
|---|---|
|
To mute a user during the meeting, hover over the user tile of that user and click the |
|
|
Remove |
To remove a user from a meeting, hover over the user tile of that user. The |
| Pin |
A registered user or a guest user can pin a user tile during an ongoing meeting. To pin a user tile, hover over the user tile. The |