Create HTTP Integration
To create an HTTP Integration in Workflow Studio, perform the following steps:
- Log into Workflow Studio.
- Under Library, click Integrations.
- In the Integrations Hub, click
 icon on the HTTP Integration tile.
 - Click Connect to create a new connection.
- Click Next.
- Click Add new to add a connection using Basic authentication or API Key.Figure 1. HTTP Integration - Add connection
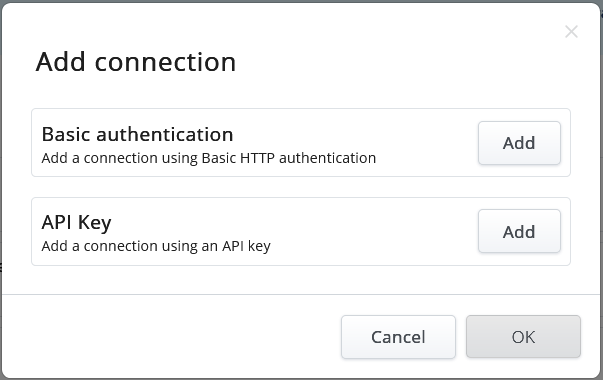
- In the Add connection screen, there are two options:
- Basic authentication: A username and password are passed inside the header to be validated on the receiving end.
- API Key: an API key is sent in the header, body, or query string as part of the request, which is validated on the receiving end.
- Click Add next to the above option as required.
- Click OK.
- Click Complete Setup next to the selected connections.
The Configure this connection screen is displayed based on the selected options.
If the option is selected as Basic Authentication, the following screen is displayed.
Figure 2. Configure this connection - Basic Authentication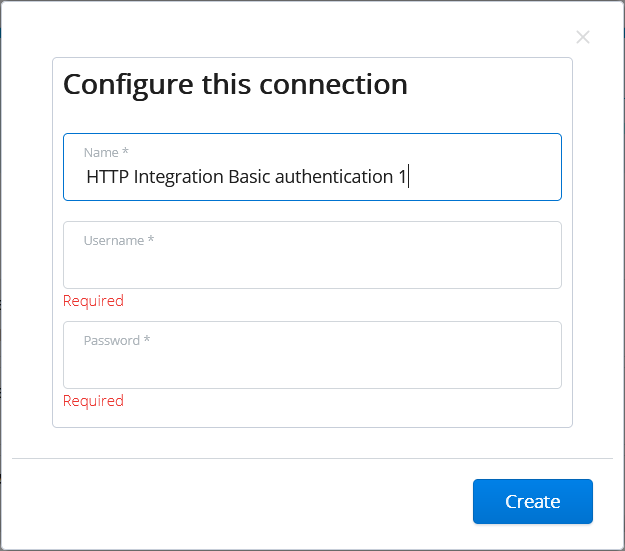
- Provide the following details on the Configure this connection – Basic Authentication screen. For more information on fields, refer to the field description table.Note: Mandatory fields are marked with an asterisk (*).
Table 1. Basic Authentication – Field Description Field Description Name
Enter the name of the connection used to identify the integration connection when creating the activity.
Username
Enter the username defined in the HTTP provider configuration.
Password
Enter the password defined in the HTTP provider configuration.
If the option is selected as API Key, the following screen is displayed.
Figure 3. Configure this connection – API Key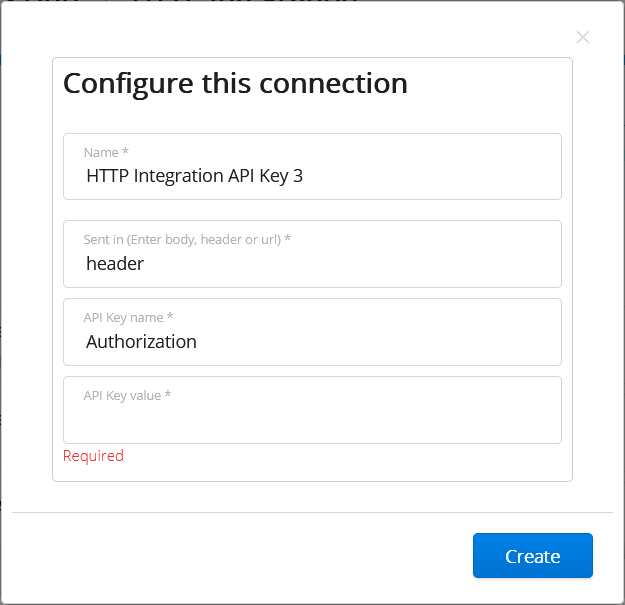
- Provide the following details on the Configure this connection – API Key screen. For more information on fields, refer to the field description table.Note: Mandatory fields are marked with an asterisk (*).
Table 2. API Key – Field Description Field
Description
Name
Enter the name of the connection used to identify the integration connection when creating the activity.
Sent In (Enter body, header or url)
Enter one of three options in the text box: body, header, or url. The default is a header; depending on the external application, it may require the API Key to be passed in the header or URL.
API Key name
Enter the field name in the provider's application where the API Key resides; this is passed along with the API Key value. The default is Authorization.
API Key value
Enter the API Key, which can be found in the configuration of the external application.
- Click Create once the required fields have been populated.
The Connection Complete screen is displayed to confirm the success of the third-party integration.
- Click Continue.
The newly created connection is displayed in the list.