Add new connection
This topic provides step-by-step instructions on how to add new connections for connected and not-connected products.
To add a new connection for a product that doesn't have any existing connection, perform the following steps:
- On the Workflow Studio home page, under Library, click Integrations.
The Integrations Hub page is displayed.
- On the Integrations Hub page, under the Not connected integrations section, click on the See details button next to the product you want to integrate.
The Add new connection page is displayed.
Figure 1. Add new connection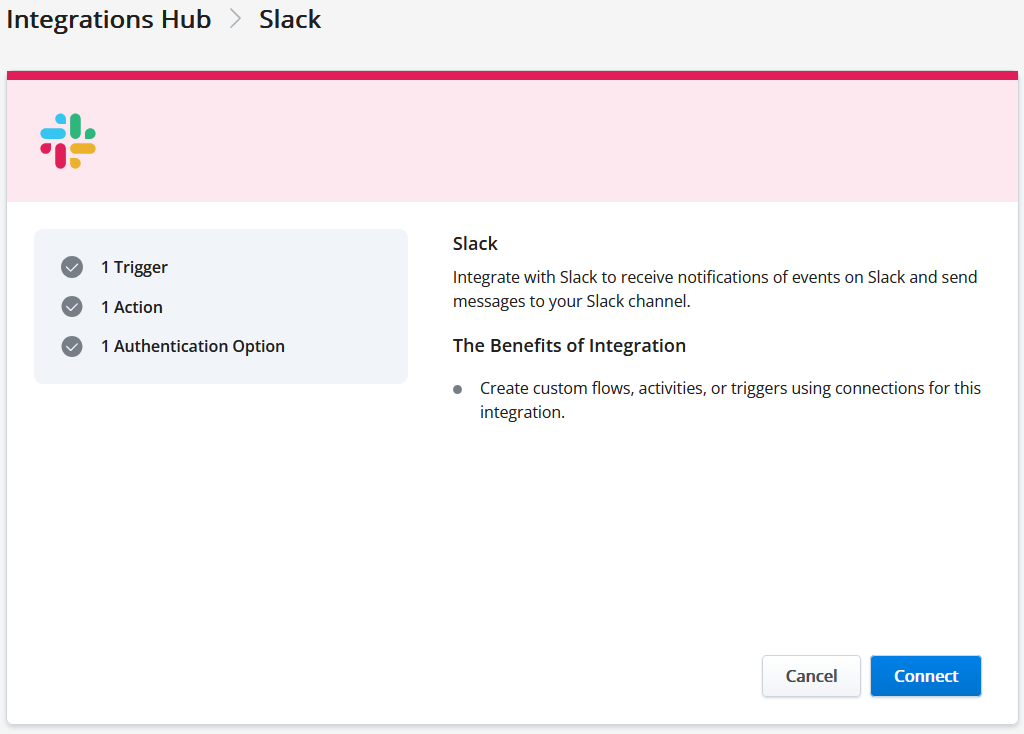
- Click Connect.
The Add new connection – Getting Started page is displayed.
Figure 2. Add new connection – Getting Started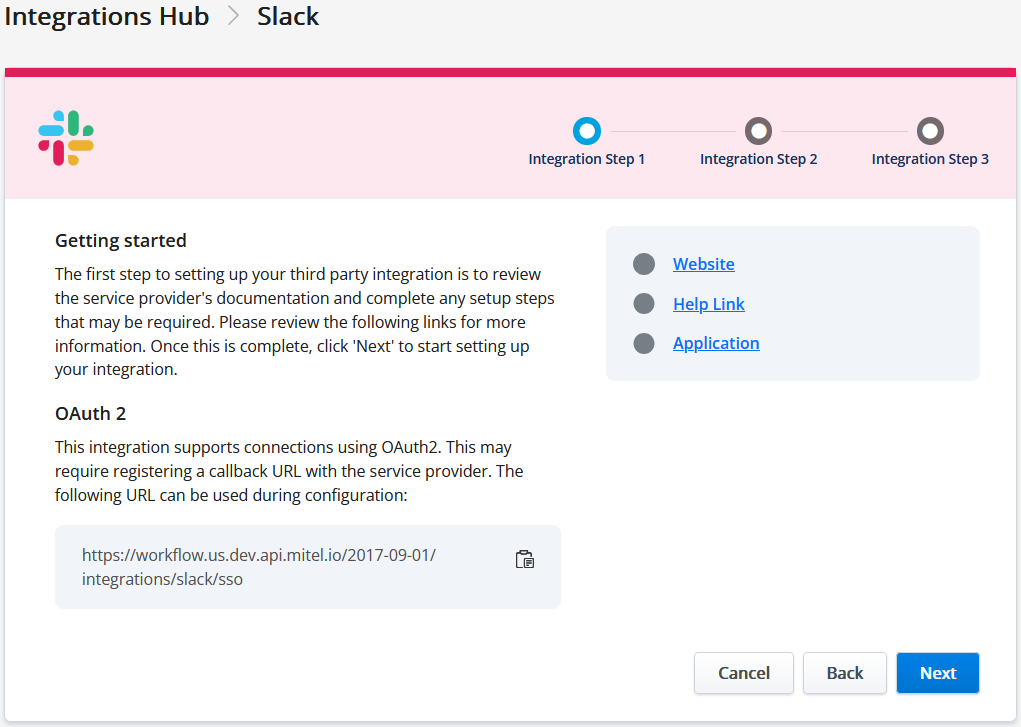
- Click Next.The Add a connection to get started page is displayed.Figure 3. Add a connection to get started
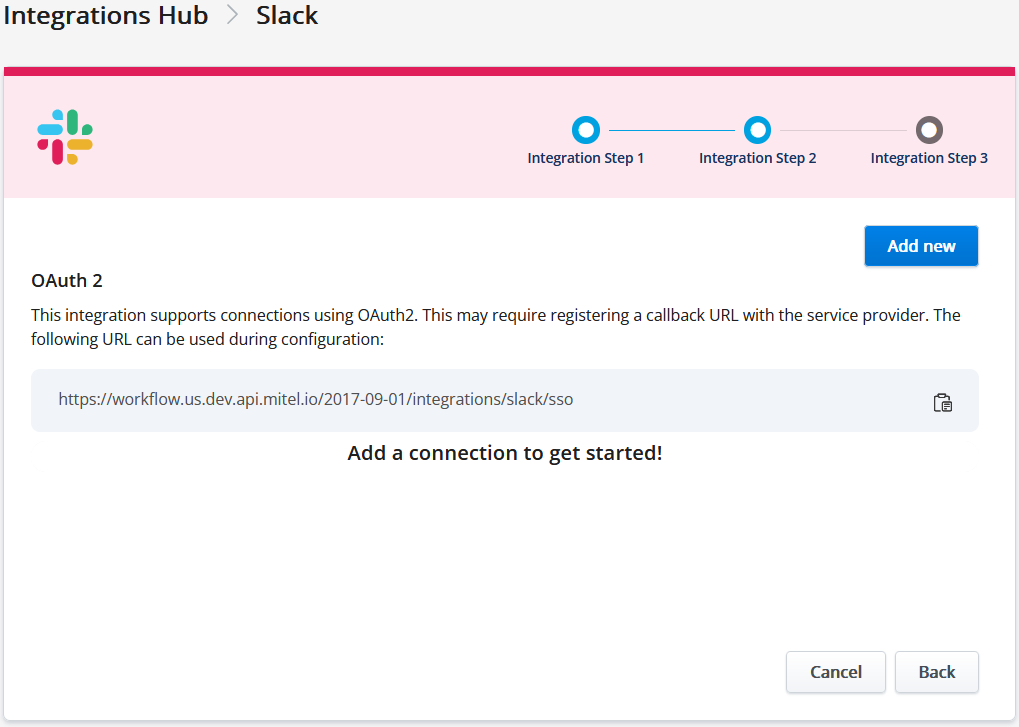
- Click Next.
The Add new connection – Complete Setup page is displayed.
Figure 4. Add new connection – Complete Setup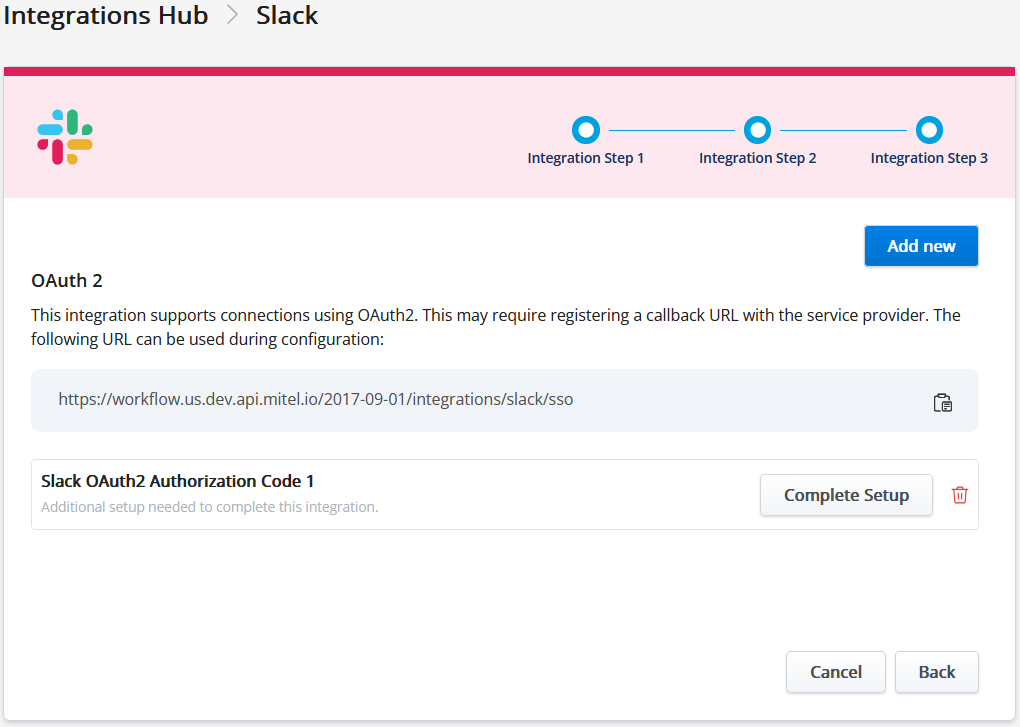
- Click Complete Setup.
The Configure this connection popup screen is displayed.
Figure 5. Configure this connection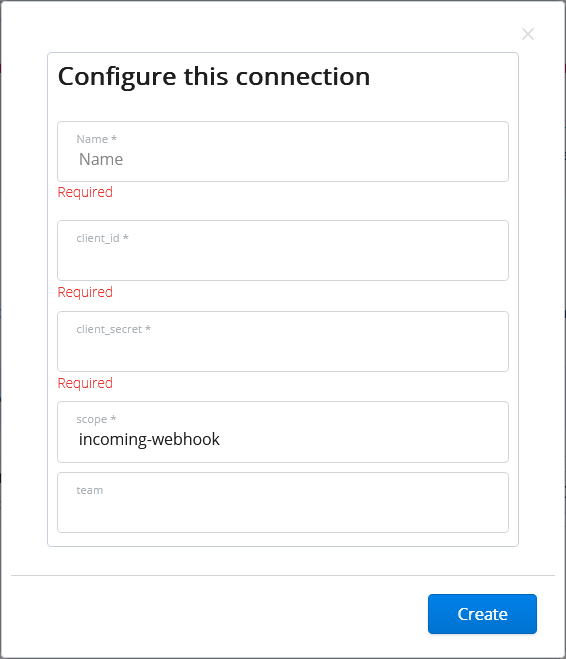
- On the Configure this connection screen, enter the required details in the respective fields.
- Click Create.
The Success message for third-party integration is displayed.
To add a new connection for an integrated product, perform the following steps:
- On the Integrations Hub page, under the Connected Integrations section, click
 icon next to the integrated product you want to configure.
 - Click Add New.
The Add connection popup screen is displayed when the integration has multiple connection types.
Figure 6. Add connection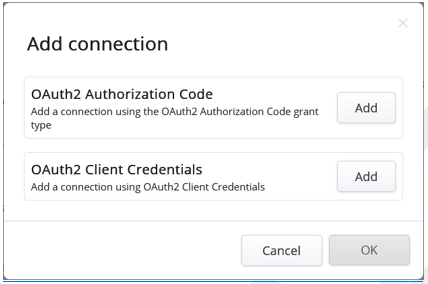
- Click Add next to the connection type you want to use for the integration.Note: The connection type will vary depending on the Integrations. Refer to the Integrations chapter to know the applicable connection type for each integration.
- Click OK.
- Click Complete Setup.
The Configure this connection popup screen is displayed.
Figure 7. Configure this connectionNote: The fields on this screen differ based on the added integration. - On the Configure this connection screen, enter the required details in the respective fields.
- Click Create.
Upon successful connection, the success message for third-party integration is displayed.