Contacts Menu
The Contacts menu in the Mitel One web application provides access to your business and personal contacts.
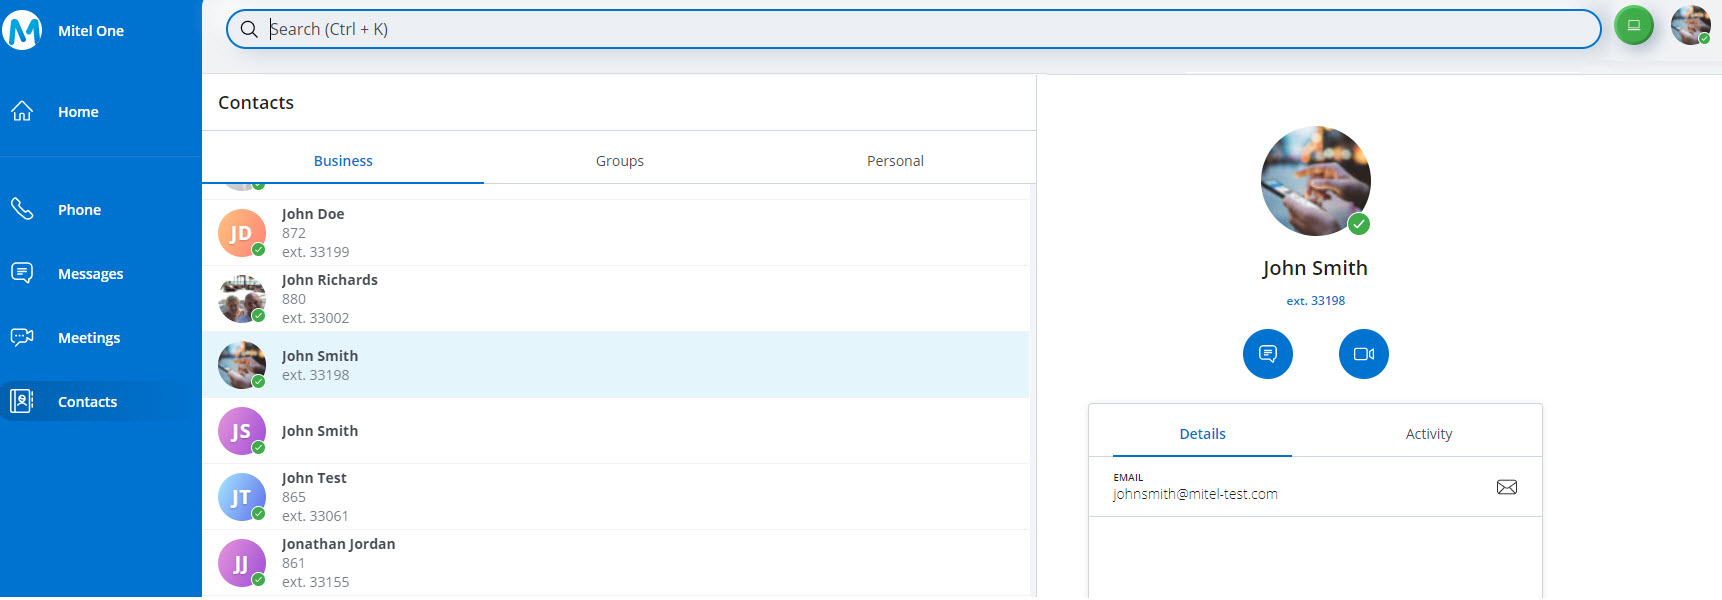
By default, contacts are displayed in alphabetical order. The number displayed below a contact’s name is the primary number. The primary number will be the first business phone number by default. If the contact does not have a business number, the mobile number becomes the primary number, and if there is no mobile number, the home number becomes the primary number.
To access the personal contacts, you must allow the application to access your Office 365 application. For more information, see Find a Contact.
The Contacts menu has the following tabs:
- Business — Displays all the business contacts of the user.
- Groups — Displays all the User Groups created in the PBX that is synced with the user's customer account.
- Personal — Displays all the personal contacts synced from the user’s Office 365 account.
Your contacts in the directory are represented by the different types of avatars listed below:
- If a contact has uploaded an image, it is displayed as that person's avatar.
- If a contact has not uploaded an image, the avatar defaults to that person's initials.
- If a contact does not have the Mitel One application, the avatar displays a blue phone icon (
 ), which means you can call this person (at the person's Mitel desk phone), but cannot message that person.
 - The avatar of a User Group created in the PBX displays the
 icon followed by the Name of the Group, if any.
To view the contact details and your recent call history with a contact, click the contact from the Contacts menu or the Home screen. The contact's information page appears. The Details section displays the phone number and email address of the user. The Activity section displays your recent call history with the user.
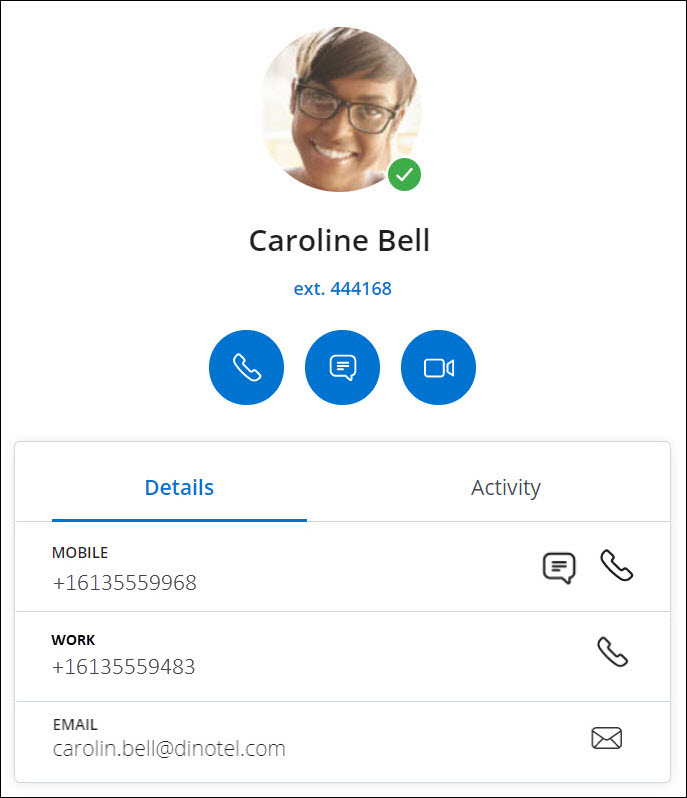
Following is a summary of how to use the icons and contact options shown in the preceding image.
 — Click this icon to call the primary telephone number of the contact.
 — Click this icon to open the messaging window where you can send a message to the contact.
 — Click this icon to start a meeting with the contact.
- MOBILE — Displays the contact's mobile phone number. Click the associated
 icon to call the contact's mobile phone number. Click the associated
  icon to message the contact's mobile phone number.
 - WORK — Displays the contact's work phone number. Click the associated icon to call the contact's work phone number.
- EMAIL — Displays the contact's email address. Click the associated
 icon to send an email to the contact.