Roles and Permissions
As a Mitel Partner you can create a custom role based on the existing Partner or Administrator role and assign these roles to one or more accounts. Once assigned to an account, these roles can be assigned to users in that account.
A role (Partner or Administrator) restricts permissions that exist on the base Partner or Administrator role to view, add, edit, assign, and delete for CloudLink Accounts application features such as Integrations & Apps, Accounts, Orders. You can specify permissions that a role allows by selecting or clearing the check boxes corresponding to the respective feature category while creating a role. After creating the custom role, you can assign it to multiple accounts.
Create a Role
Log in to the CloudLink Accounts Console as a Mitel Partner.
Navigate to User Management > Roles and Permissions option from the navigation menu on the left side of the Accounts Console Dashboard. The Roles page is displayed.
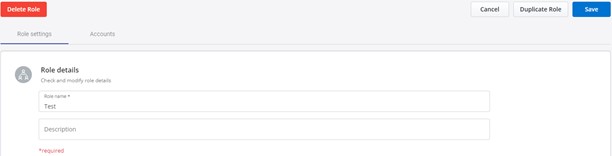
Click New Role.
Enter a name and a description (optional) for the role in the Role name and the Description fields respectively. Then select the role type under Choose the base role section. By default, Partner is selected as the role.
Expand the Permissions sections and select the permissions you want to provide for the role by selecting the check boxes corresponding to the permissions.
Click Save. A new role is created.
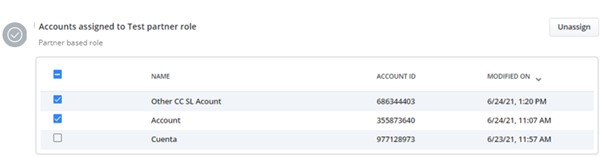
Assign a Role to Account(s)
Navigate to the Accounts tab that is displayed after creating a new role in the Roles edit page.
- Select the accounts to whom you want to assign the role.Note: Only Account Admin role can be assigned to a customer account.
Click Assign. The role is assigned to the selected accounts.
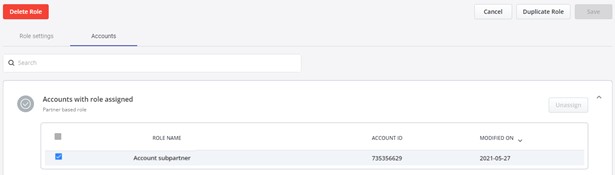
Unassign a Role from Account(s)
Navigate to the User Management > Roles and Permissions option from the navigation menu on the left side of the Accounts Console Dashboard. The Roles page is displayed.
From the list of roles, click the role that you want to unassign from accounts.
Navigate to the Accounts tab.
Select the accounts from which you want to assign the role.
Click Unassign. The role is unassigned from the selected accounts.
Delete a Role
Navigate to the User Management > Roles and Permissions option from the navigation menu on the left side of the Accounts Console Dashboard. The Roles page is displayed.
Select the role that you want to delete.
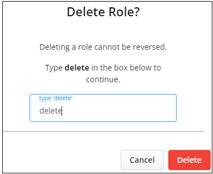
Click Delete Role button.
A confirmation dialog box is displayed. Type the word "delete" in the type 'delete' field and click Delete. The selected role is deleted. Clicking Cancel cancels the operation.
Duplicate a Role
Navigate to the User Management > Roles and Permissions option from the navigation menu on the left side of the Accounts Console Dashboard. The Roles page is displayed.
Click the role that you want to duplicate.
Click Duplicate Role. A new role is created using the previous role template. This role will have all the permissions selected as with the original role.
Edit the name and permissions as required and click Save.
Assigning Permissions
As a Mitel Partner, when you create a new role (Partner or Administrator), you can restrict or grant permissions to view, add, edit, assign, and delete for features such as Integrations & Apps, Accounts, and Orders.
By default, all the permission check boxes are selected, indicating that the role is granted with the standard permissions for the base role. To remove a permission from a role, clear the check box associated with the permission.
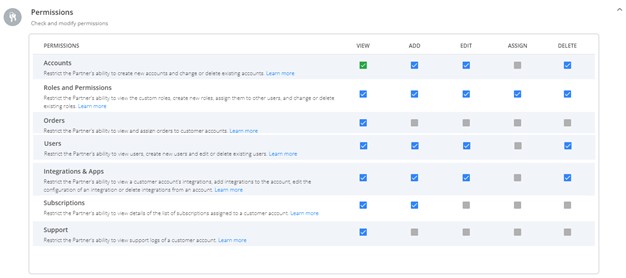
If you are creating a Partner role, the following table is displayed.
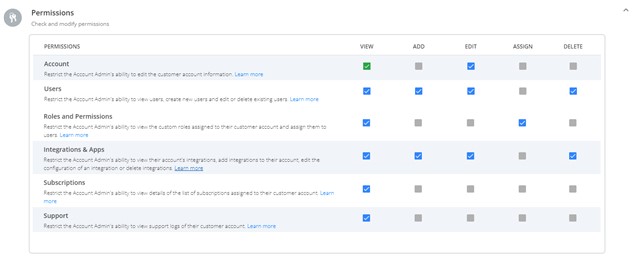
If you are creating an Administrator (Account Admin) role, the following table is displayed.
For more information about each permission see,