Groups
Groups are typically company departments such as Support, Sales, and Marketing. Organize staff into groups so that there is one number to reach members of the group. For example, you could have a sales team and group their phones together under one directory number.
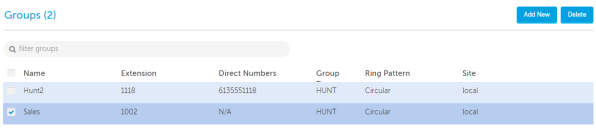
From the Groups view you can add and modify groups to the system, and also delete them from the system.
Add a group
Add Groups by following a series of steps highlighted in the task menu bar. The following image shows that the Administrator is at step 3 of the Add New Group task.

To add a Group:
Click Groups → Add New.
Enter a unique name for the group and select the group type. Fields marked with an asterisk (*) are required.
Select the group type.
Click Next.
Do one of the following:
If you selected ACD Group:
Select the site where this group resides, the extension number, and enter the reporting number.
Click Next.
Using the search box, add members to the group.
When you start adding members to a group, you can enter any number for a member that you want. However, that number must already exist in the system, for example as a speed dial or a device created in MiVoice Business.
If you selected Hunt Group:
Select the site where this group resides, the number an external caller can reach this group directly, and direct number(s).
(optional) Click Enable Voicemail and enter the requested information.
Click Next.
Using the search box, add members to the group.
Select either circular or terminal order to ring group members.
Click Next.
(optional) Click Prevent customer administrators from deleting this group (editing the group is still possible).
Click Voicemail Settings.
Choose the mailbox type, where you want callers forwarded when they dial 0, how long to keep messages before they are deleted, the maximum number of messages to hold in your mailbox, and whether you want embedded UM enabled.
Click Call Handling Rules.
Choose options for handling calls when unable to answer, on another call, during the day, at night, and on an alternative night.
If you selected Page Group:
Select the site where this group resides and the extension number.
Click Next.
If you selected Pickup Group:
Select the site where this group resides.
Using the search box, add members to the group.
(optional) Click Prevent customer administrators from deleting this group (editing the group is still possible).
(optional) Click Enable Auto Pickup.
If you selected Ring Group:
Select the site where this group resides.
Select the number an external caller can reach this group directly.
Select the extension number.
(optional) Click the Enable Voicemail check box to enable voicemail and then enter your voicemail passcode and email forwarding details.
Click Next.
Using the search box, add members to the group.
Select whether you want group members to handle calls on one or more additional key lines.
Select the order you want group members rung.
Click Next.
Click Save.
Modify a group
When you need to add or update group members or settings, click the appropriate tabs on the menu bar. The following image shows that the Administrator is at step 1 of the Sales group tasks.
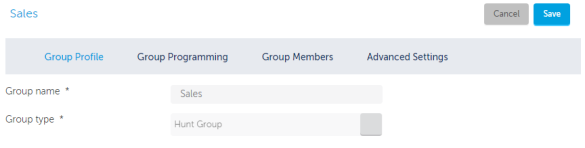
To modify a Group:
Click Groups and then click the group's name.
Select the details that you want to modify from the task menu bar, for example Group Members.
Make the changes and then click Save.
Delete a group
When you no longer need a group, you can remove it from the system.
To delete a Group:
Click Groups.
Click the check box for the Group you want to delete.
Click Delete.