Setting up a repository
The MiVoice Business Migration Tool requires the MiVoice
Business 9.0 or later software file for the migration (migration
with media replacement, full
migration, or migration
of an unlicensed system). The tool supports the following repositories
for the storing software file:
NOTE: This
procedure is not applicable if you performing a pre-migration audit.
Software image zip file
Ensure that you have downloaded the software zip file corresponding
to the software on the replacement HDD/CF (For example,
MiVB_ppc_image_9.1.x.x.zip)
from the Software Download
Center page on Mitel MIACCESS.
Internal repository (Recommended)
The following procedures provides the instructions to set up an internal
repository:
In a local repository, create a new folder with
the software load number as the folder name. For example, C:\XYZ\9.1.x.x.
Unzip the software zip file (For example, MiVB_ppc_image_9.1.x.x.zip)
to the folder created in the previous step.
External repository (Optional)
Set up an HTTP Server and a Custom Repository:
The following procedure provides instructions to set up
an HTTP repository as custom repository:
Before you begin
Ensure that:
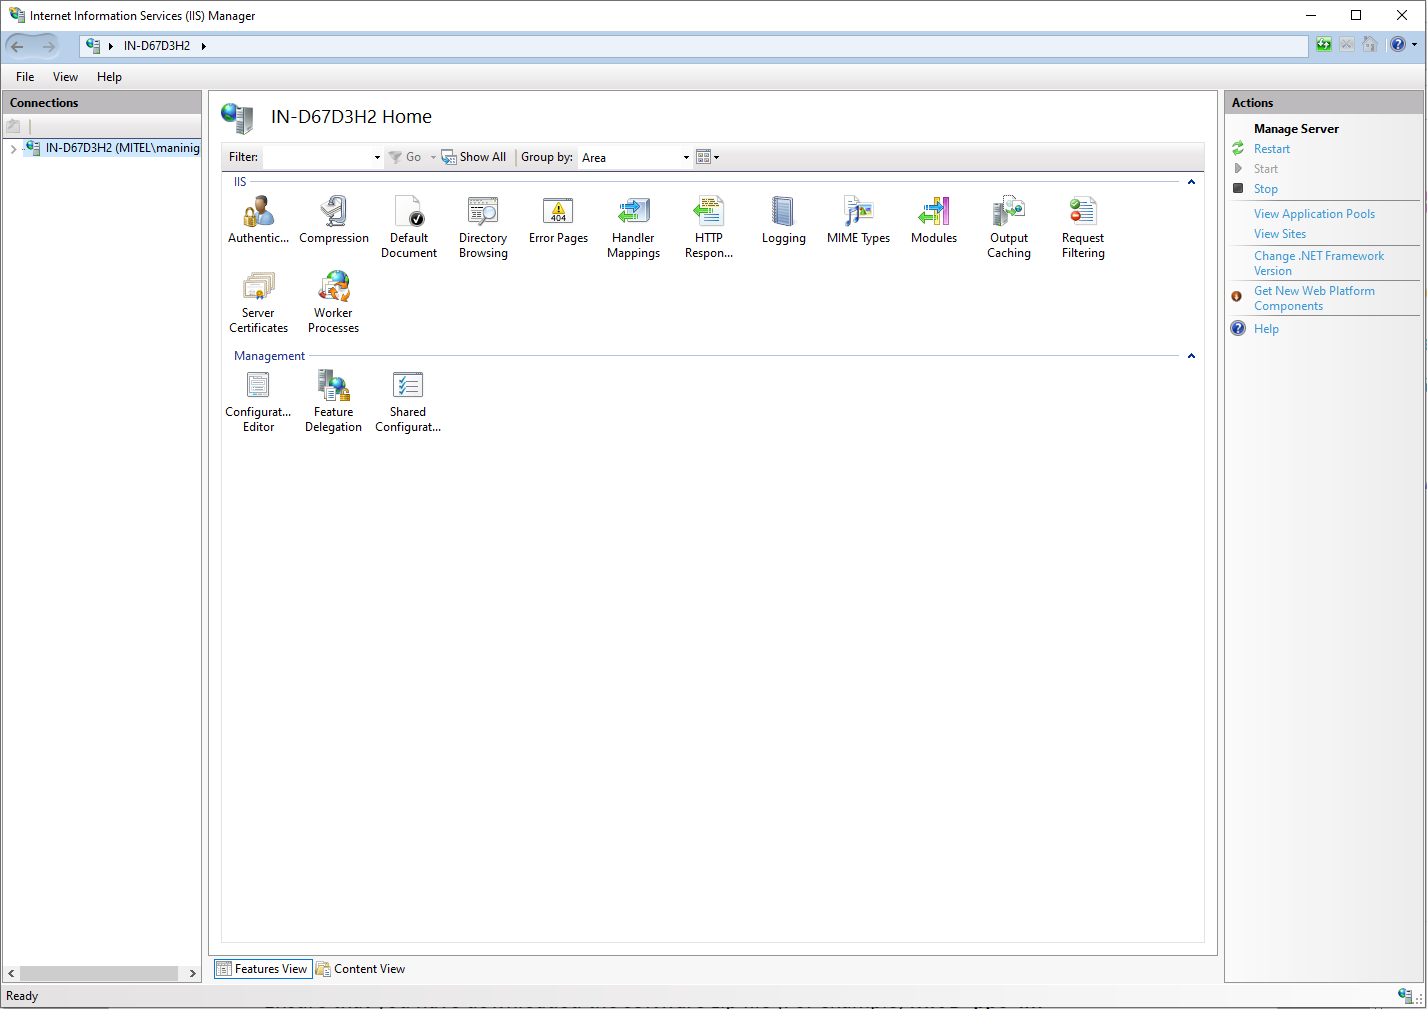
The Microsoft Internet Information
Services (IIS) is installed on your PC. To verify whether IIS is installed,
click the Start button, and
type inetmgr in the search
field. If IIS is installed, then the Internet
Information Services (IIS) Manager window is displayed.
If IIS is not installed, see Installing
IIS.
Installing IIS
To install IIS on your PC:
Click the Start
button on the taskbar, and type appwiz.cpl
in the search field, and
then press ENTER.
The Programs
and Features window
is displayed.
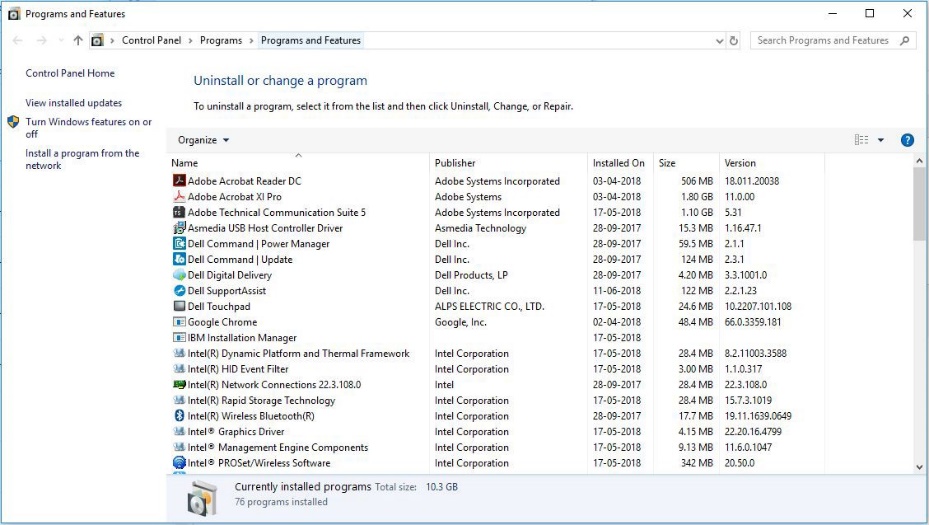
Click Turn Windows features on or off.
The Windows Features window
is displayed.
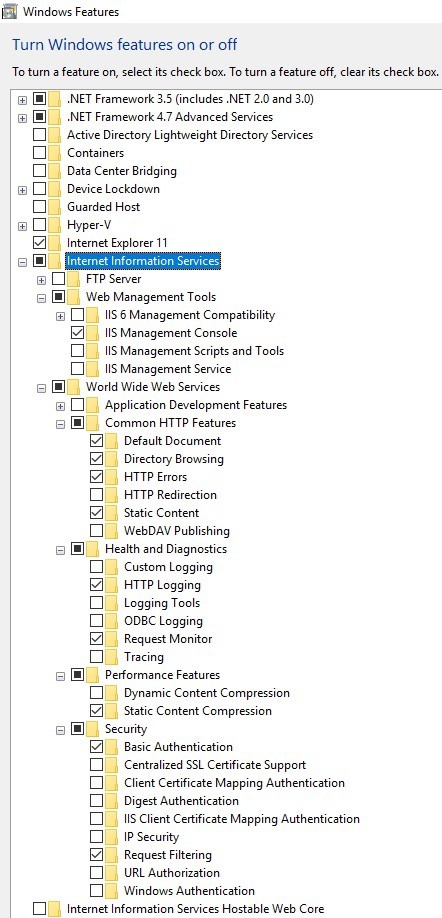
Expand
Internet Information Services, and select the following check
boxes:
Web
Management Tools
World
Wide Web Services
Common
HTTP Features
Default Document
Directory Browsing
HTTP Errors
Static Content
Health
and Diagnostics
HTTP Logging
Request Monitor
Performance
Features
Security
Basic Authentication
Request Filtering
Click OK
to install IIS.
Setting up a custom repository
To set up a custom repository:
Click the Start
button on the taskbar, enter inetmgr
in the search field, and then press ENTER.
The Internet Information Services
(IIS) Manager window is displayed.
In the Connections pane, double-click the
first entry (usually your PC name).
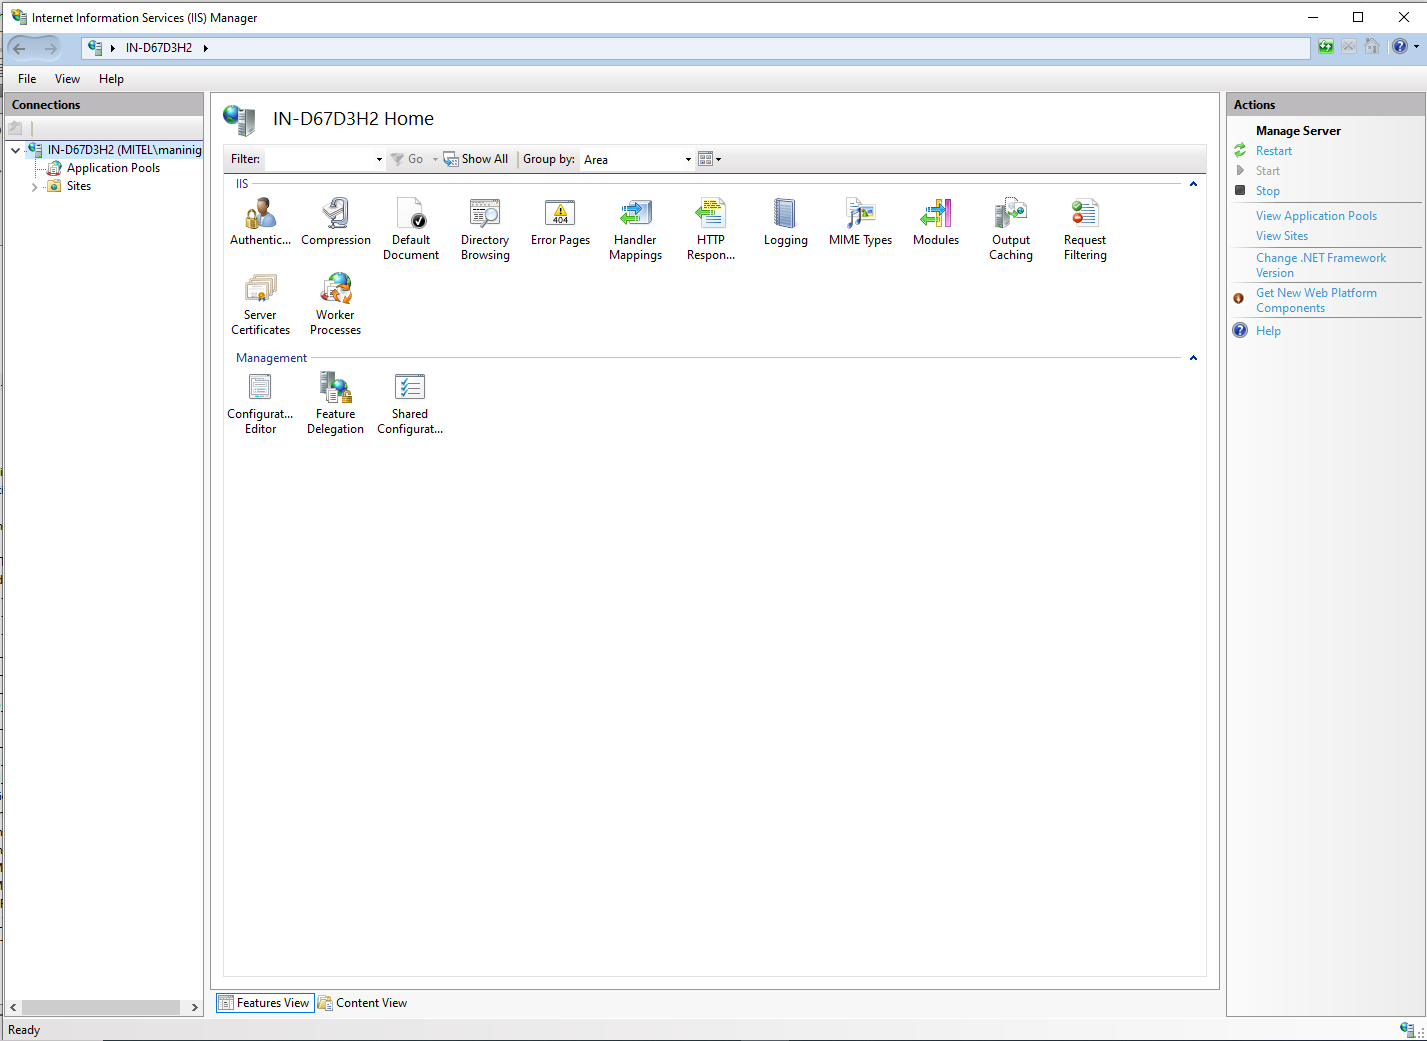
Double-click the Sites
folder to expand it.
Right-click Default
Web Site, and then click Add
Virtual Directory.
The Add Virtual Directory window
is displayed.
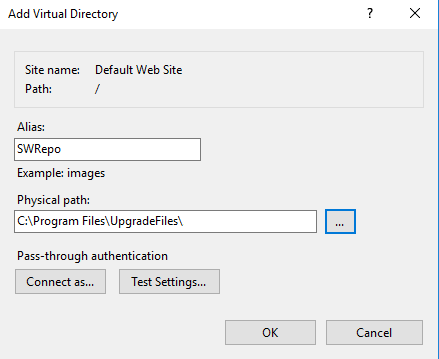
In
the Alias field, enter a name for the virtual
directory (for example, SWRepo).
In the Physical
path field, enter the physical path directory that will contain
the software (for example, C:\Program Files\UpgradeFiles\).
Unzip the software zip file (For
example, MiVB_ppc_image_9.1.0.92.zip)
to the folder specified in the Physical
path field. Unzipping the software zip file causes extraction
of the software to a folder named X.X.X.XXX
(where X.X.X.XXX is the software
version).
Click OK.
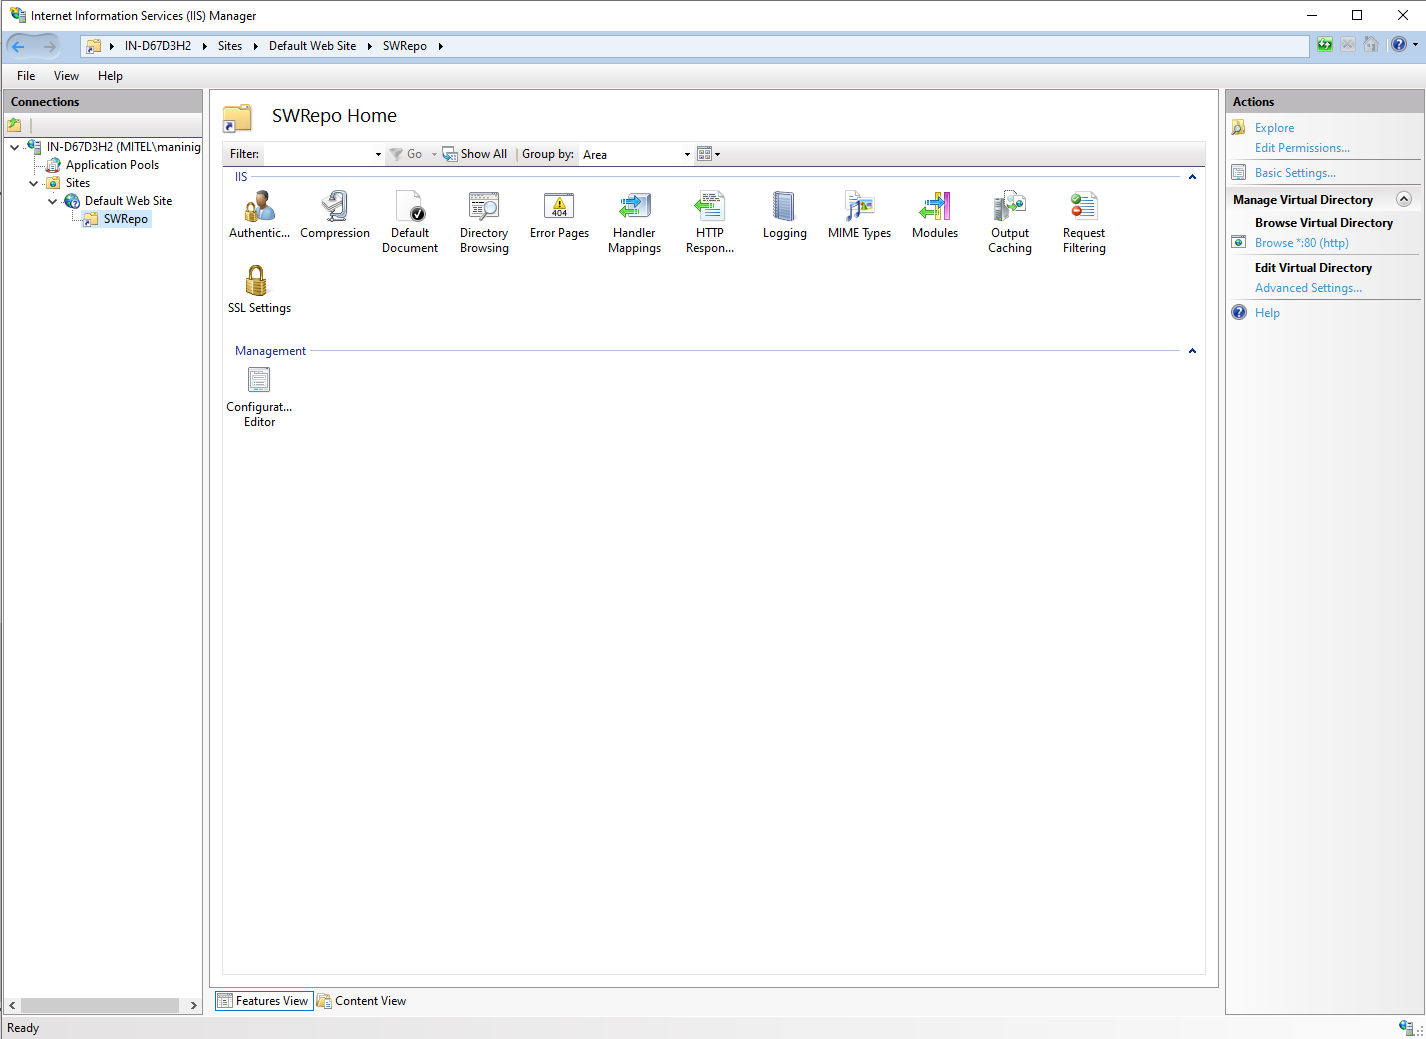
The virtual directory that you created is displayed under
Default Web Site in the Connections
panel.
Double-click the virtual directory
that you created. The virtual directory Home is displayed on the main
screen of the window.
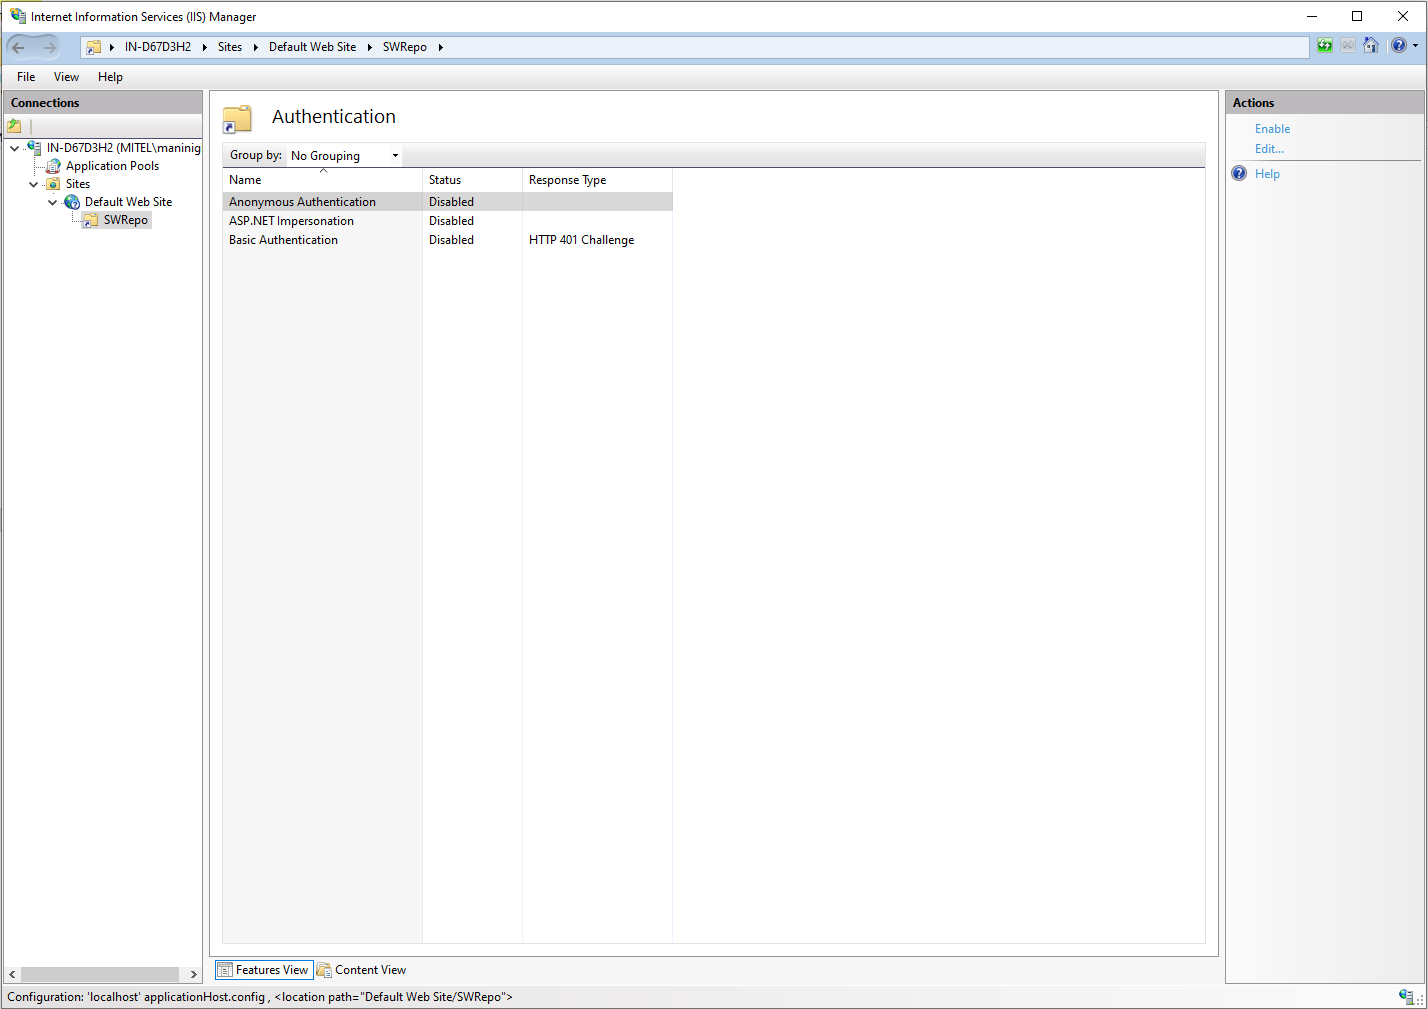
Double-click
Authentication, select Anonymous
Authentication, and click Enable in the
Actions pane.
In
the Connections pane, double-click the virtual directory
you created. The virtual directory Home is displayed on the
main screen of the window.
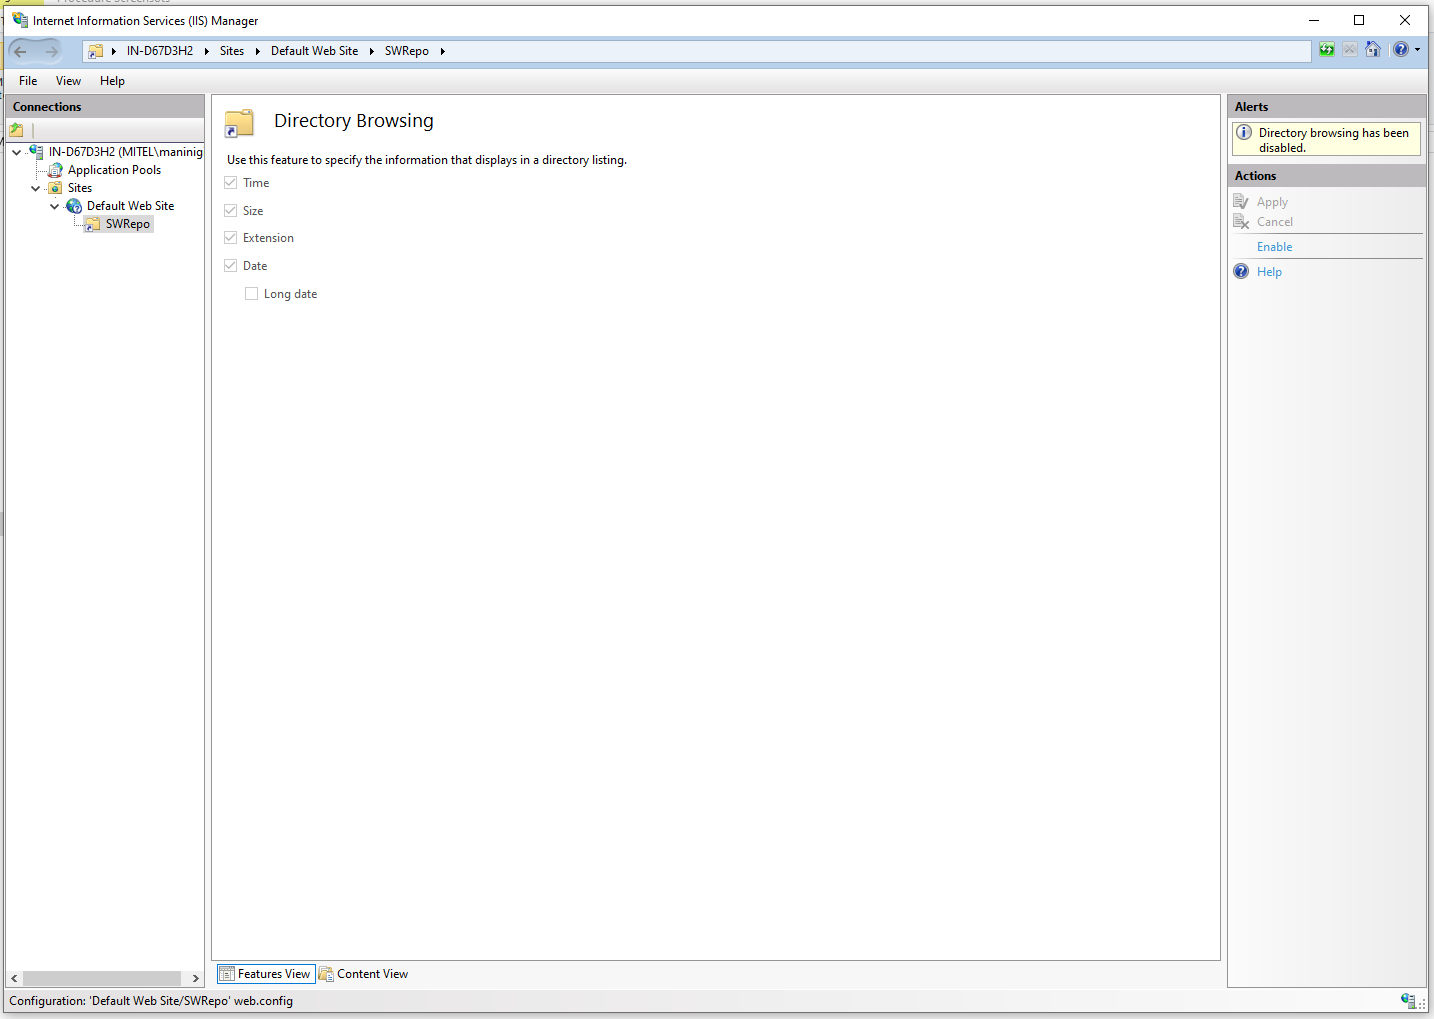
Double-click
Directory
Browsing, and click Enable in the Actions panel.
In
the Connections panel, click Default Web Site.
The Default Web Site Home is
displayed on the main screen of the window.
Double-click
MIME
Types on the main screen.
The MIME Types is displayed
on the main screen of the window.

Click
Add in the Actions panel.
The Add MIME Type dialog box
is displayed.
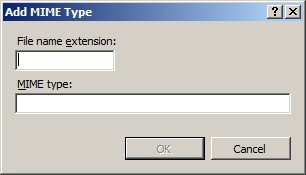
In
the File
name extension field, type
.md5.
In
the MIME
type field, type text/plain.
Click
OK.
The MIME type is added to the list of MIME
Types.
Repeat
steps 14 through 18 to add the following MIME types:
File name
extension |
MIME
type |
.dtb |
application/octet-stream |
.iso |
application/octet-stream |
.bz2 |
application/bz2 |
.u-boot |
application/x-gzip |
.md5 |
text/plain |
.s3 |
text/plain |
.map-ax |
text/plain |
.map-cxii |
text/plain |
.map-mxeiii |
text/plain |
.ax |
text/plain |
.cxii |
text/plain |
.mxeiii |
text/plain |
.srec |
text/plain |
. |
text/plain |
.txt |
text/plain |
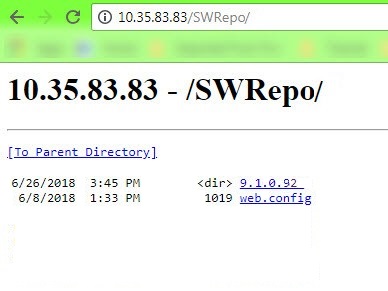
To
access the software using a browser, enter http://<server IP address>/<virtual
directory name>
in the address bar of your browser
(for example, http://10.35.83.83/SWRepo).
Set up a TFTP Server and a Custom Repository
You can set up a TFTP repository on your local computer
to host the Mitel’s PPC Installer images for a fresh installation of the
MiVoice Business system:
Go to
http://tftpd32.jounin.net/tftpd32_download.html and download the
latest version of the TFTP service (tftpd64
installer).
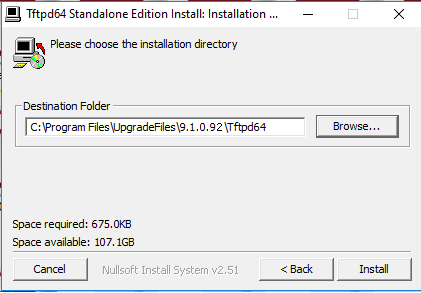
Double-click the downloaded file, and double-click
Tftpd64-4.62-setup to install the TFTP service. Ensure that the Destination Folder is the same as
the Physical path of the HTTP service you installed earlier (see Step 6 in
Set up an HTTP Server and a Custom Repository).
After installation is successfully completed, double-click
the tftpd64 application file in the Tftpd64 folder to launch the TFTP
service.
In the Current
Directory field, enter the folder path of the installed TFTP
service; this is also the folder path to the TFTP repository.
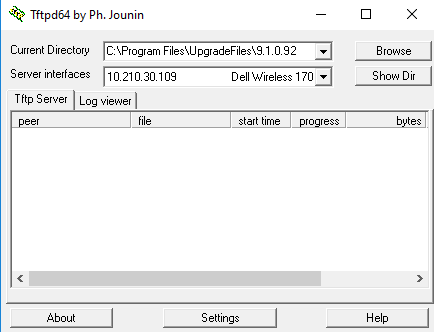
The Server
interfaces field automatically fills in the IP address of your
computer system, which is also the IP address of the TFTP server.
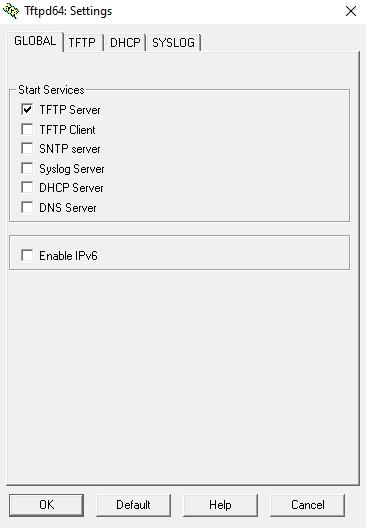
Click the Settings
button.
The Tftpd64
window opens.
Under the TFTP
tab, enter the folder path of the installed TFTP service in the Base Directory field.
Under the Global
tab, ensure that the TFTP Server
option is selected in the Start Services
section.
Under the Syslog
tab, enable logging by selecting the
Save syslog messages option and specifying the location where
you want to save the logs.